Do you have recipes that you return to again and again?
For me one of those recipes is Magnolia Bakery’s Red Velvet Cake. Not to be confused with the Silos Baking Co. at Magnolia Market in Waco. {{Chip & Jo!!!}} Nope, this is courtesy of Magnolia Bakery in New York City. In my eyes, this is the shop that started the cupcake craze several years ago. I purchased their cookbook More From Magnolia over ten years ago. To date, this is probably my most used & loved cookbook in my ridiculously large collection. It is stained, highlighted, dog-eared, and has notes in the margins. It’s one of those cookbooks that has never failed me.

I know that Red Velvet Cake is one of those things that people are very opinionated about. For me, Magnolia’s recipe is perfect. They pair the cake with their Creamy Vanilla Frosting. I know what you’re thinking… Red Velvet Cake should be eaten with cream cheese frosting. {blech!} I have read in more places than I can count that this is simply not how it was intended. The traditional icing for R.V.C. is a “boiled frosting”. Keep reading to find out more!
I can’t bring myself to try any other R.V.C recipes. I’m sure there are plenty good ones but if it ain’t broke, don’t fix it… Right? I have made this so many times. I’ve made it as layer cakes and cupcakes. I’ve made it as a pink velvet cake and put Chambord liquor in the icing. I’ve made it Tardis blue with chocolate frosting and raspberries. We even served this cake at our wedding last year.
Since this is such a go-to recipe for me, I knew that I could count on it when I needed to make something a bit trickier. My mom and I hosted a Ladies Tea Party last weekend. I got this crazy idea that I needed to take a crack at making petit fours. What seems more fitting for a Tea Party than that?
I made a full batch of the cake batter {recipe below} and poured it into a cookie sheet/jelly roll pan lined with wax paper. (I also sprayed a little baking spray on the sides, just in case.) The cake was perfectly done in 30 minutes. When the cake was cooled I had my hubby help me lift it out of the sheet pan. We placed it on a large cutting board so that I would have something portable to move it to the freezer later. Then I used a bread knife to {very carefully} slice the cake in half horizontally.
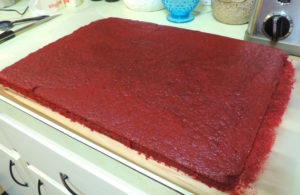
As you can see my cake is a deep red. I seem to always make a mess when I make this. I’ll spare you the vampire-crime-scene pictures. No one wants to see that.
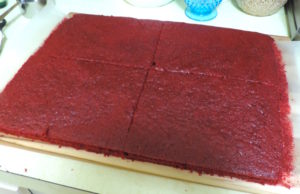
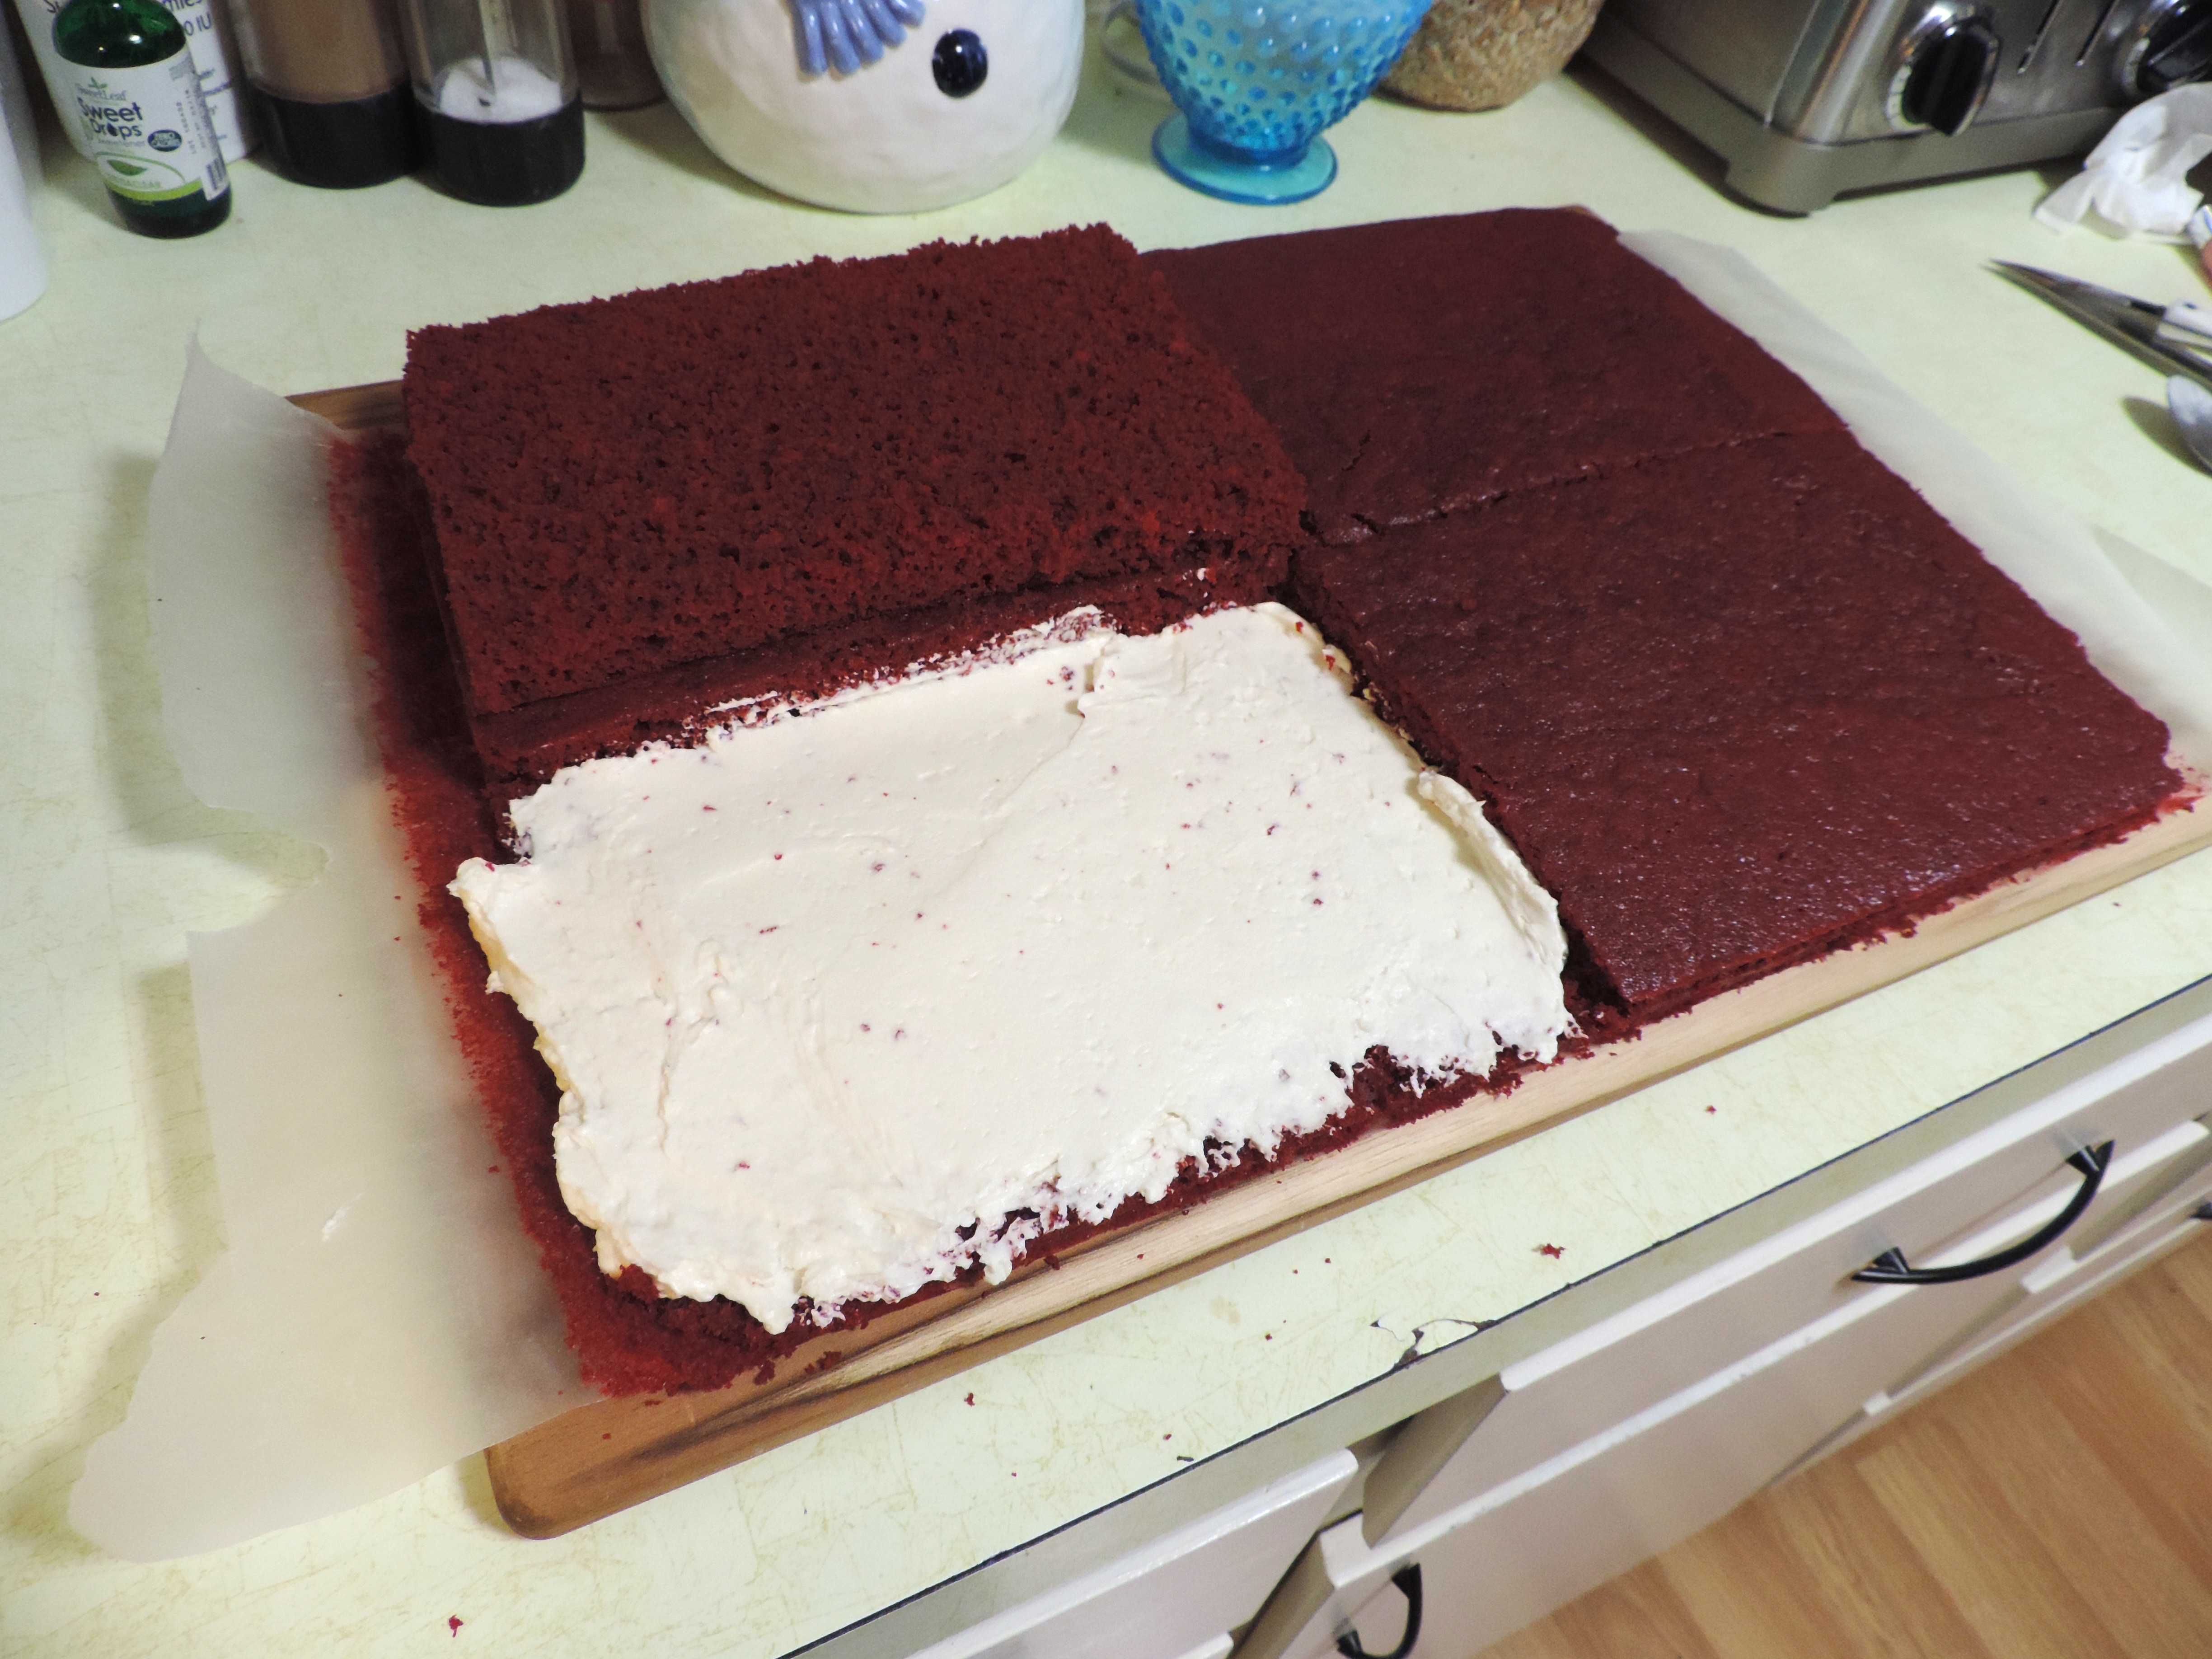
After I sliced my cake in half, I cut it into quadrants to make the lifting easier. Why not since I’m cutting this into small squares anyway? This made it a lot easier to lift a section of the cake to spread the frosting between the cut layers. I made a half batch of the Creamy Vanilla Frosting {recipe below} since I only wanted a layer in the middle of the cake.
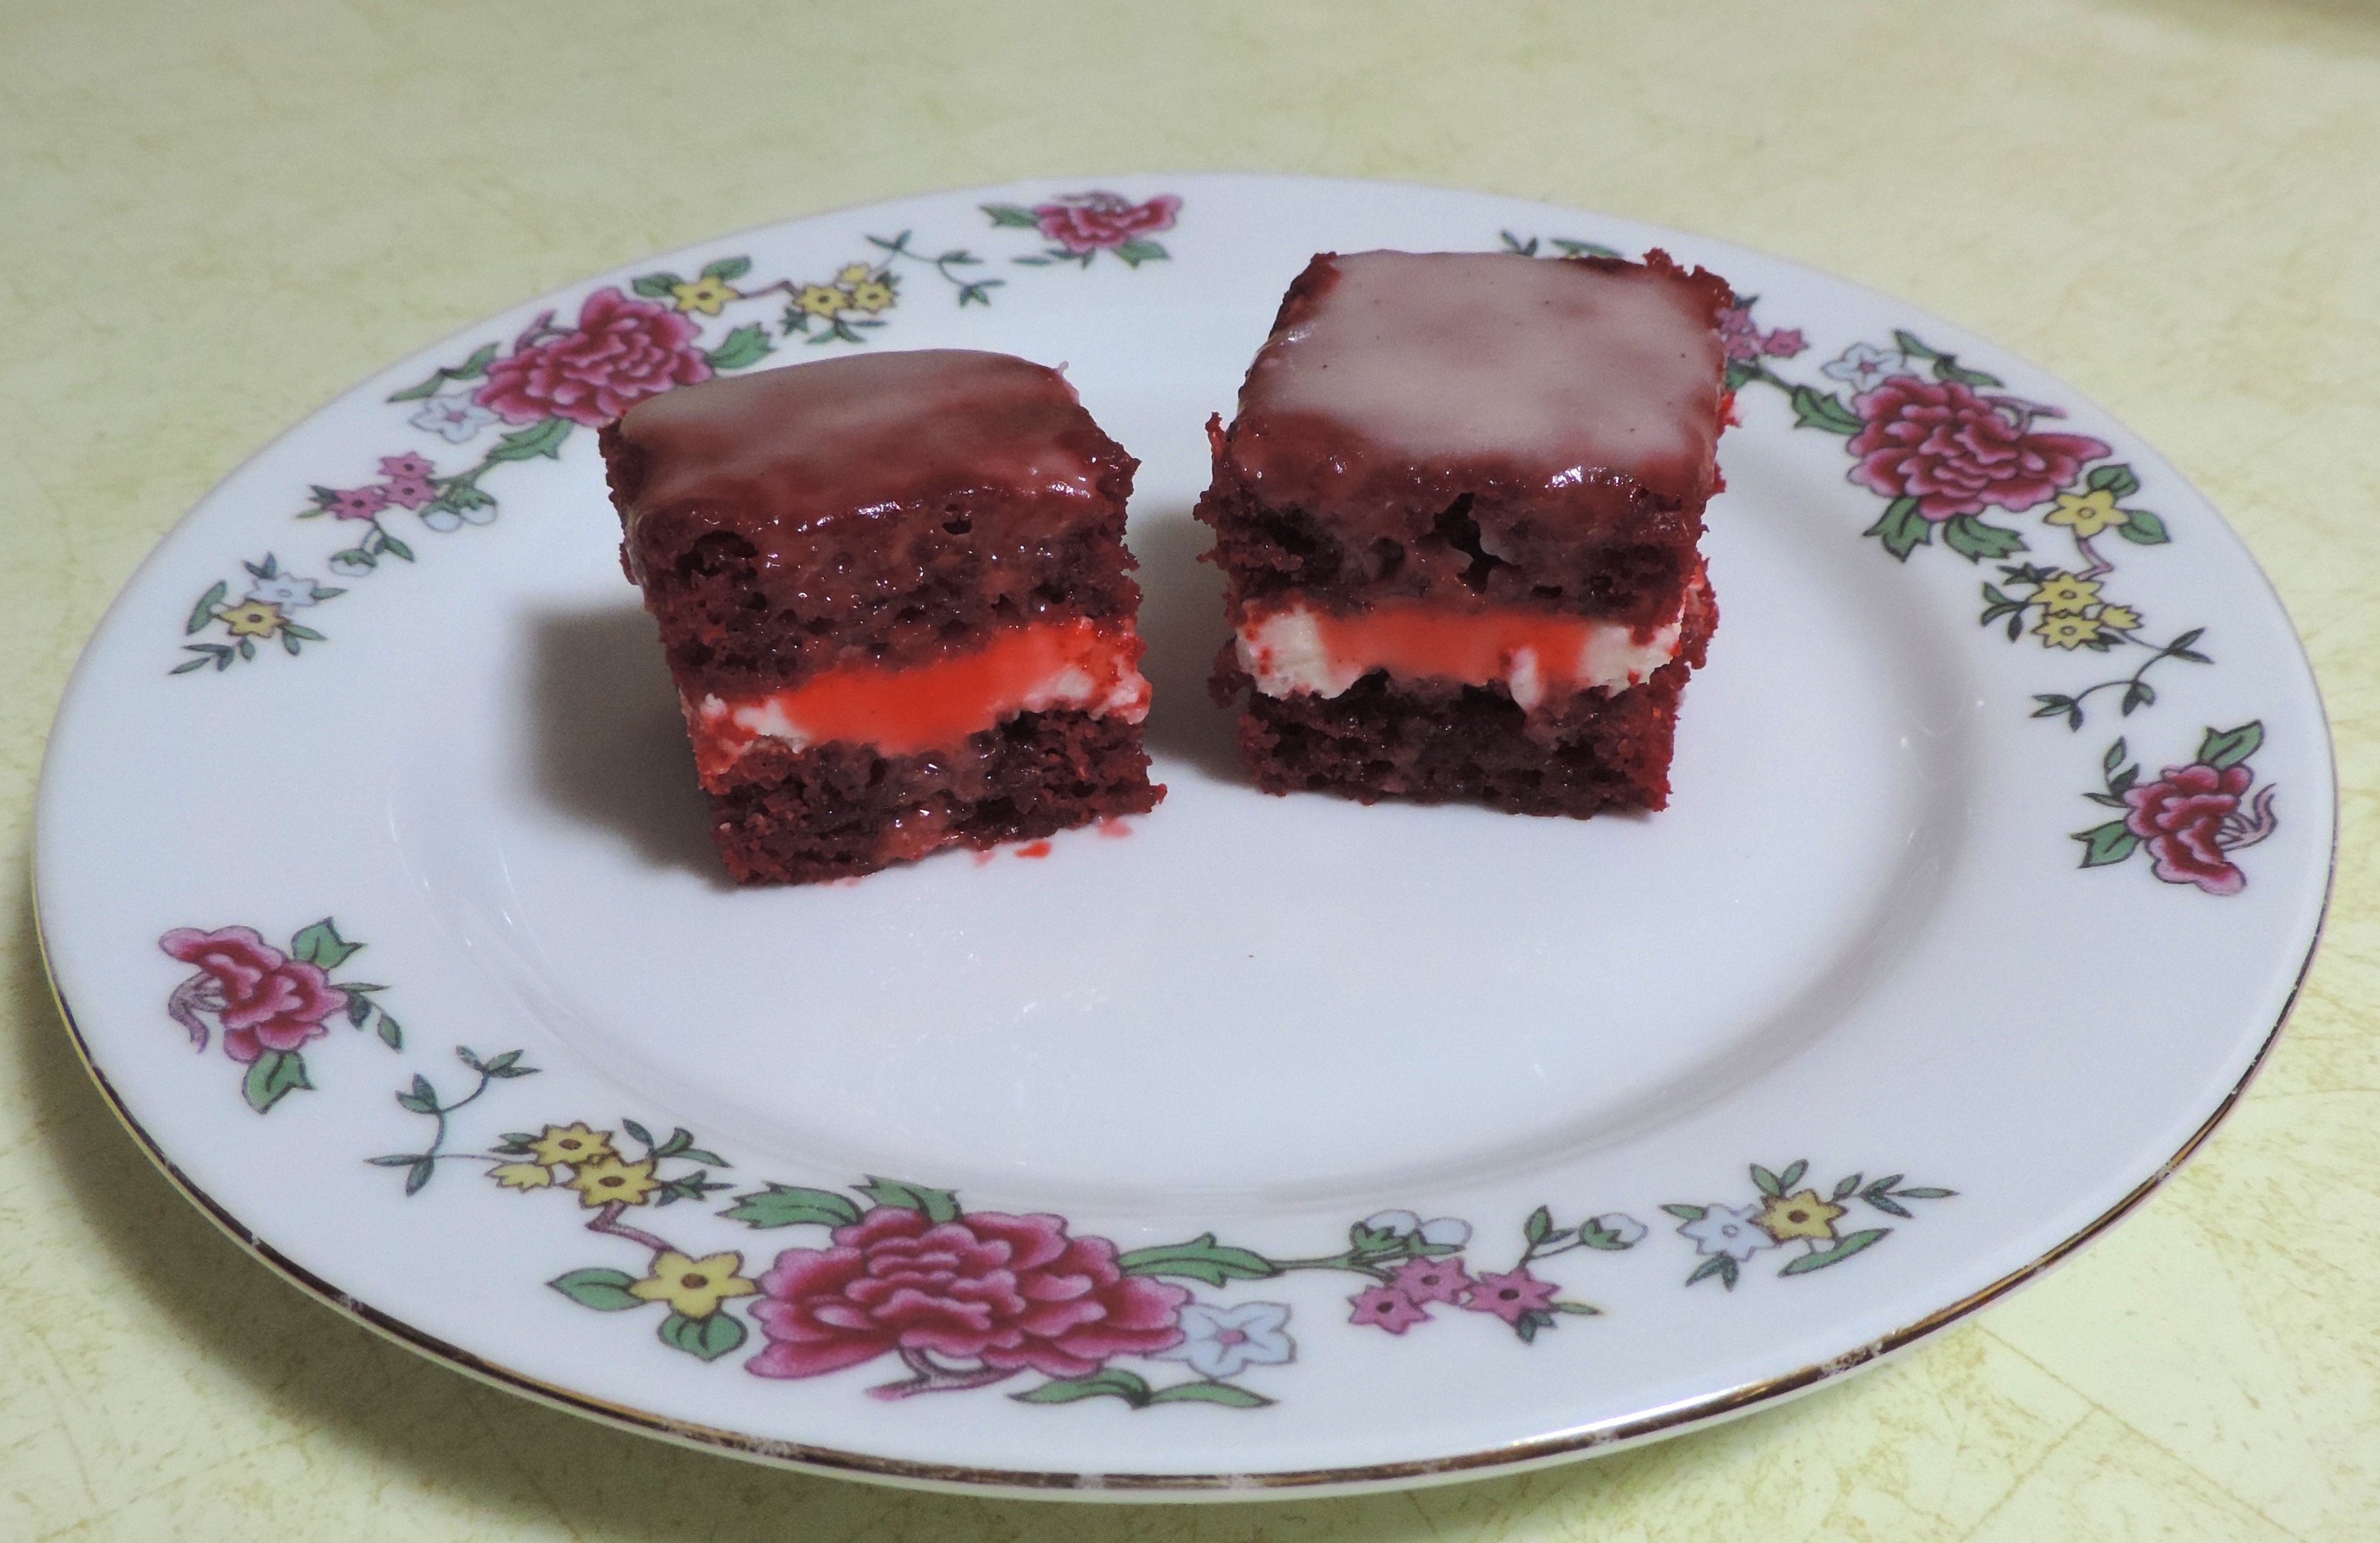
Once I had the cake frosted, I put it in the freezer for an hour. After I removed it from the freezer I cut the cake into about 1 1/2″ squares with a large, sharp knife. Make sure to wipe the frosting off the blade in between rows!
So here’s where things got a little tricky for me. I had NO idea what kind of glaze to use on petit fours as I’ve never made them before. I had made a delicious cinnamon glaze on some pumpkin cookies a few weeks back and thought this would taste good with this cake. Was I ever wrong! The amount of cinnamon was too much, the texture was too thick, and it was just all wrong for this cake. One half-batch of glaze barely covered four little squares of cake. Not to mention the glaze was not sticking to the sides of the squares the way it should. This was a total shot in the dark and it was a flop. So in my {at this point} late night baking haze, I went on the hunt for a proper petit four glaze recipe.
I found a recipe from Jennifer Yu at use real butter that called for ingredients that I had on hand. This glaze was divine! And it was a much better consistency for applying to my cake squares. With a sprinkle of cinnamon added to it, it was just what I’d had in mind.
I’d love to tell you that at this point I had total success with my petit fours. I don’t know if it was because it was way past my bedtime or because I had already been baking and cooking all. day. long. I never did get my glaze to fully cover the sides of my squares. I got about two dozen squares as glazed as they were going to get and decided to call it quits for the night.
My petit fours didn’t make it to the Tea Party. However, this was to no disappointment of my husband. He was all too happy to help me gobble up these less than pretty cakes. The combination of flavors was perfect.
I think it will be a minute before I attempt to make these again. I know I’ll try because I can’t leave well enough alone. If you want a pretty petit four, this combination needs some tweaking. But if you want a delicious one, then by all means, make these. Especially if you just plan to eat them straight from the storage container in front of the fridge. {guilty} Either way, you should definitely make this Red Velvet Cake and Creamy Vanilla Frosting any time you need a really wonderful Red Velvet Cake!
Magnolia Bakery’s Red Velvet Cake {with my modifications for the petit fours in italics}
3 1/3 cups cake flour (not self-rising)
3/4 cup (1 1/2 sticks) unsalted butter, softened
2 1/4 cups sugar
3 large eggs, at room temperature
6 tablespoons red food coloring {sometimes I use gel and make up the liquid measurement with water… careful, this is messy!}
3 tablespoons unsweetened cocoa powder
1 1/2 teaspoons vanilla extract
1 1/2 teaspoons salt
1 1/2 cups buttermilk
1 1/2 teaspoons cider vinegar
1 1/2 teaspoons baking soda
Creamy Vanilla Frosting (recipe follows)
Preheat oven to 350 degrees.
Grease and lightly flour three 9 x 2-inch round cake pans, then line the bottoms with waxed paper. {for the petit fours, use a full size jelly roll pan/cookie sheet}
To make the cake:
In a small bowl, sift the cake flour and set aside. In a large bowl, on the medium speed of an electric mixer, cream the butter and sugar until very light and fluffy, about 5 minutes. Add the eggs, one at a time, beating well after each addition.
In a small bowl, whisk together the red food coloring, cocoa, and vanilla. Add to the batter and beat well.
In a measuring cup, stir the salt into the buttermilk. Add to the batter in three parts, alternating with the flour. With each addition, beat until the ingredients are incorporated, but do not over beat.
In a small bowl, stir together the cider vinegar and baking soda. Add to the batter and mix well. Using a rubber spatula, scrape down the batter in the bowl, making sure the ingredients are well blended and the batter is smooth.
Divide the batter among the prepared pans. Bake for 30-40 minutes, or until a cake tester inserted in the center of the cake comes out clean. {begin checking for doneness at 30 minutes for the petit four version!} Let the layers cool in the pans for 1 hour. Remove from the pans and cool completely on a wire rack.
When the cake has cooled, spread the frosting between the layers, then the ice top and sides of the cake with frosting. {only between the layers for my petit fours!}
Magnolia Bakery’s Creamy Vanilla Frosting {make a half batch for the petit fours}
This silky smooth frosting is made by beating together softened butter and sugar with a thick saucelike base. Be sure to follow the recipe directions exactly.
6 tablespoons all-purpose flour
2 cups milk
2 cups (4 sticks) unsalted butter, softened
2 cups granulated sugar {not confectioner’s sugar!}
2 teaspoons vanilla extract
In a medium saucepan, whisk the flour into the milk until smooth. Place over medium heat and, stirring constantly, cook until the mixture becomes very thick and begins to bubble, 10-15 minutes. {you want this to be about the texture of pudding… keep your eye on this!} Cover with waxed paper placed directly on the surface and cool to room temperature, about 30 minutes.
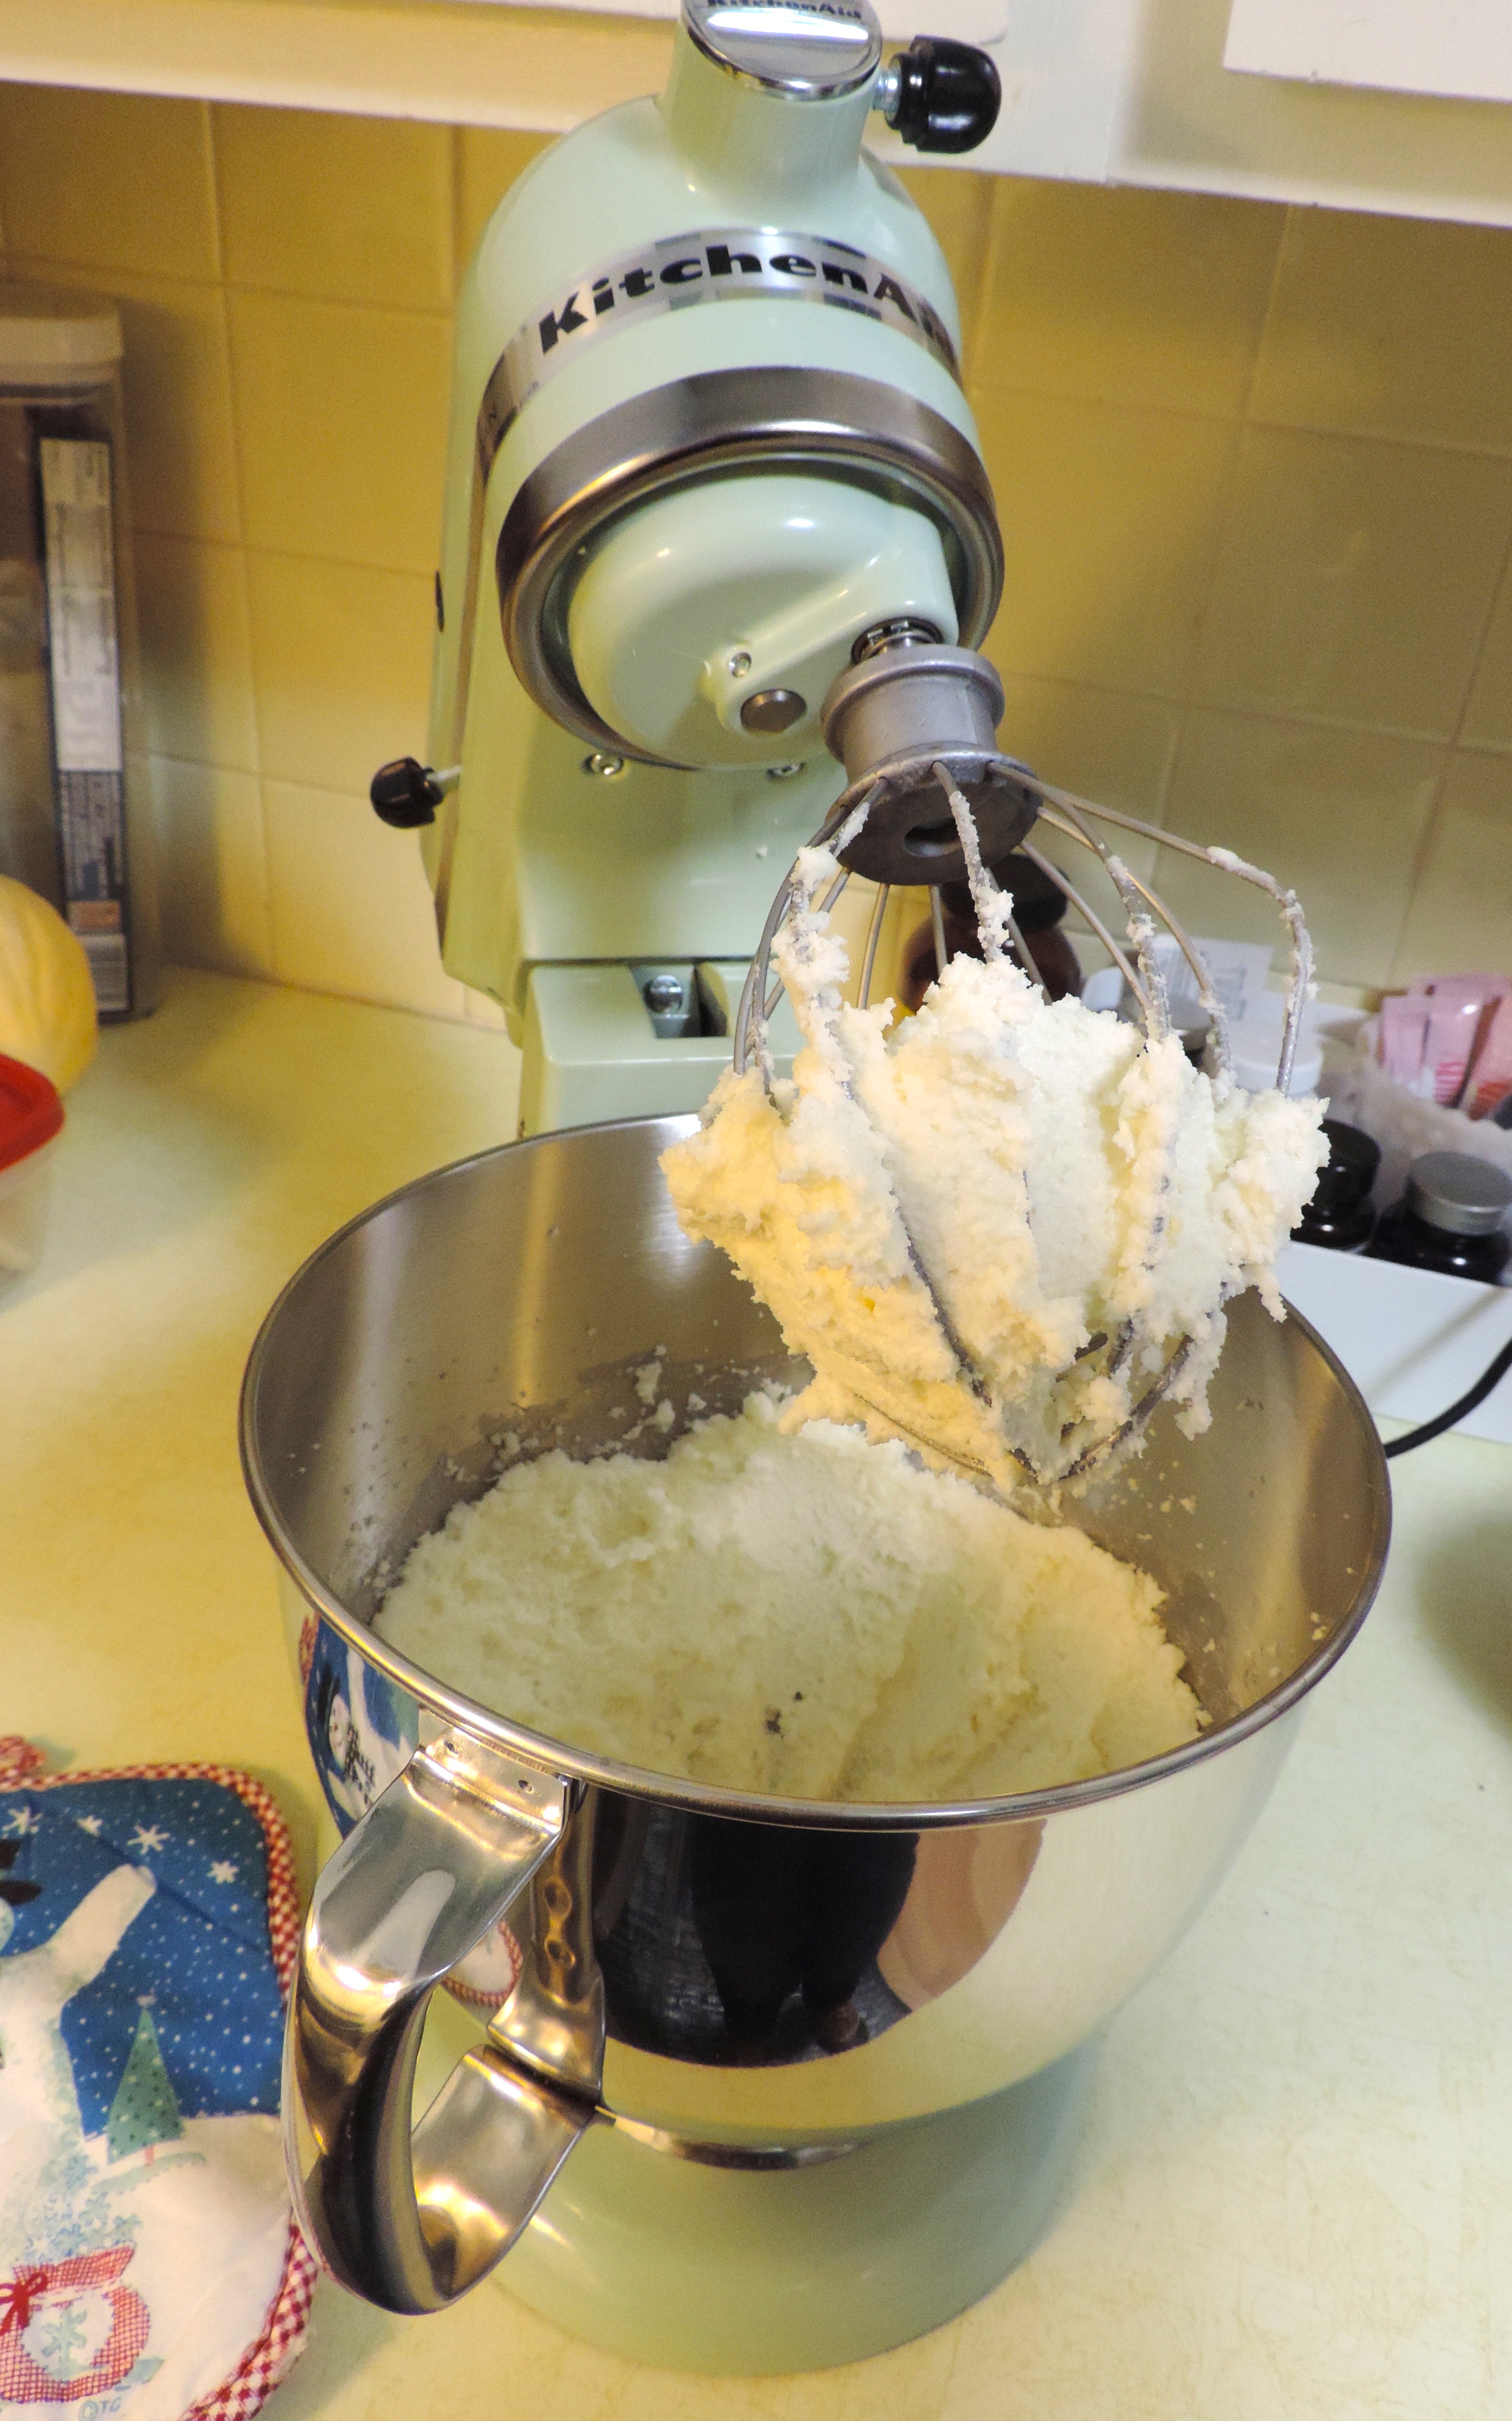
In a large bowl, on the medium high speed of an eclectic mixer, beat the butter for 3 minutes, until smooth and creamy. Gradually add the sugar, beating continuously for 3 minutes until fluffy. Add the vanilla and beat well.
Add the cooled milk mixture, and continue to beat on the medium high speed for 5 minutes, until very smooth and noticeably whiter in color. Cover and refrigerated for 15 minutes (no less and no longer – set a timer!). Use immediately.
Poured Fondant Icing, slightly modified from use real butter
{original recipe here}
4.5 cups confectioner’s sugar
1/2 cup water
1/4 cup light corn syrup
1 tsp vanilla
1/4 to 1/2 tsp cinnamon {start light, add to taste}
Combine all in double boiler. Heat until lukewarm. Remove from heat. Ladle over petits fours.

You should have just brought them!
Haha! I was just so over it by then!
Hey! I just would like to give an enormous thumbs up for the great information you have got here on this post. I will be coming back to your weblog for more soon.