I am a bit obsessed with flowers.
Since last fall I have been collecting various bulbs and such that I wanted to plant in a flower garden this year and stashing them in my office. I had no idea yet where I wanted to put them but I knew I’d figure it out eventually, even if it was just in pots on the patio. We have a few acres of property and we are trying to add to our landscaping bit by bit.
After building some really awesome raised beds for the veggie garden last year, my husband thought it would be a good idea to make some similar planters for flowers around our back patio. Here are the originals below. We love this rustic industrial look.
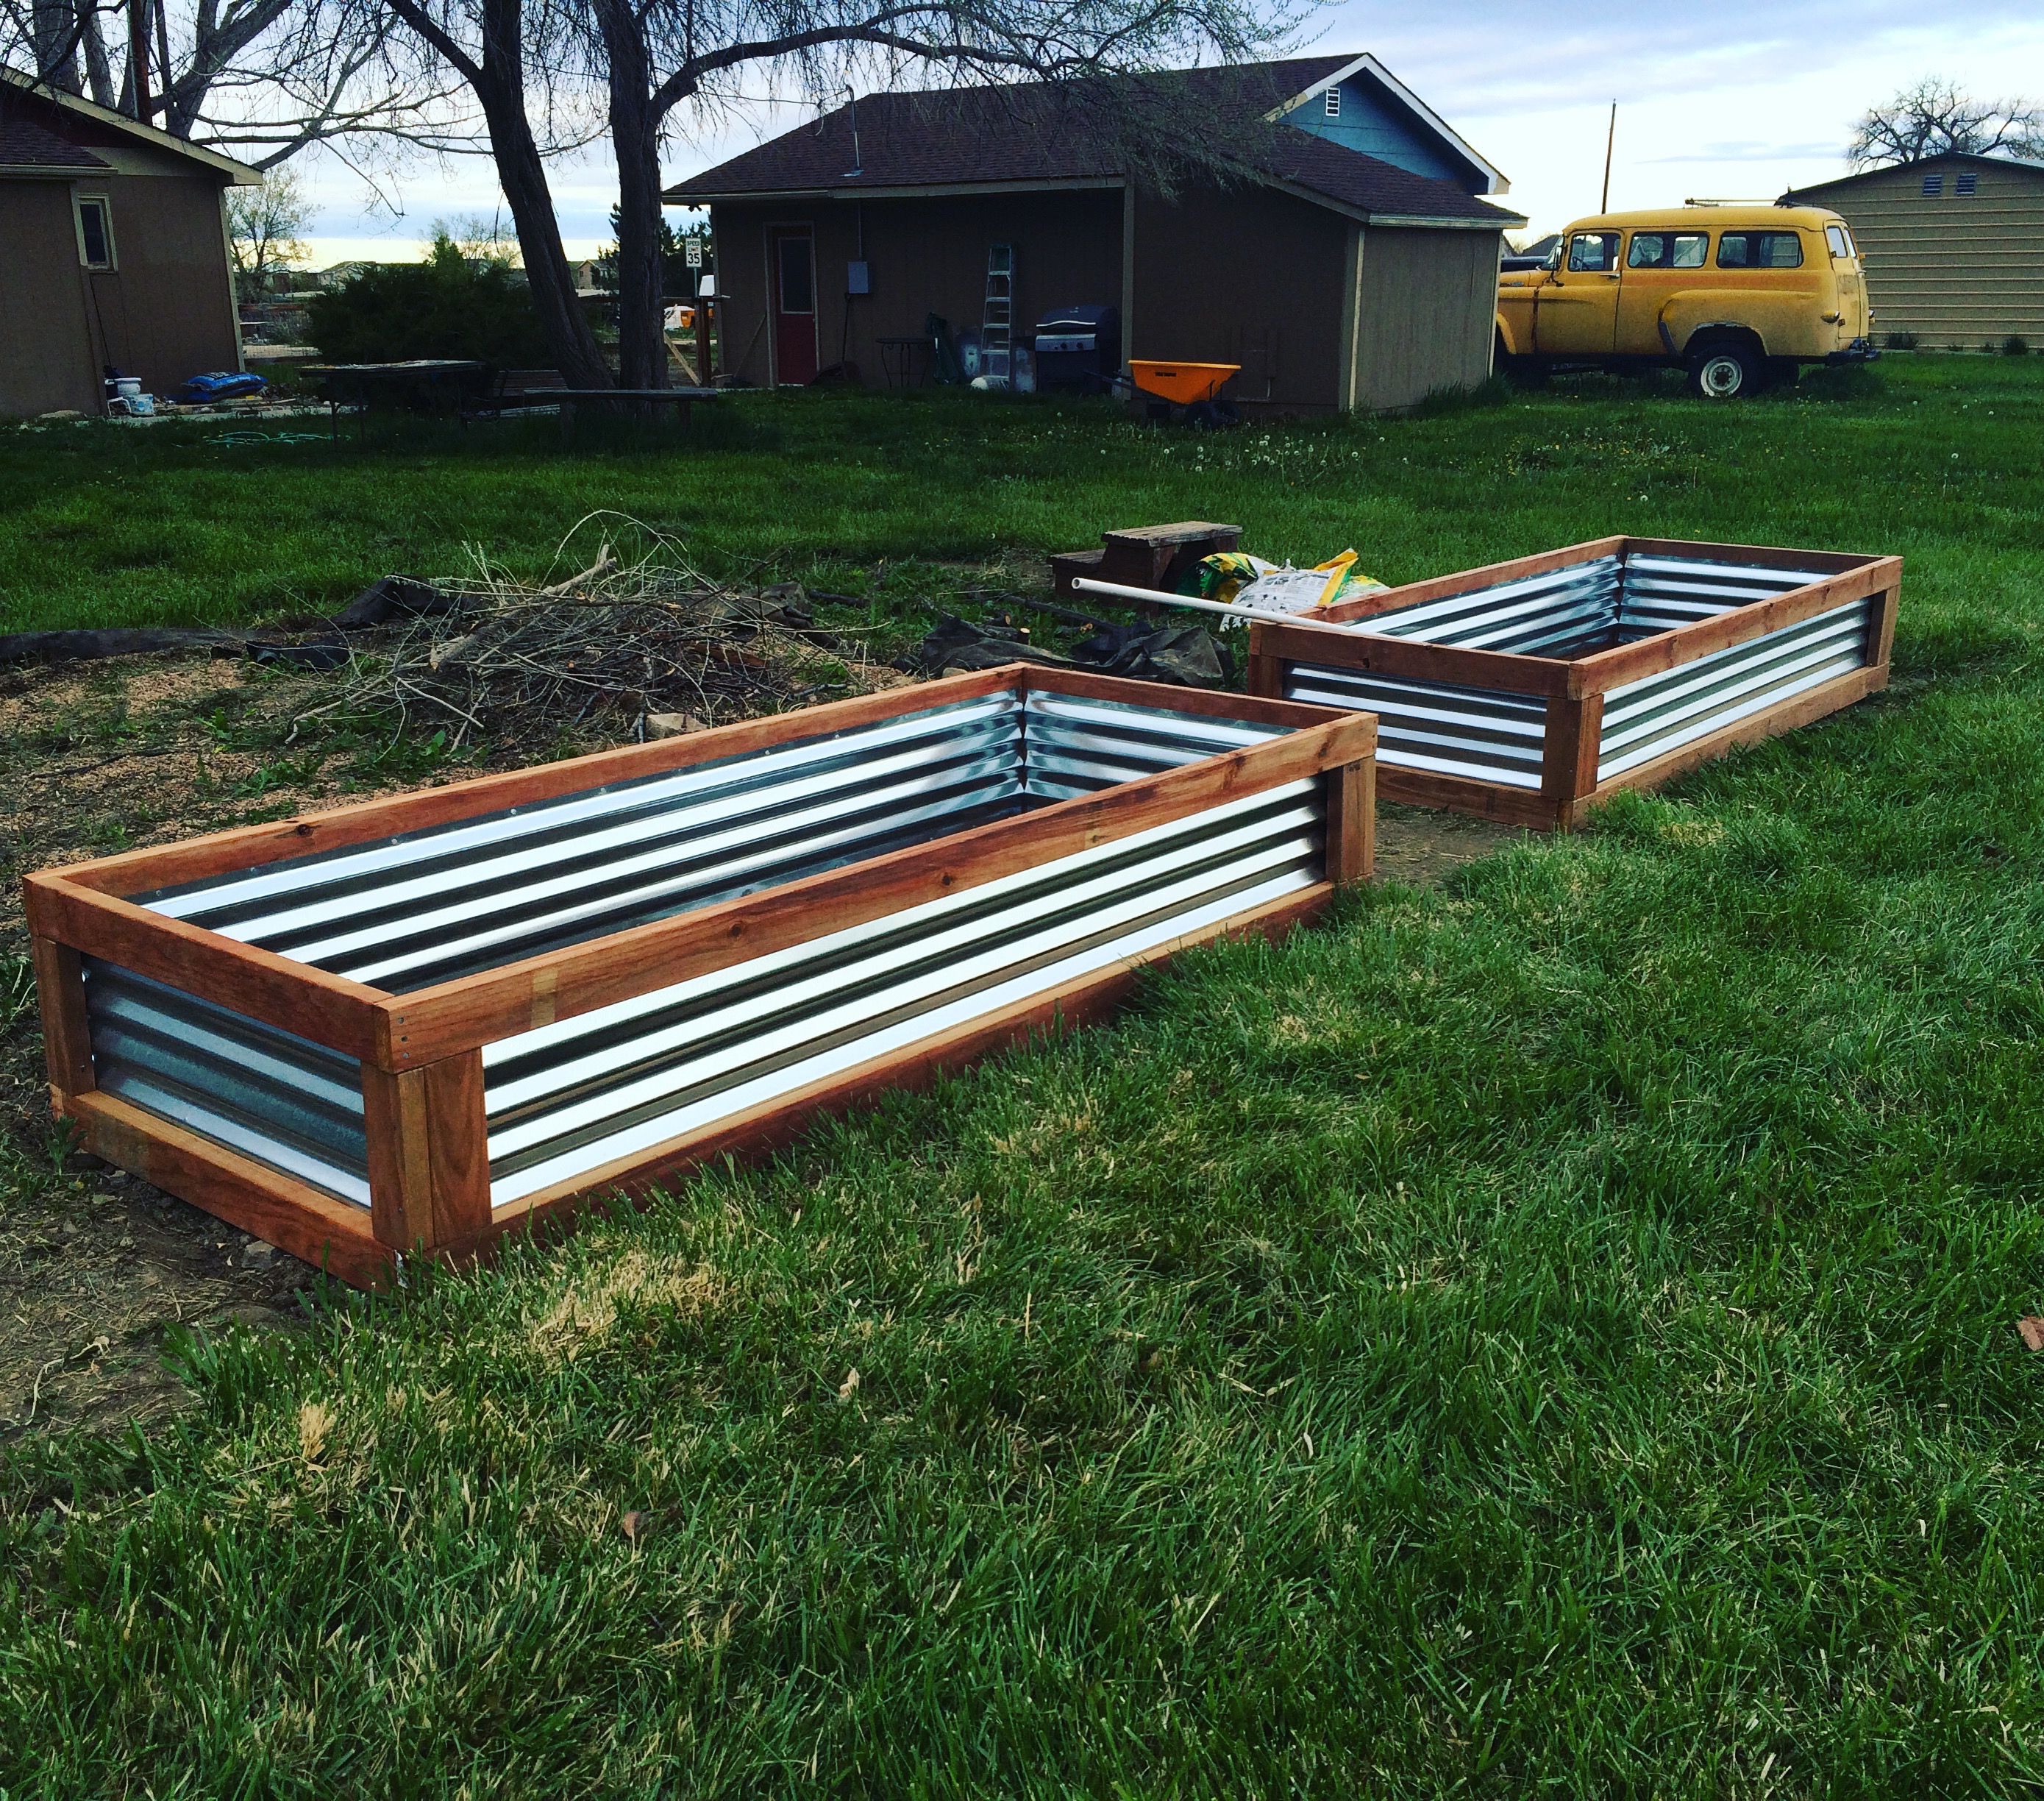
We have tossed around different ideas for how to make these work around our curved patio.
I think we may not be quite ready to tackle that project yet. I knew that I needed to get my bulbs in the ground fast since I am a late planter this year, so we needed another option. Last year was a whirlwind for us and while I had every intention to get my bulbs in the ground in the fall it just didn’t happen. Luckily I read recently that you can plant in late winter and still have them come up for spring! As long as they are in the ground in time to still get some cold weather.
As luck would have it in Colorado, we experienced a very warm February. Our biggest snow month is typically March so this worked out perfectly for me.
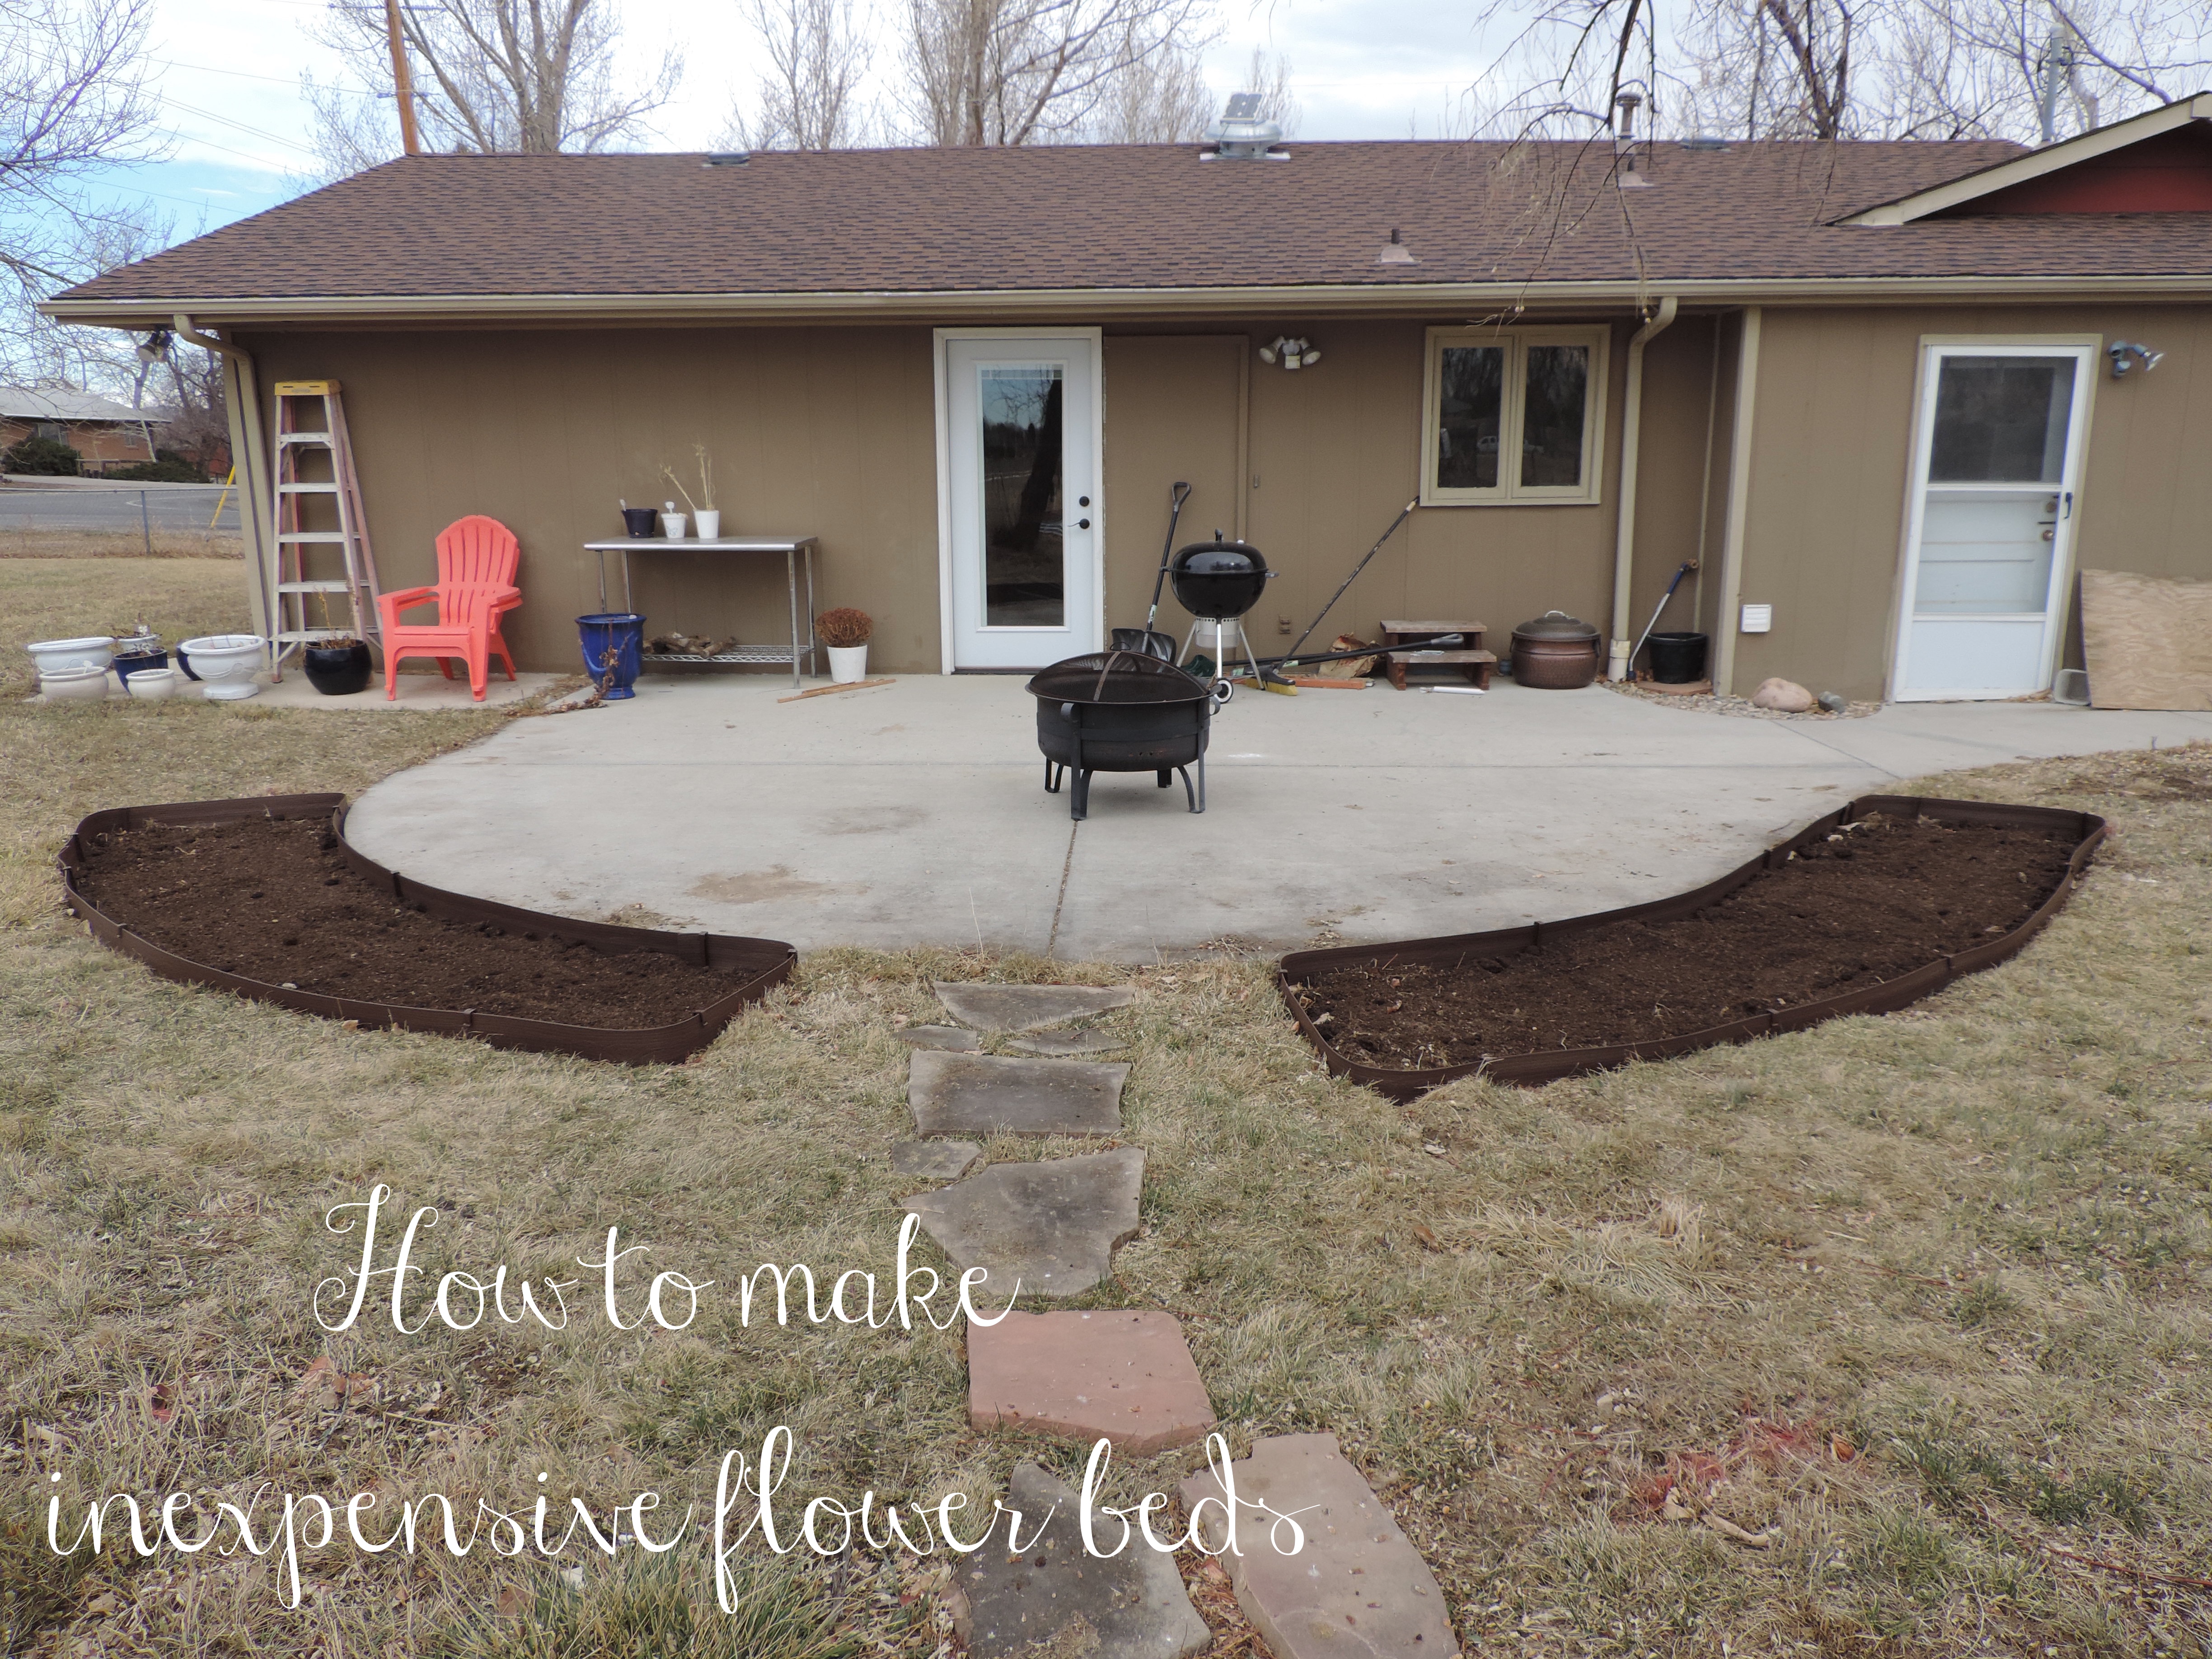
We knew that because someday we would like to build the raised beds around the patio, we wanted to do something for now that was inexpensive and that could also be temporary. We searched around for different garden edging and came across this stuff. For garden edging, this stuff is a great price for how many feet you get.
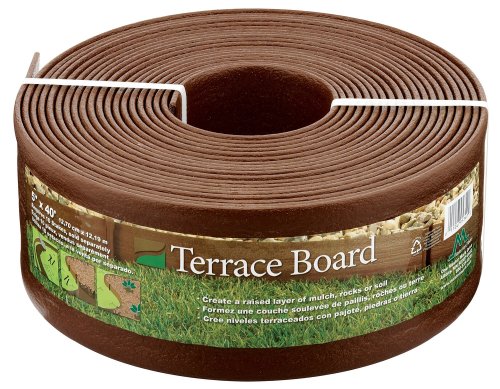
We knew this would be sturdy enough to hold up for as long as we use it, but it was a lot cheaper than buying some of the more decorative edging or stones for our garden. We ordered two rolls of the terrace board and two packages of the stakes to help keep it in place. *Note, when you get your terrace board, make sure to lay it out flat in the yard with something heavy on each end the day before you want to use it. This will help it to un-curl and it will be a lot easier to work with.
We had some grass to dig up so we started our project by measuring and marking off the section we wanted to use. We just used some Rust-Oleum Precision Line Paint to make the outline on the grass.
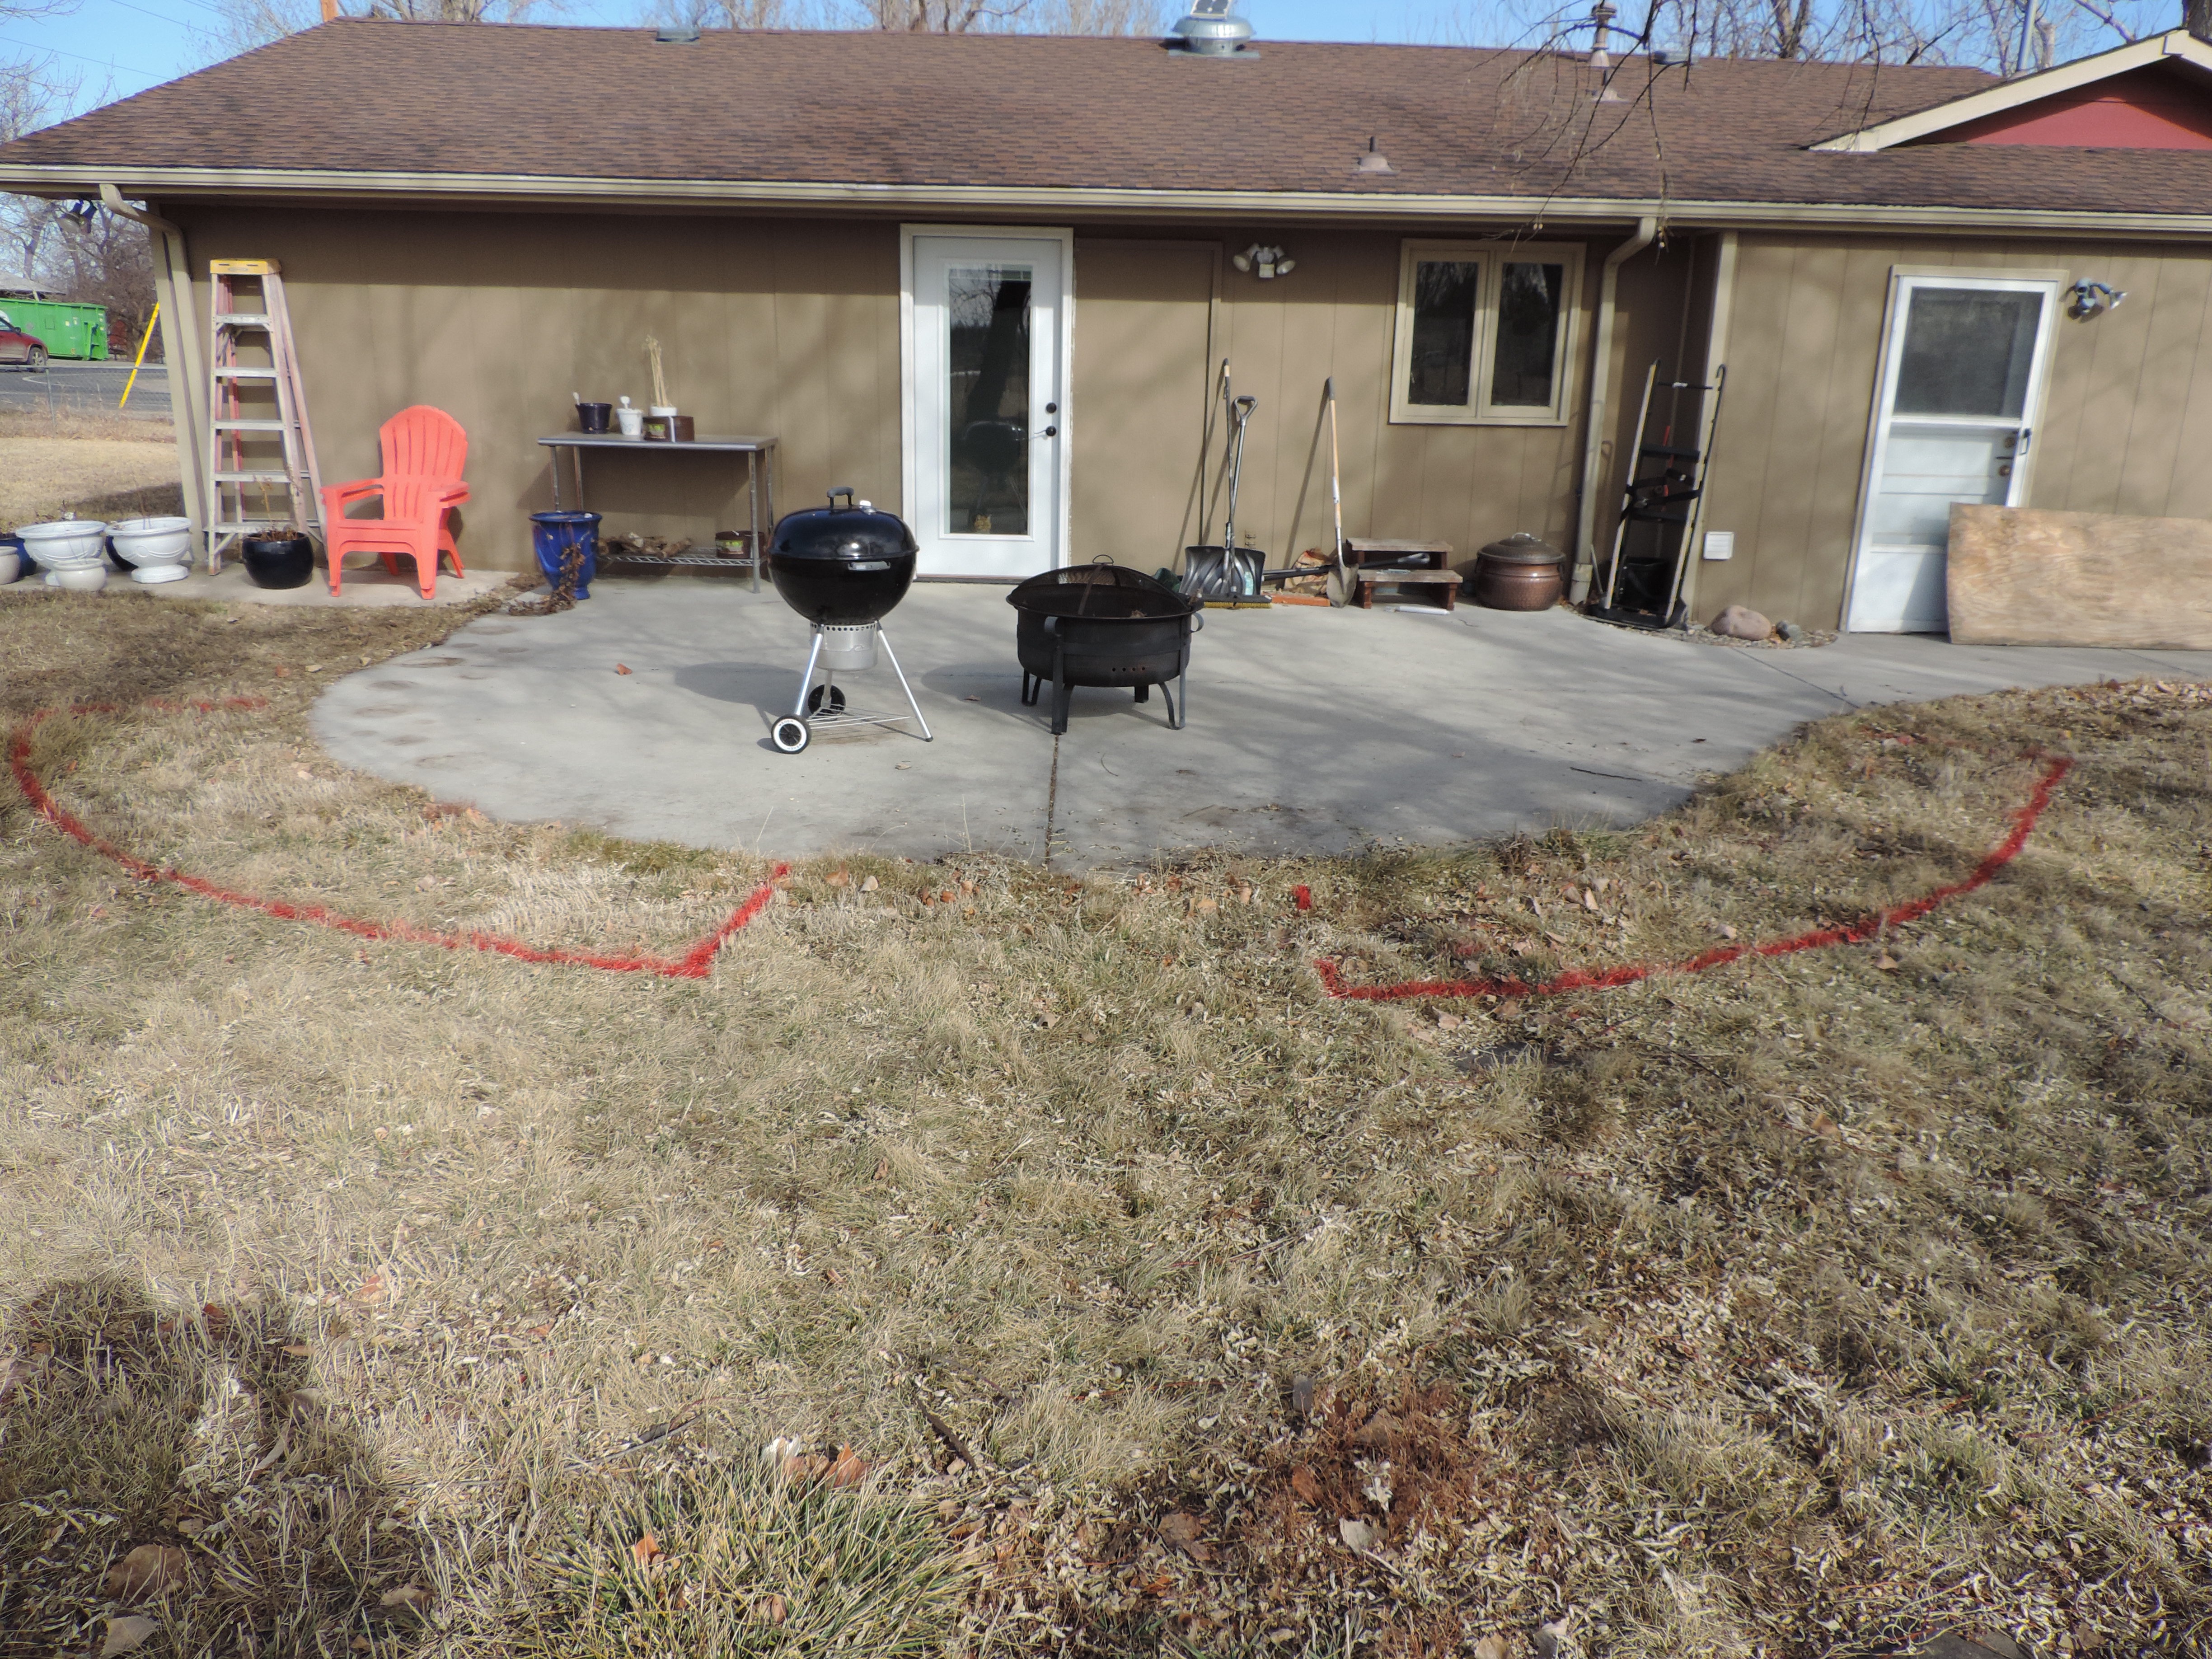
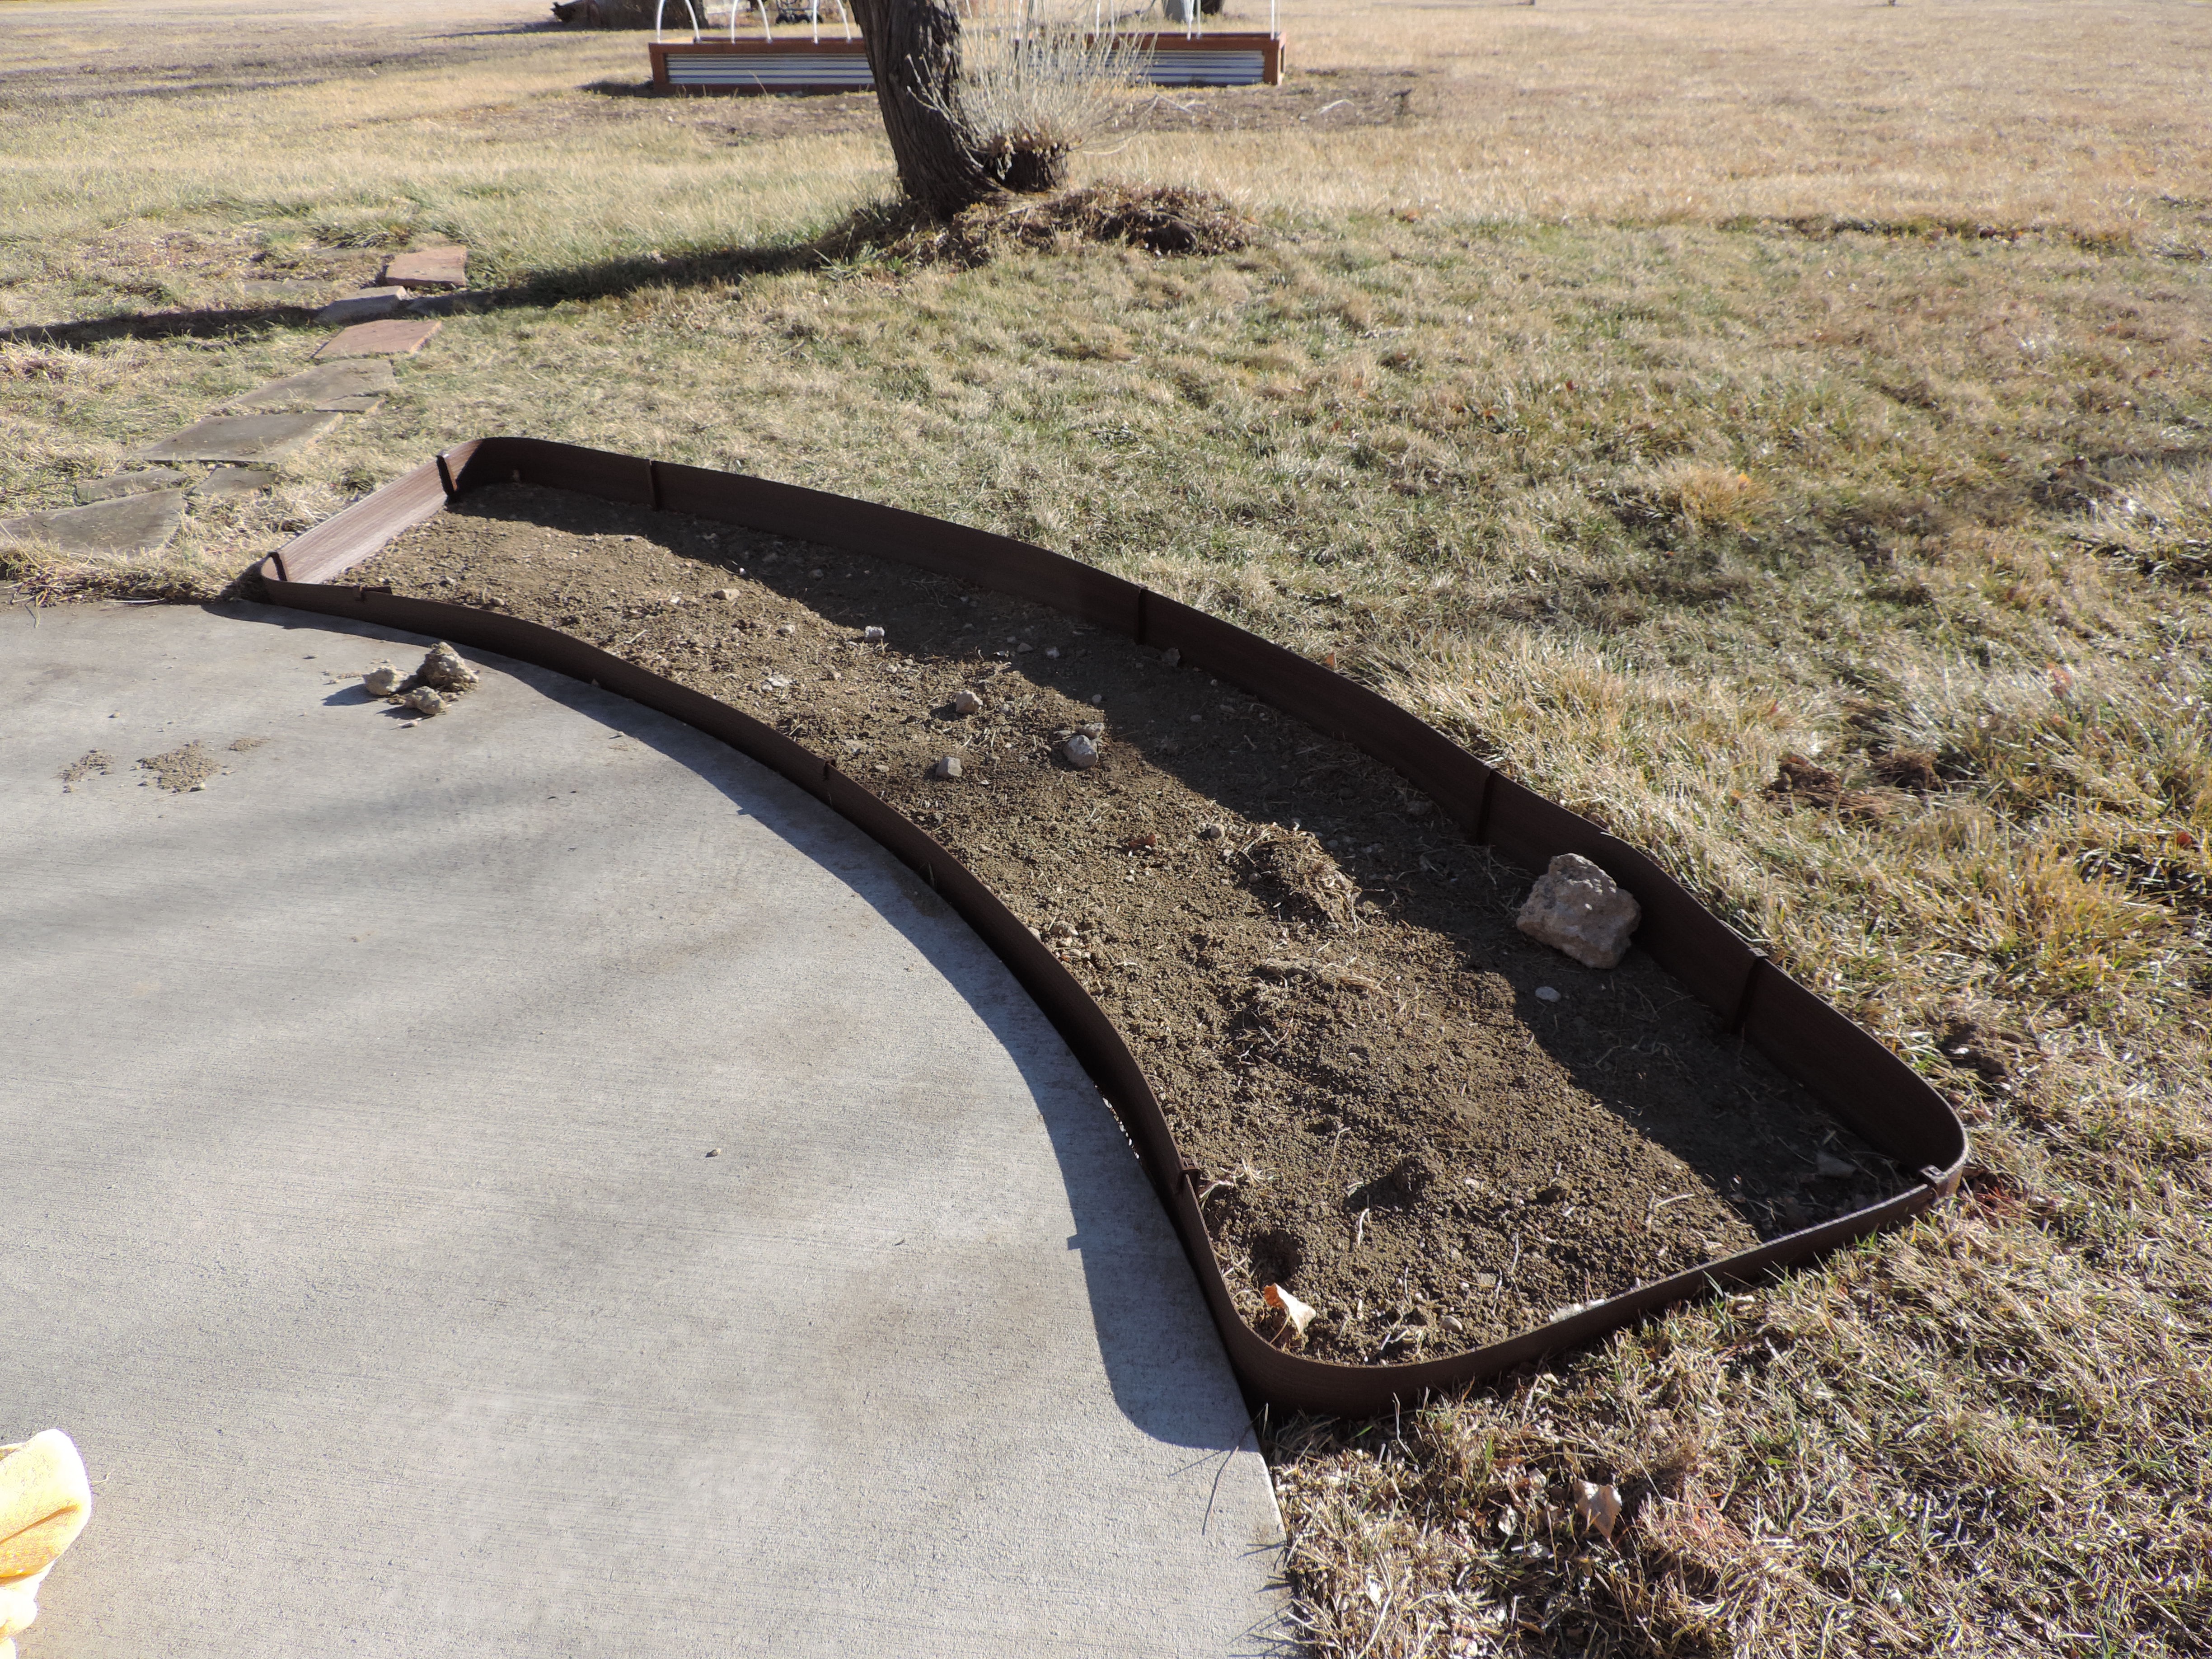
We dug out all the grass from these two sections, trying not to dig too deep. This left just a little edge between the remaining grass and the new flower bed. We laid out the edging and tapped the stakes in place as we went to help it hold its shape. The piece of edging was a bit longer than what we needed so we had to use some strong shears to cut it to the right length.
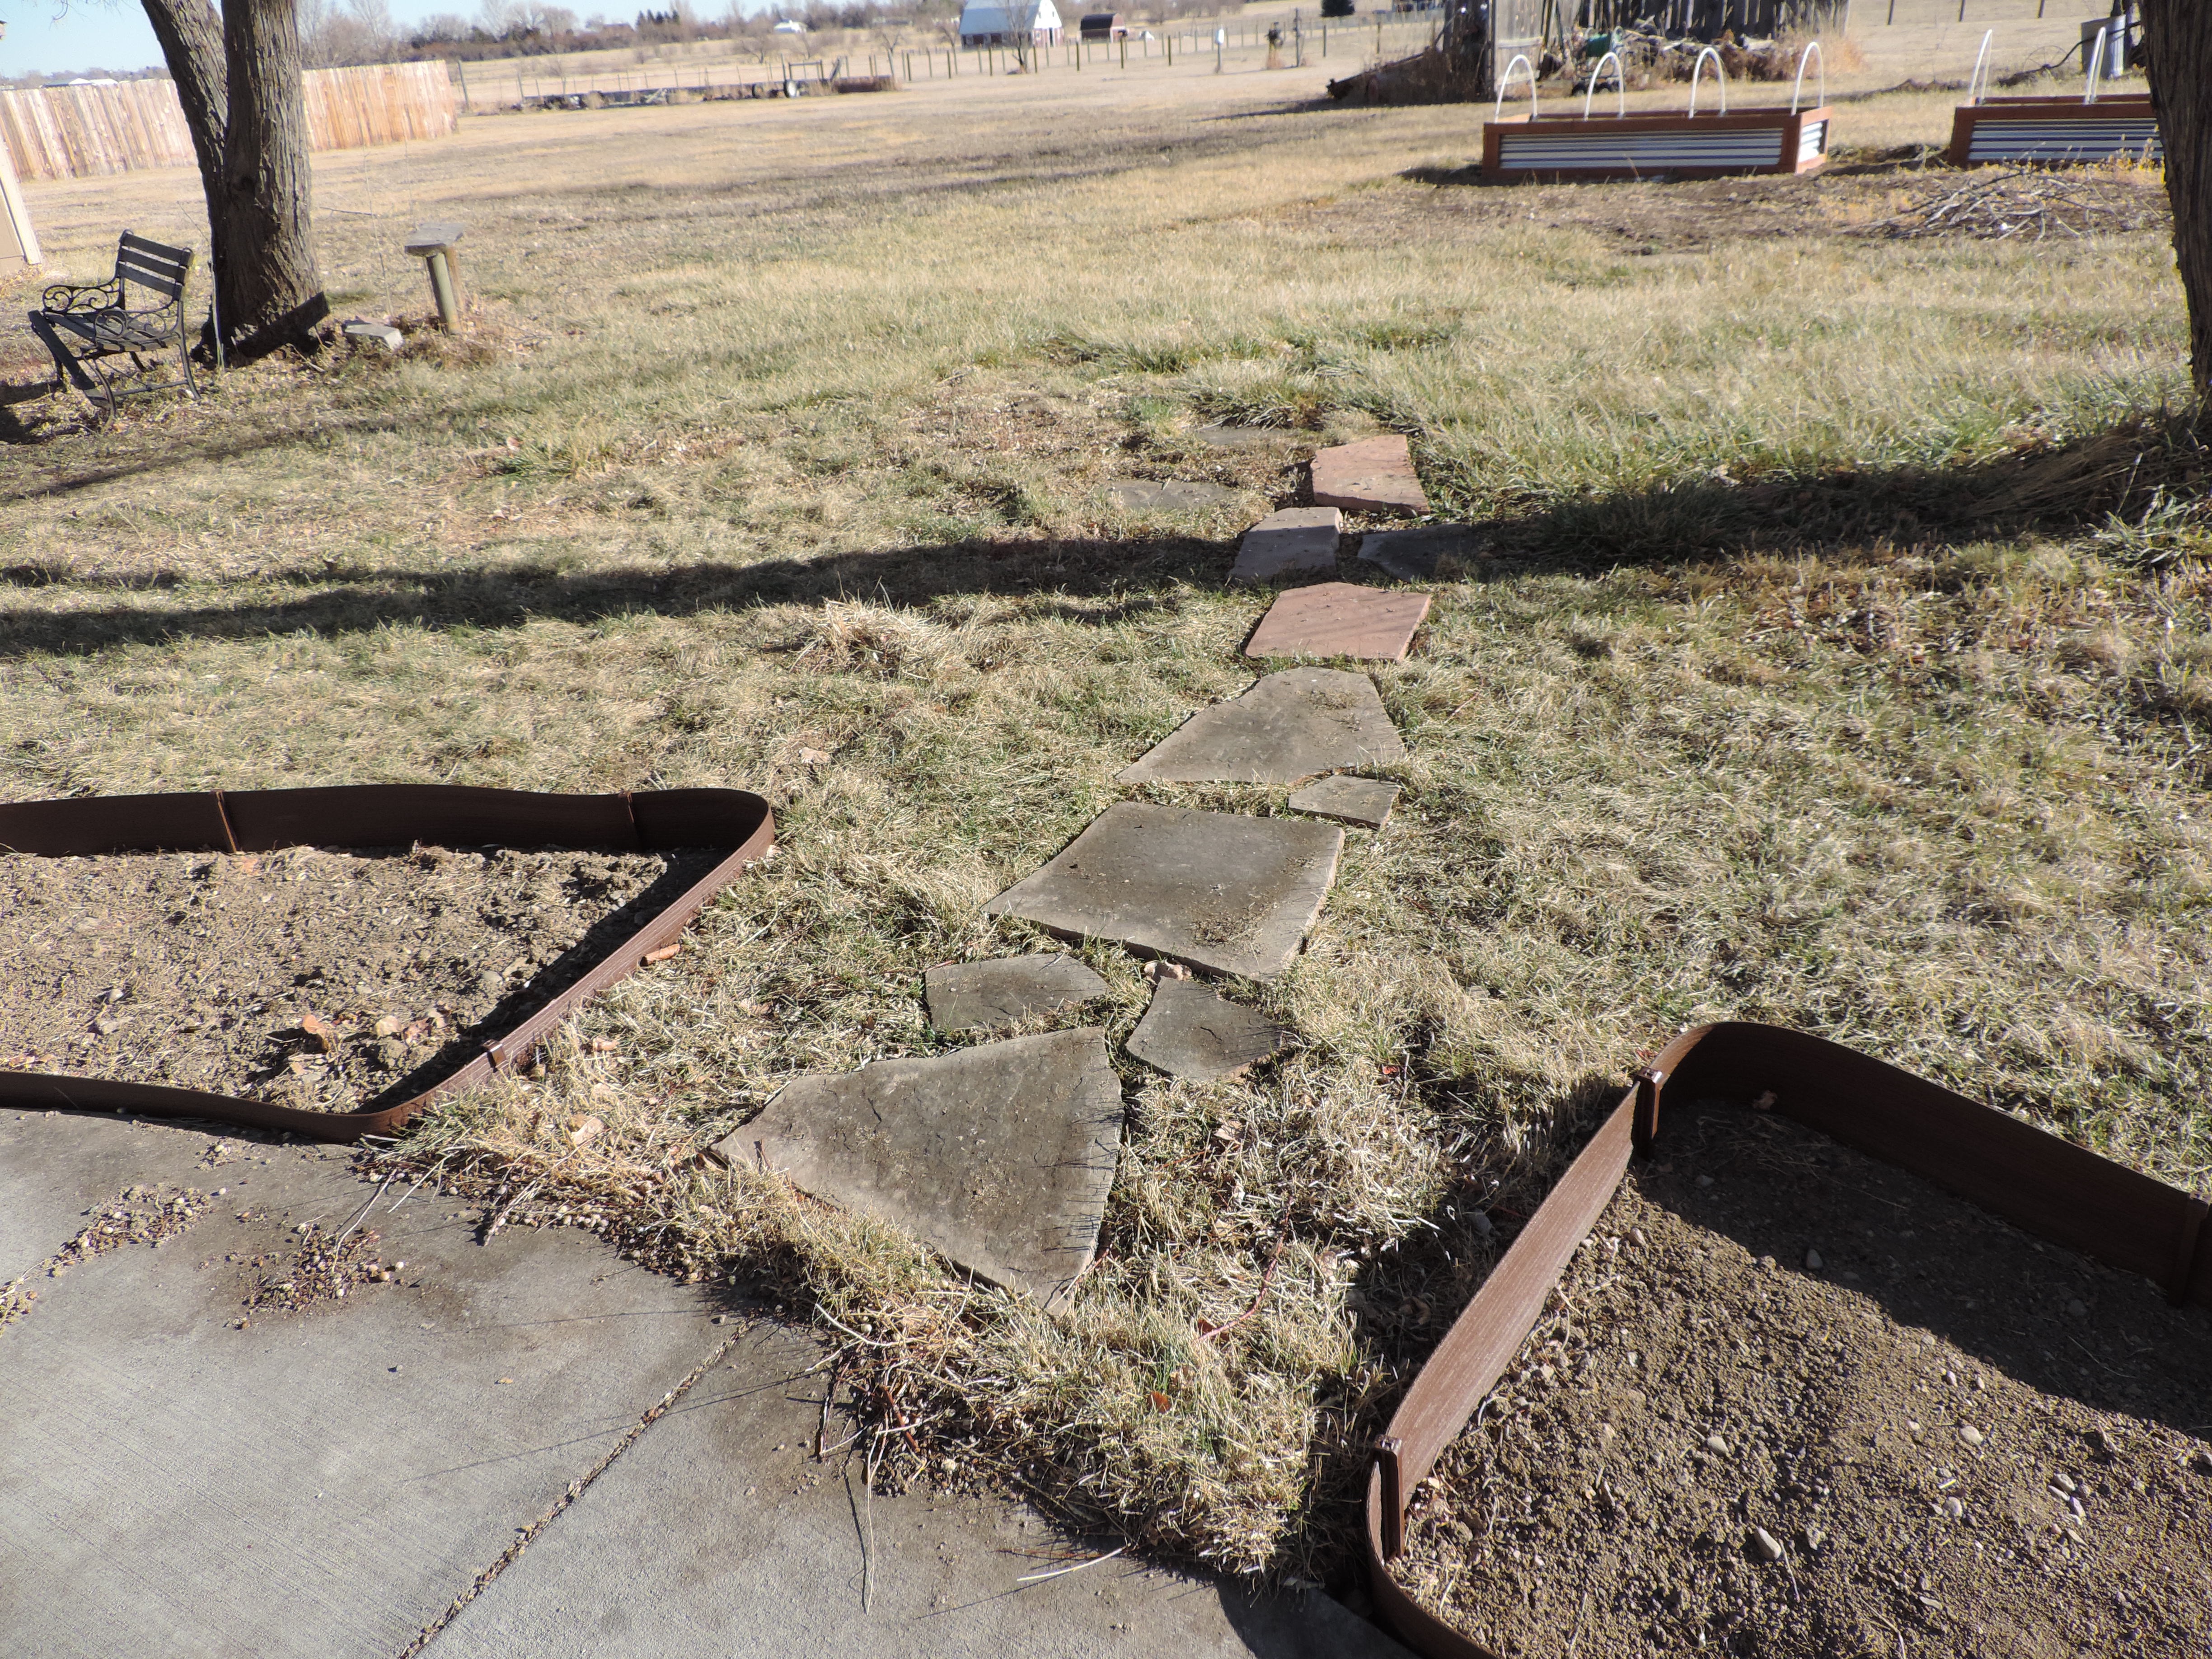
While we were at it we started resetting our stones for the path that goes out to the vegetable garden.
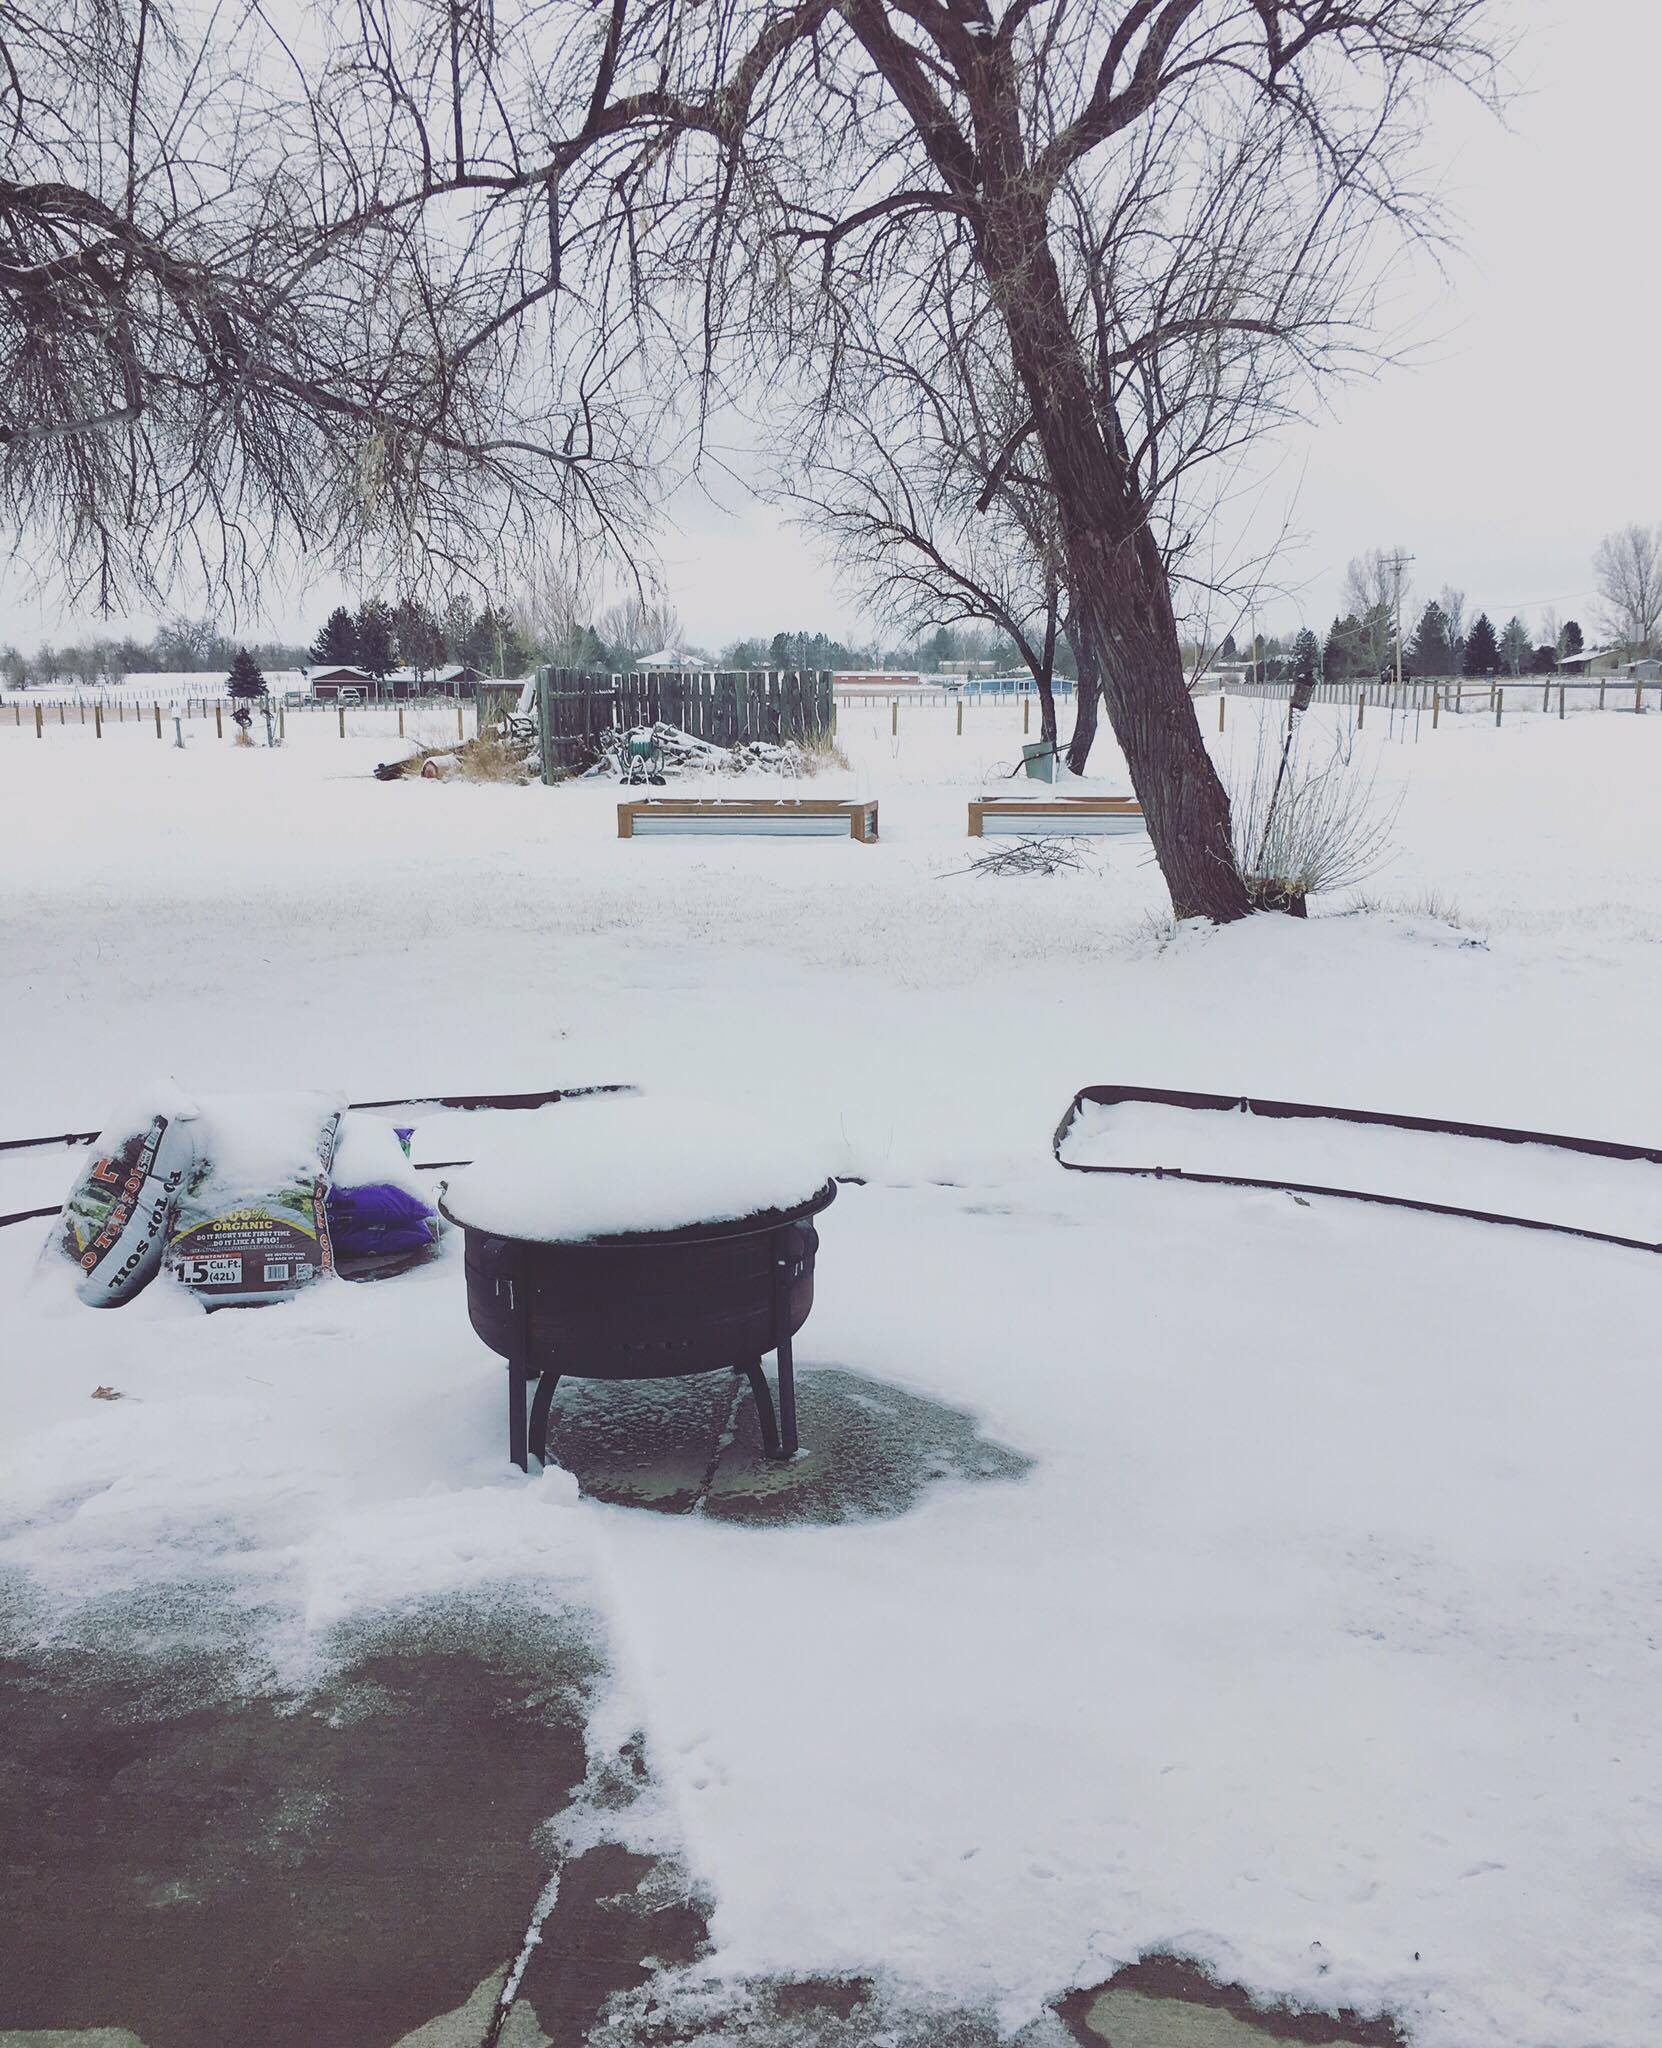
We had a brief couple days where Colorado remembered what month it was.
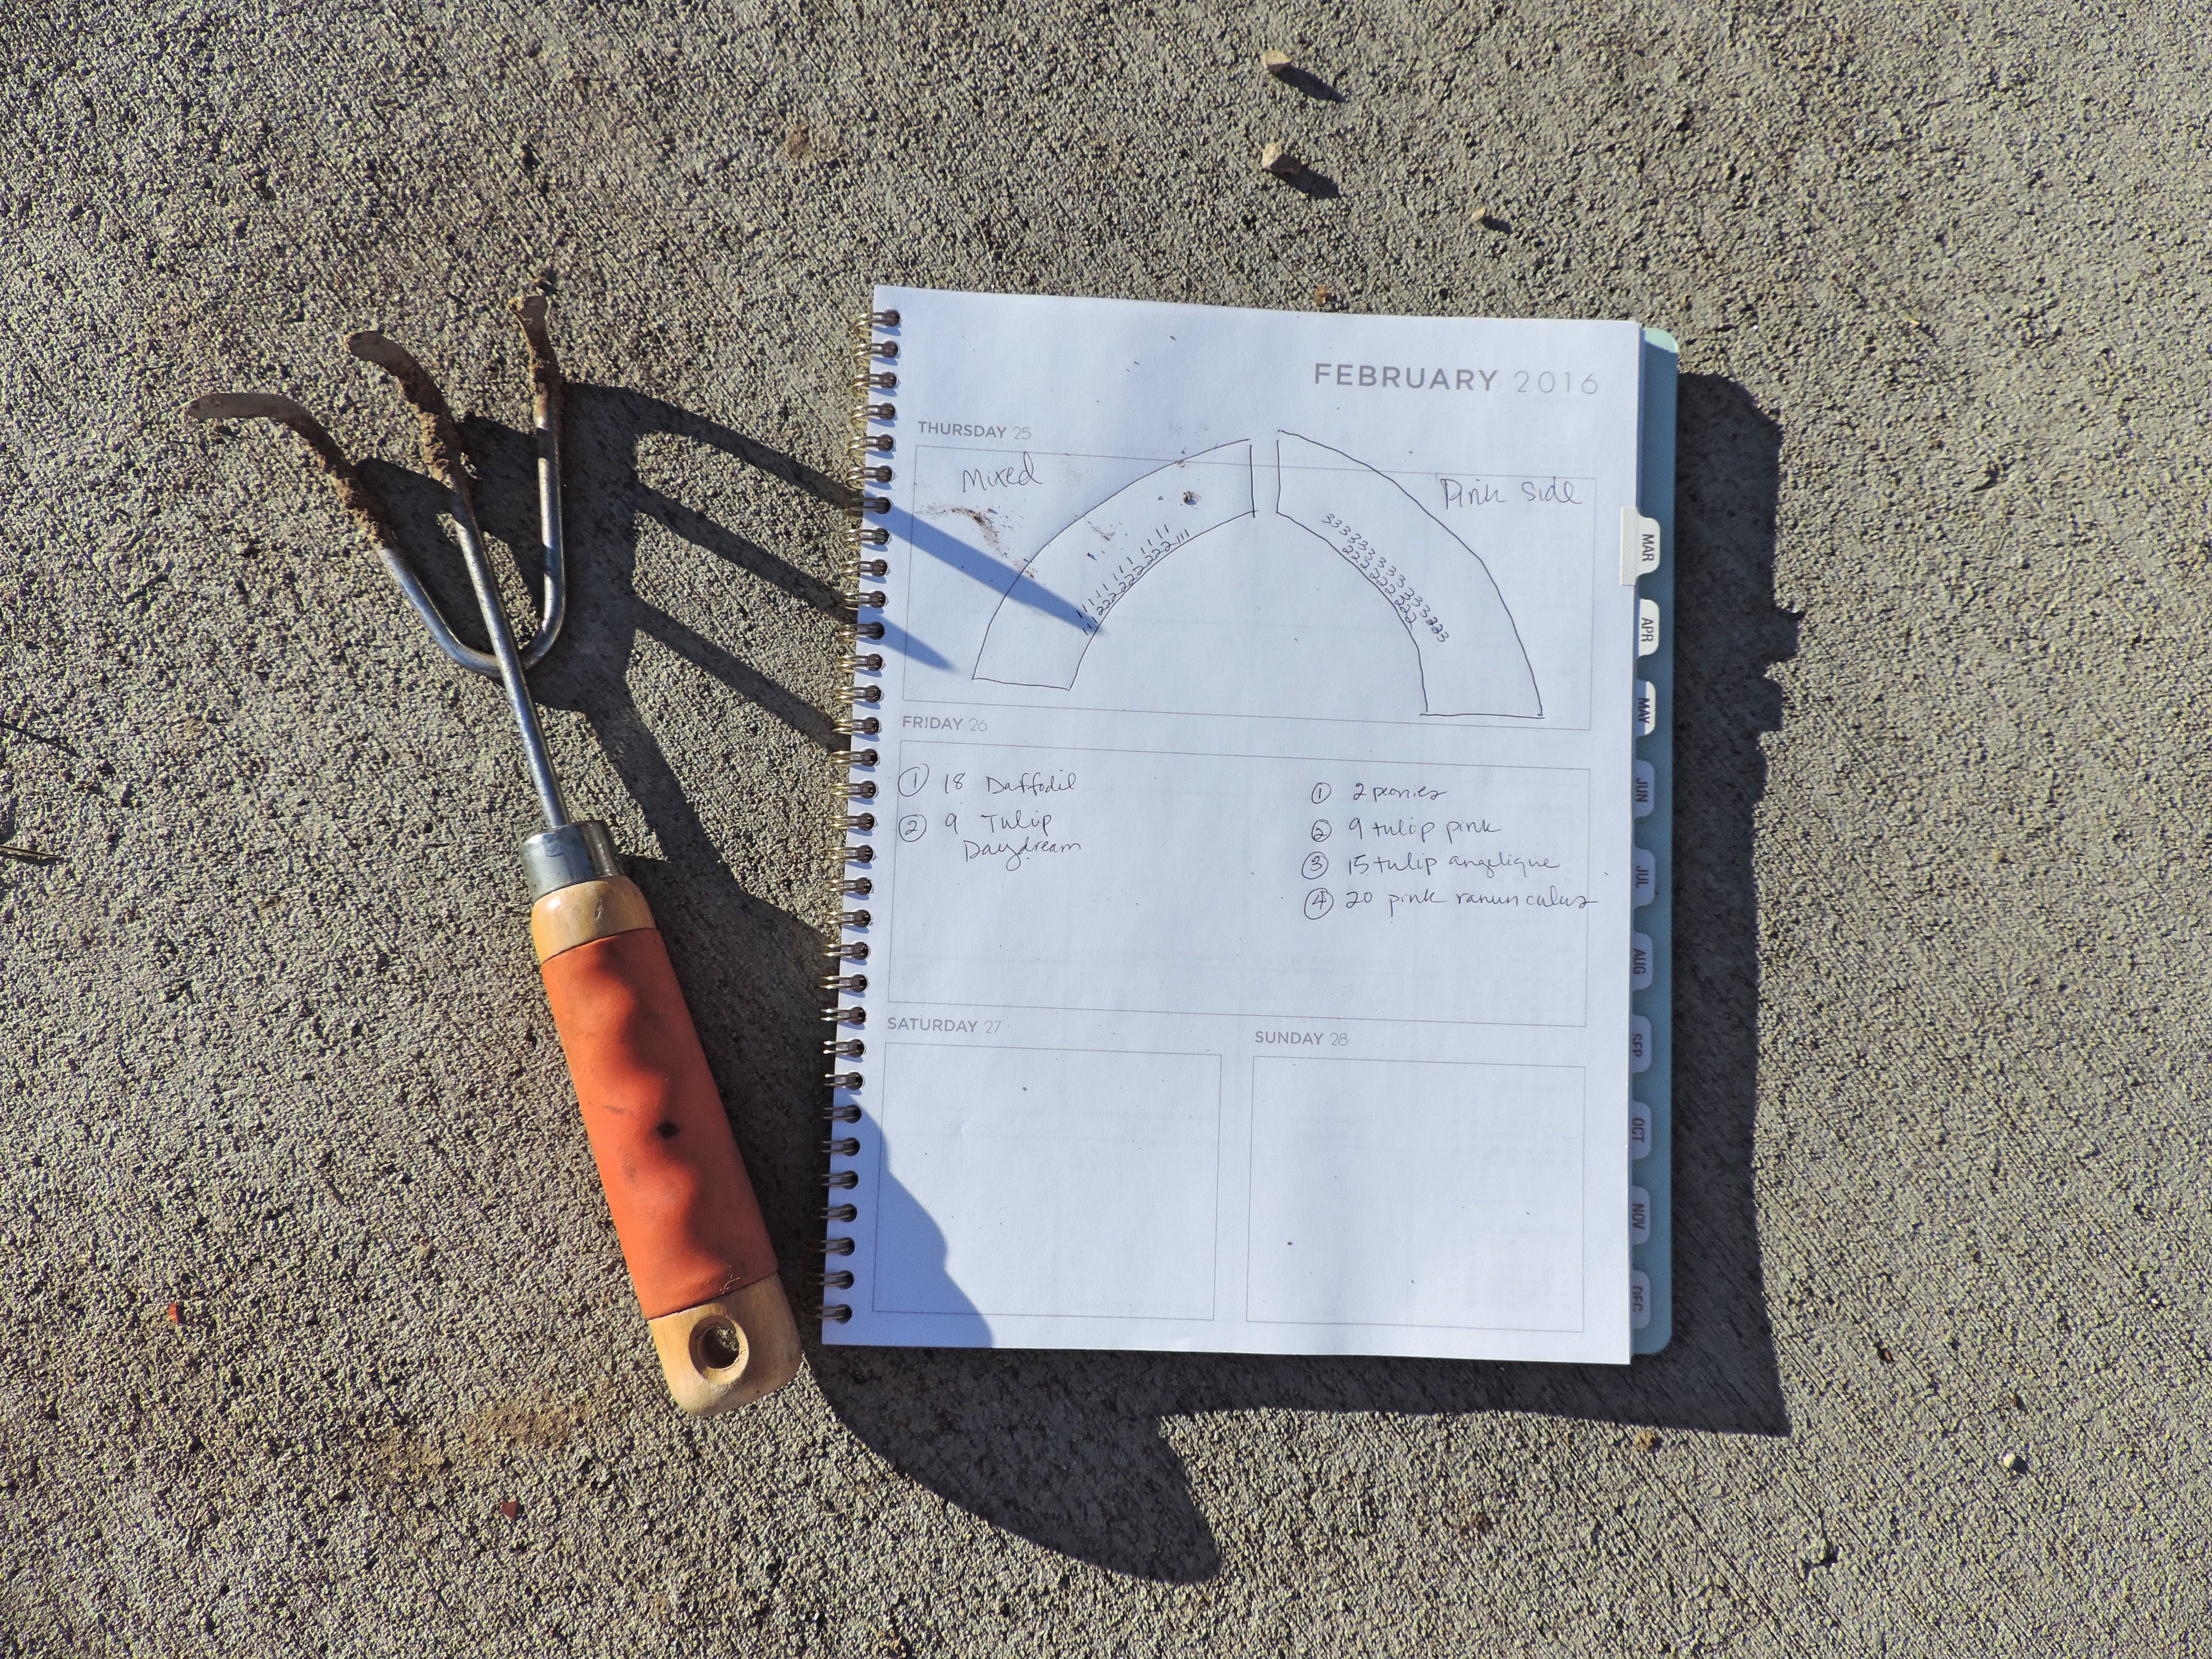
Finally the snow cleared up and we were back to nice weather. It was time to get my bulbs in the ground. I have a planner that I use for my garden. I have my different bulbs listed on a map of where I want to plant them. This will come in handy if I ever want to dig them back up to relocate them later. For my two flower beds, I am doing one in all pink flowers, and the other will be mixed colors.
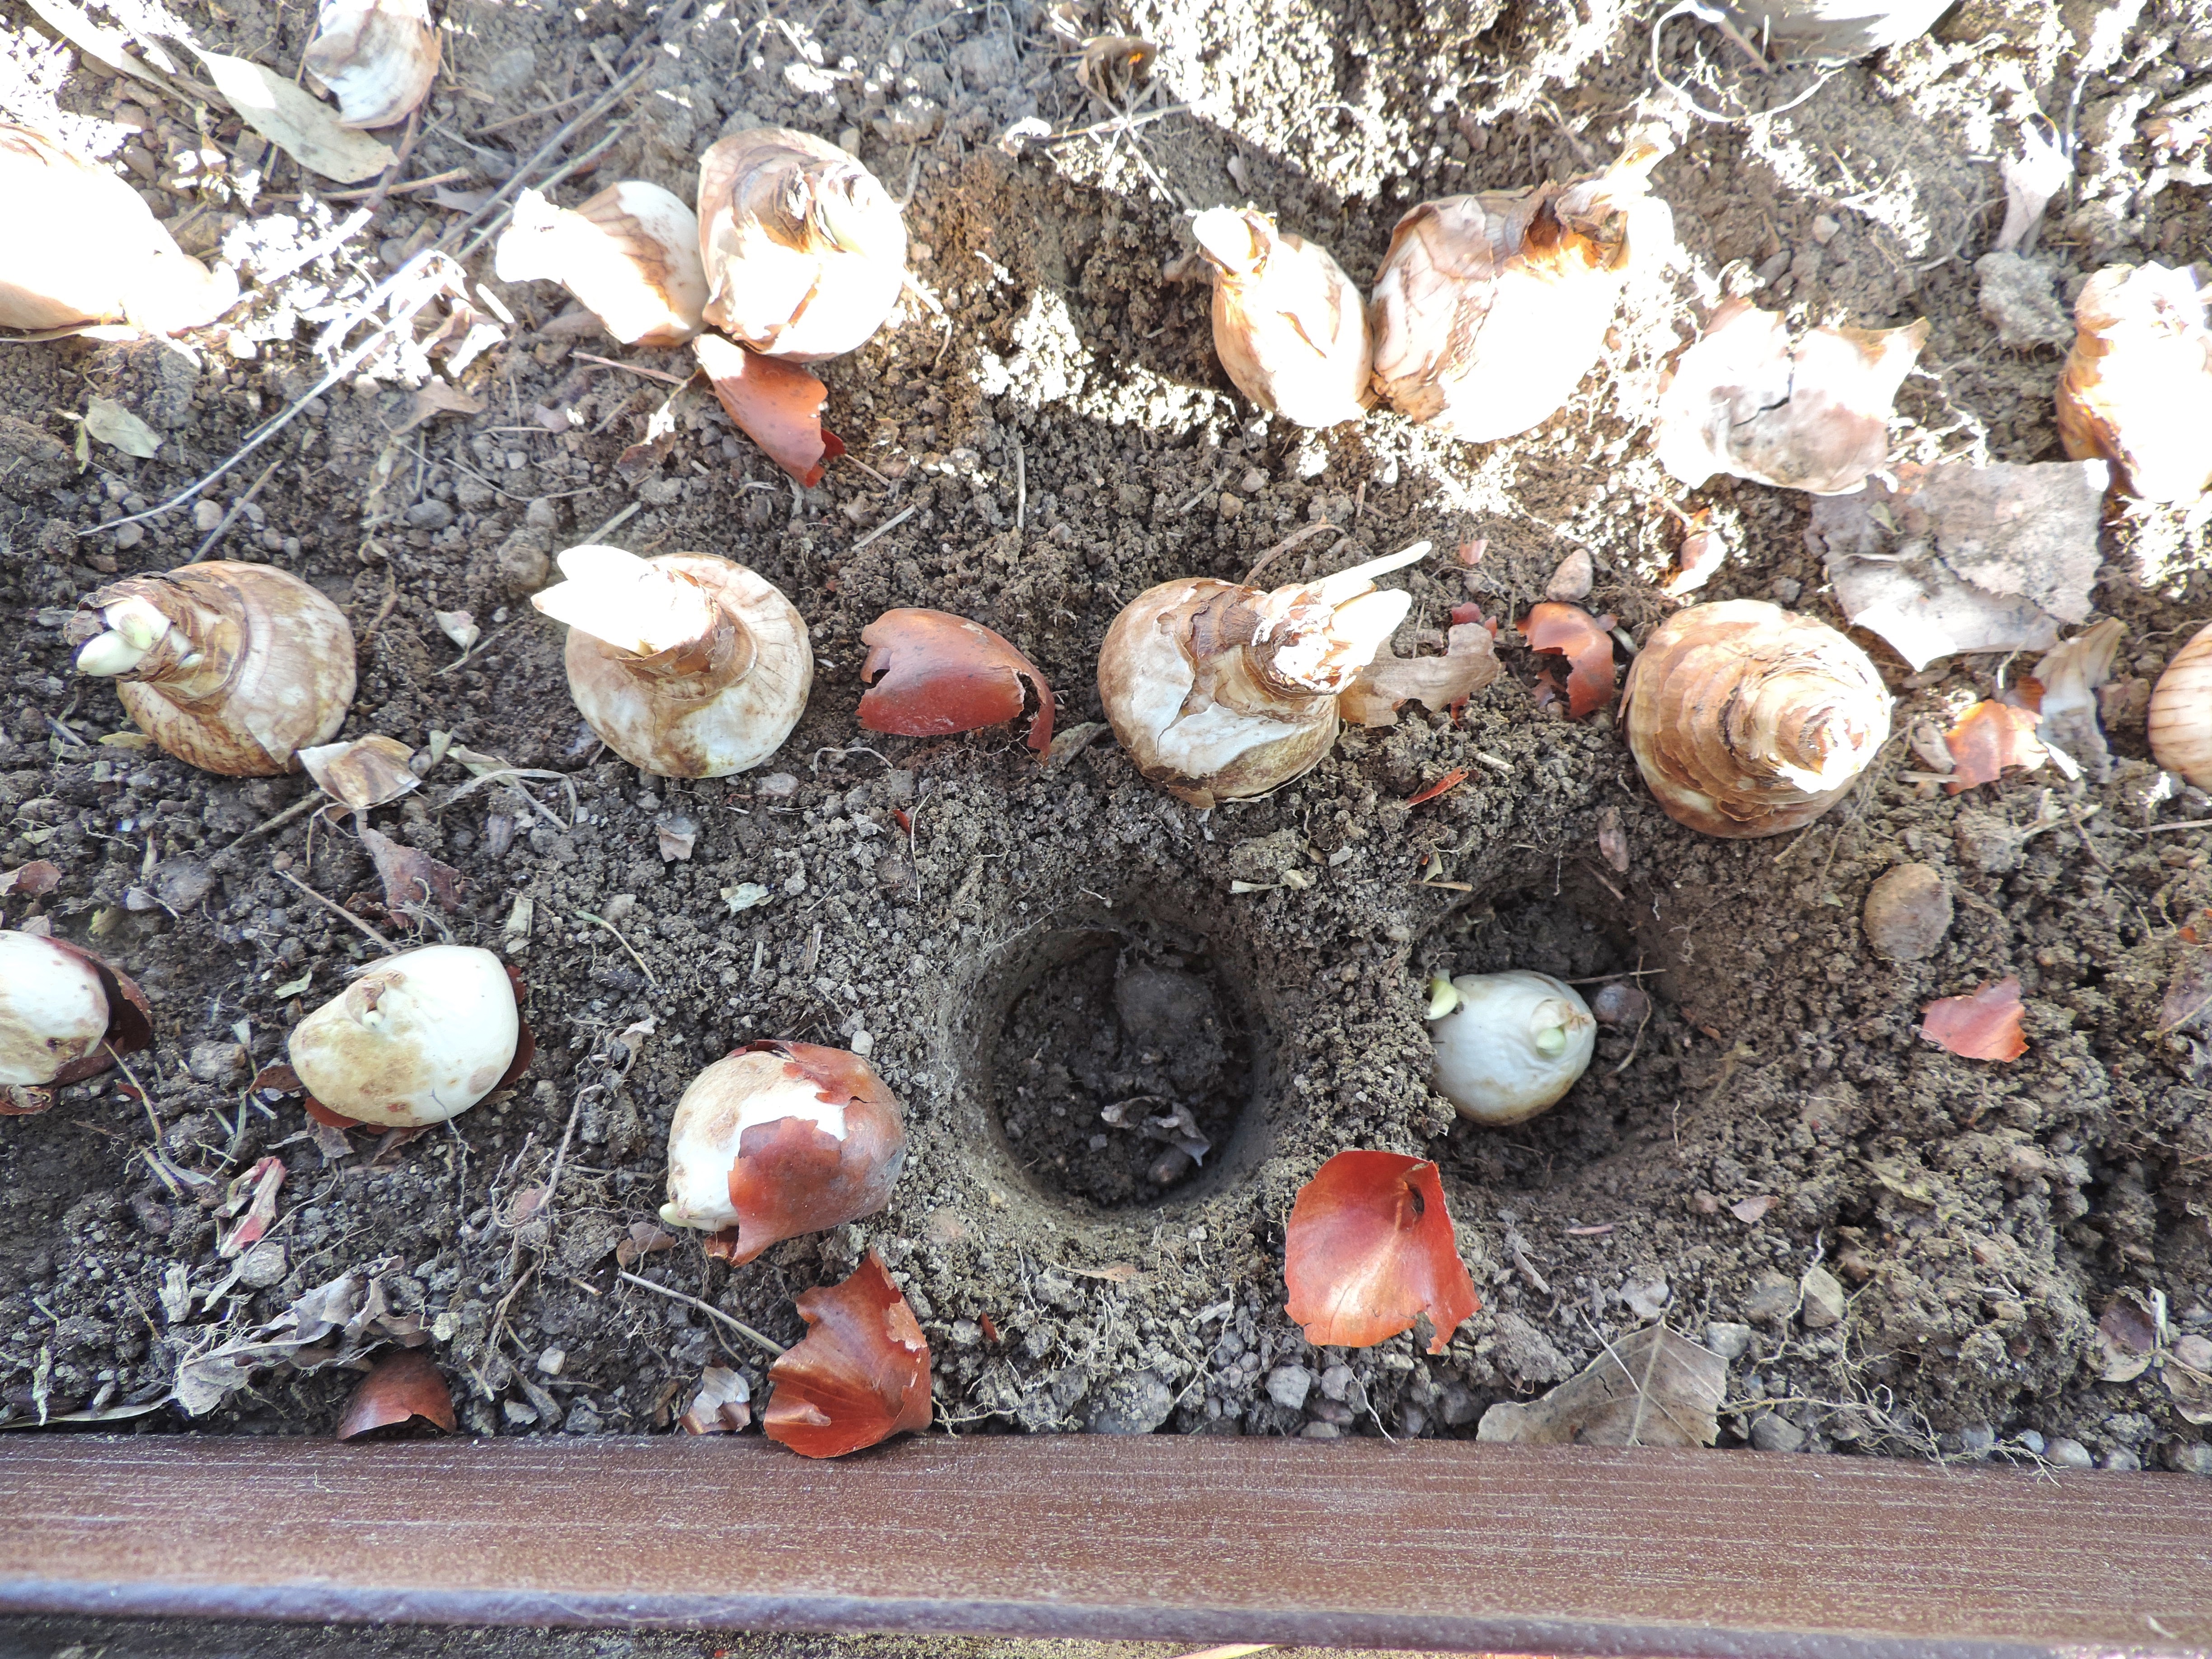
I laid out my bulbs according to my map and got to work digging holes!
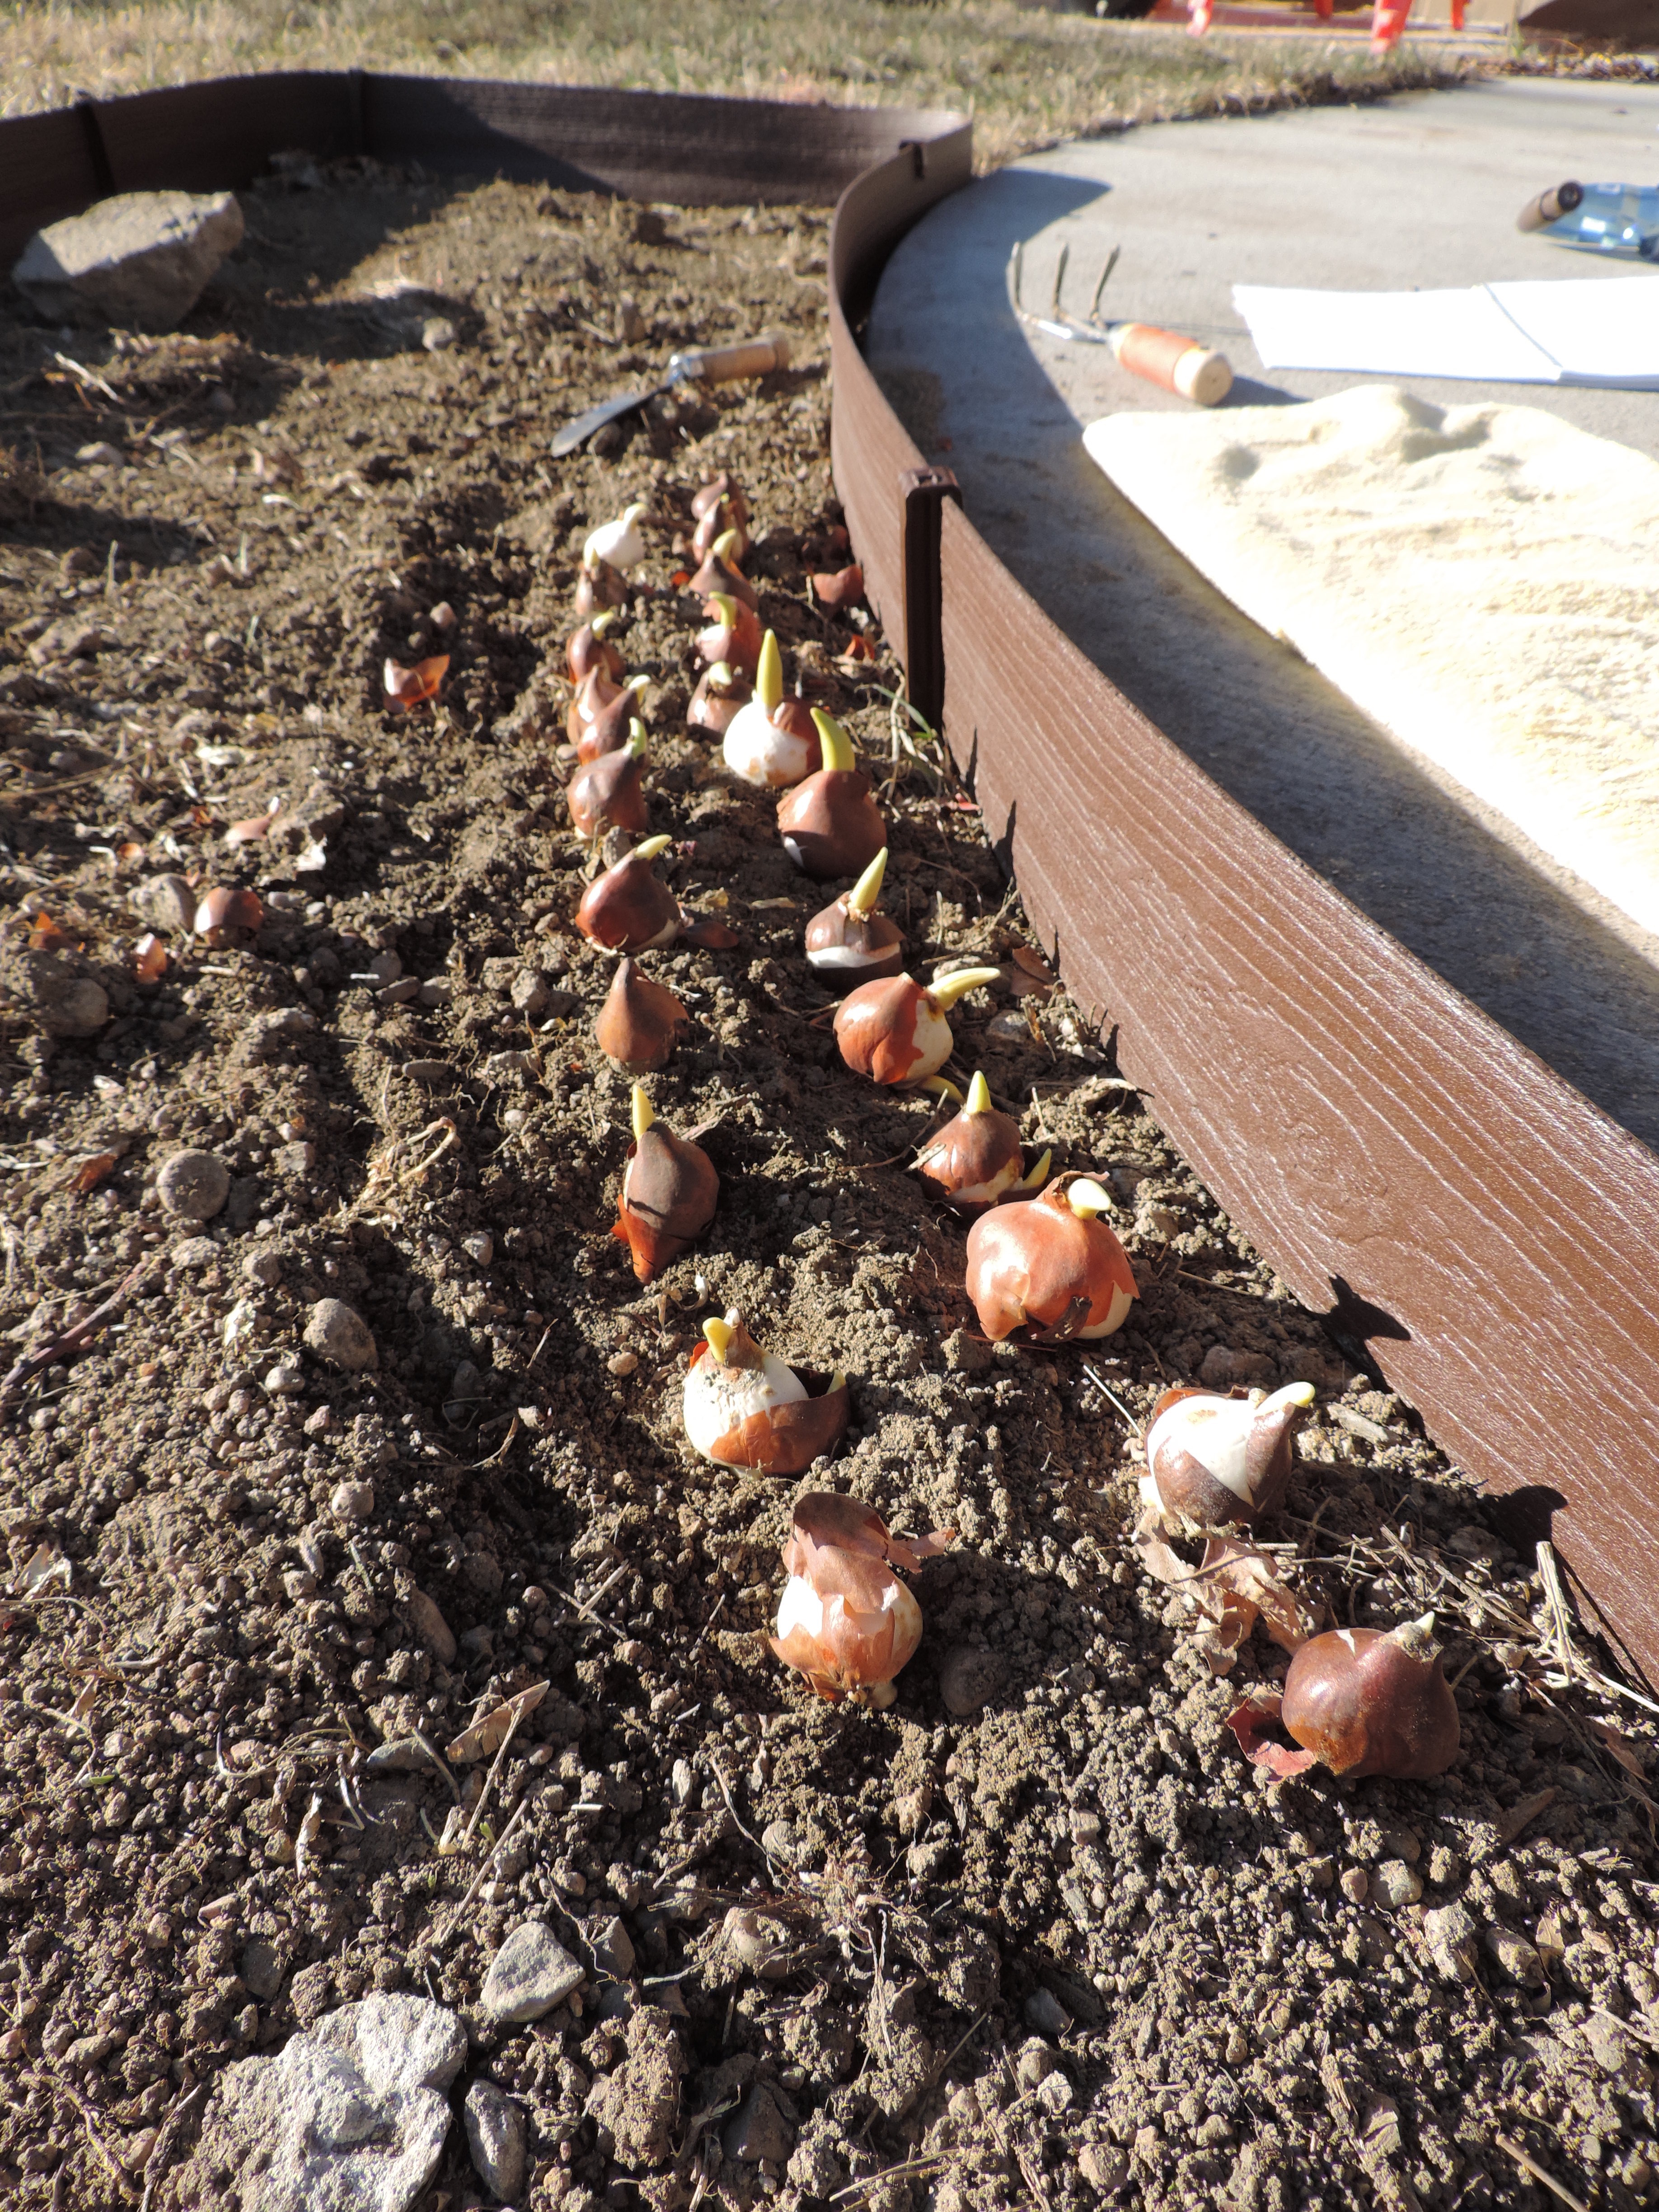
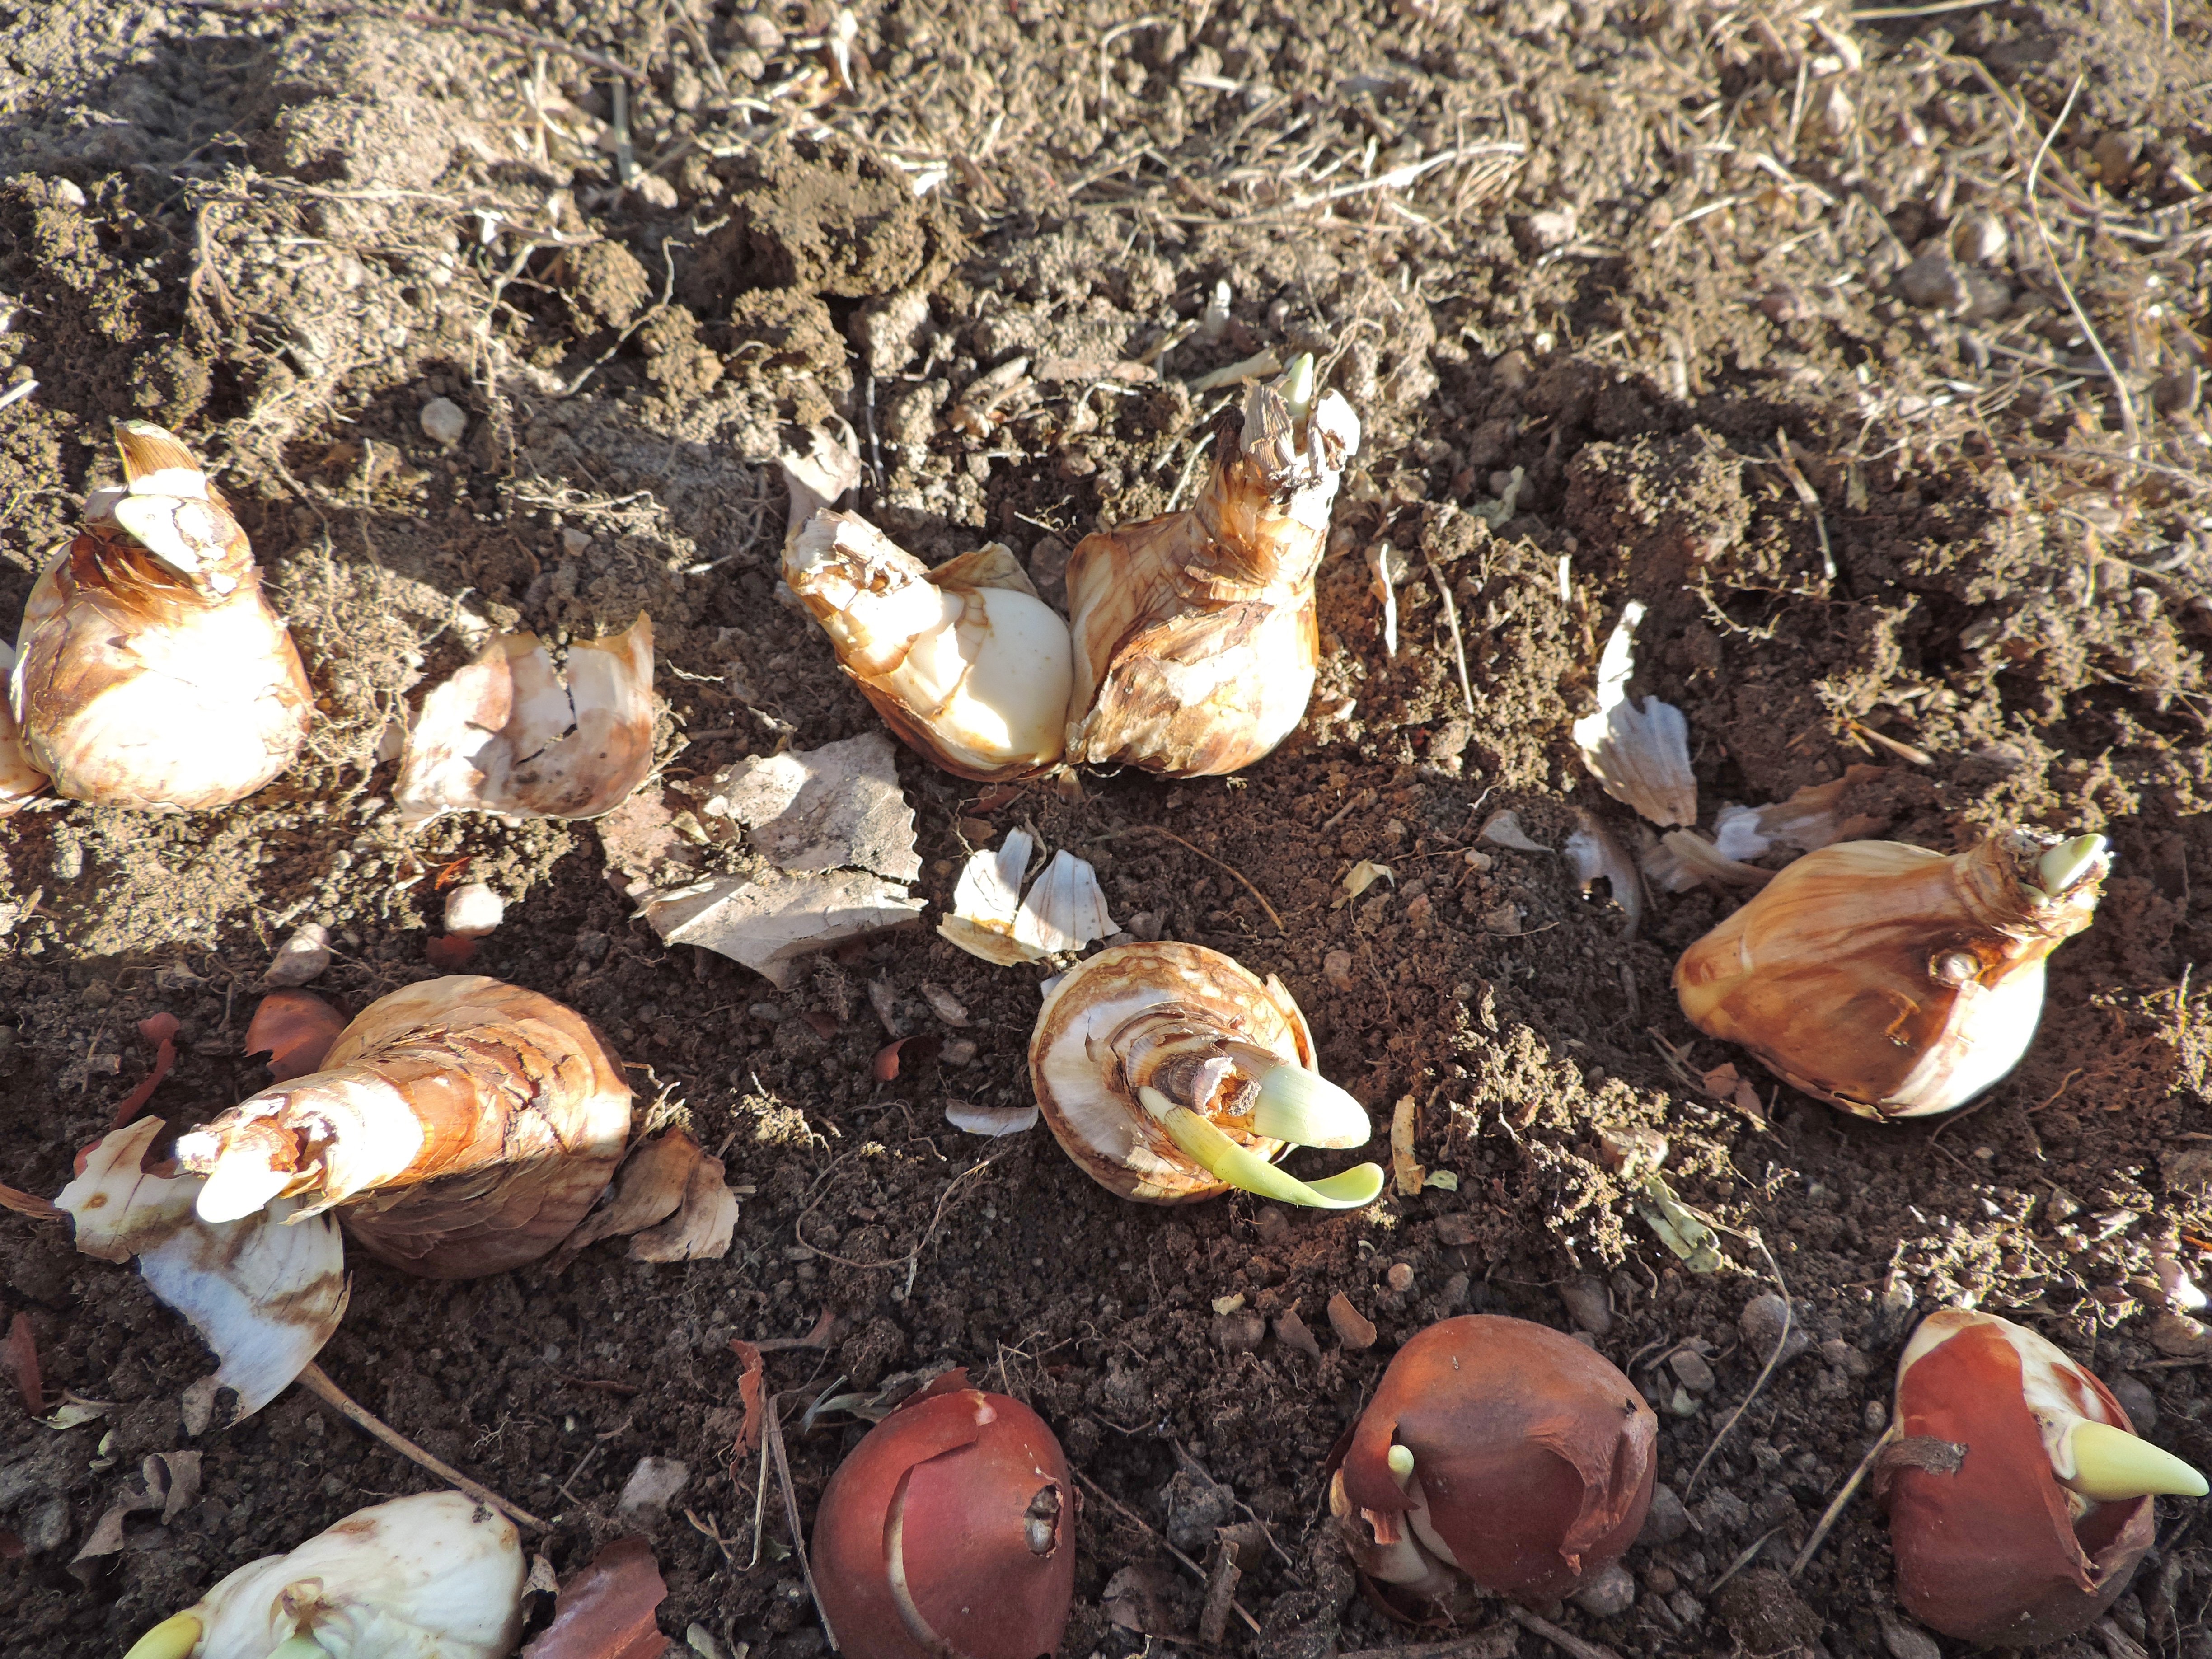
Most of these bulbs are really ready for spring! If they can start to sprout in a bag in my office, then surely I will have flowers before long!
I found this handy bulb planter to dig my holes. It was so easy to wiggle this in the ground to pull up a chunk of dirt. I do love a good gadget that makes things easier. It has measurements on the side and a handy release in the handle!
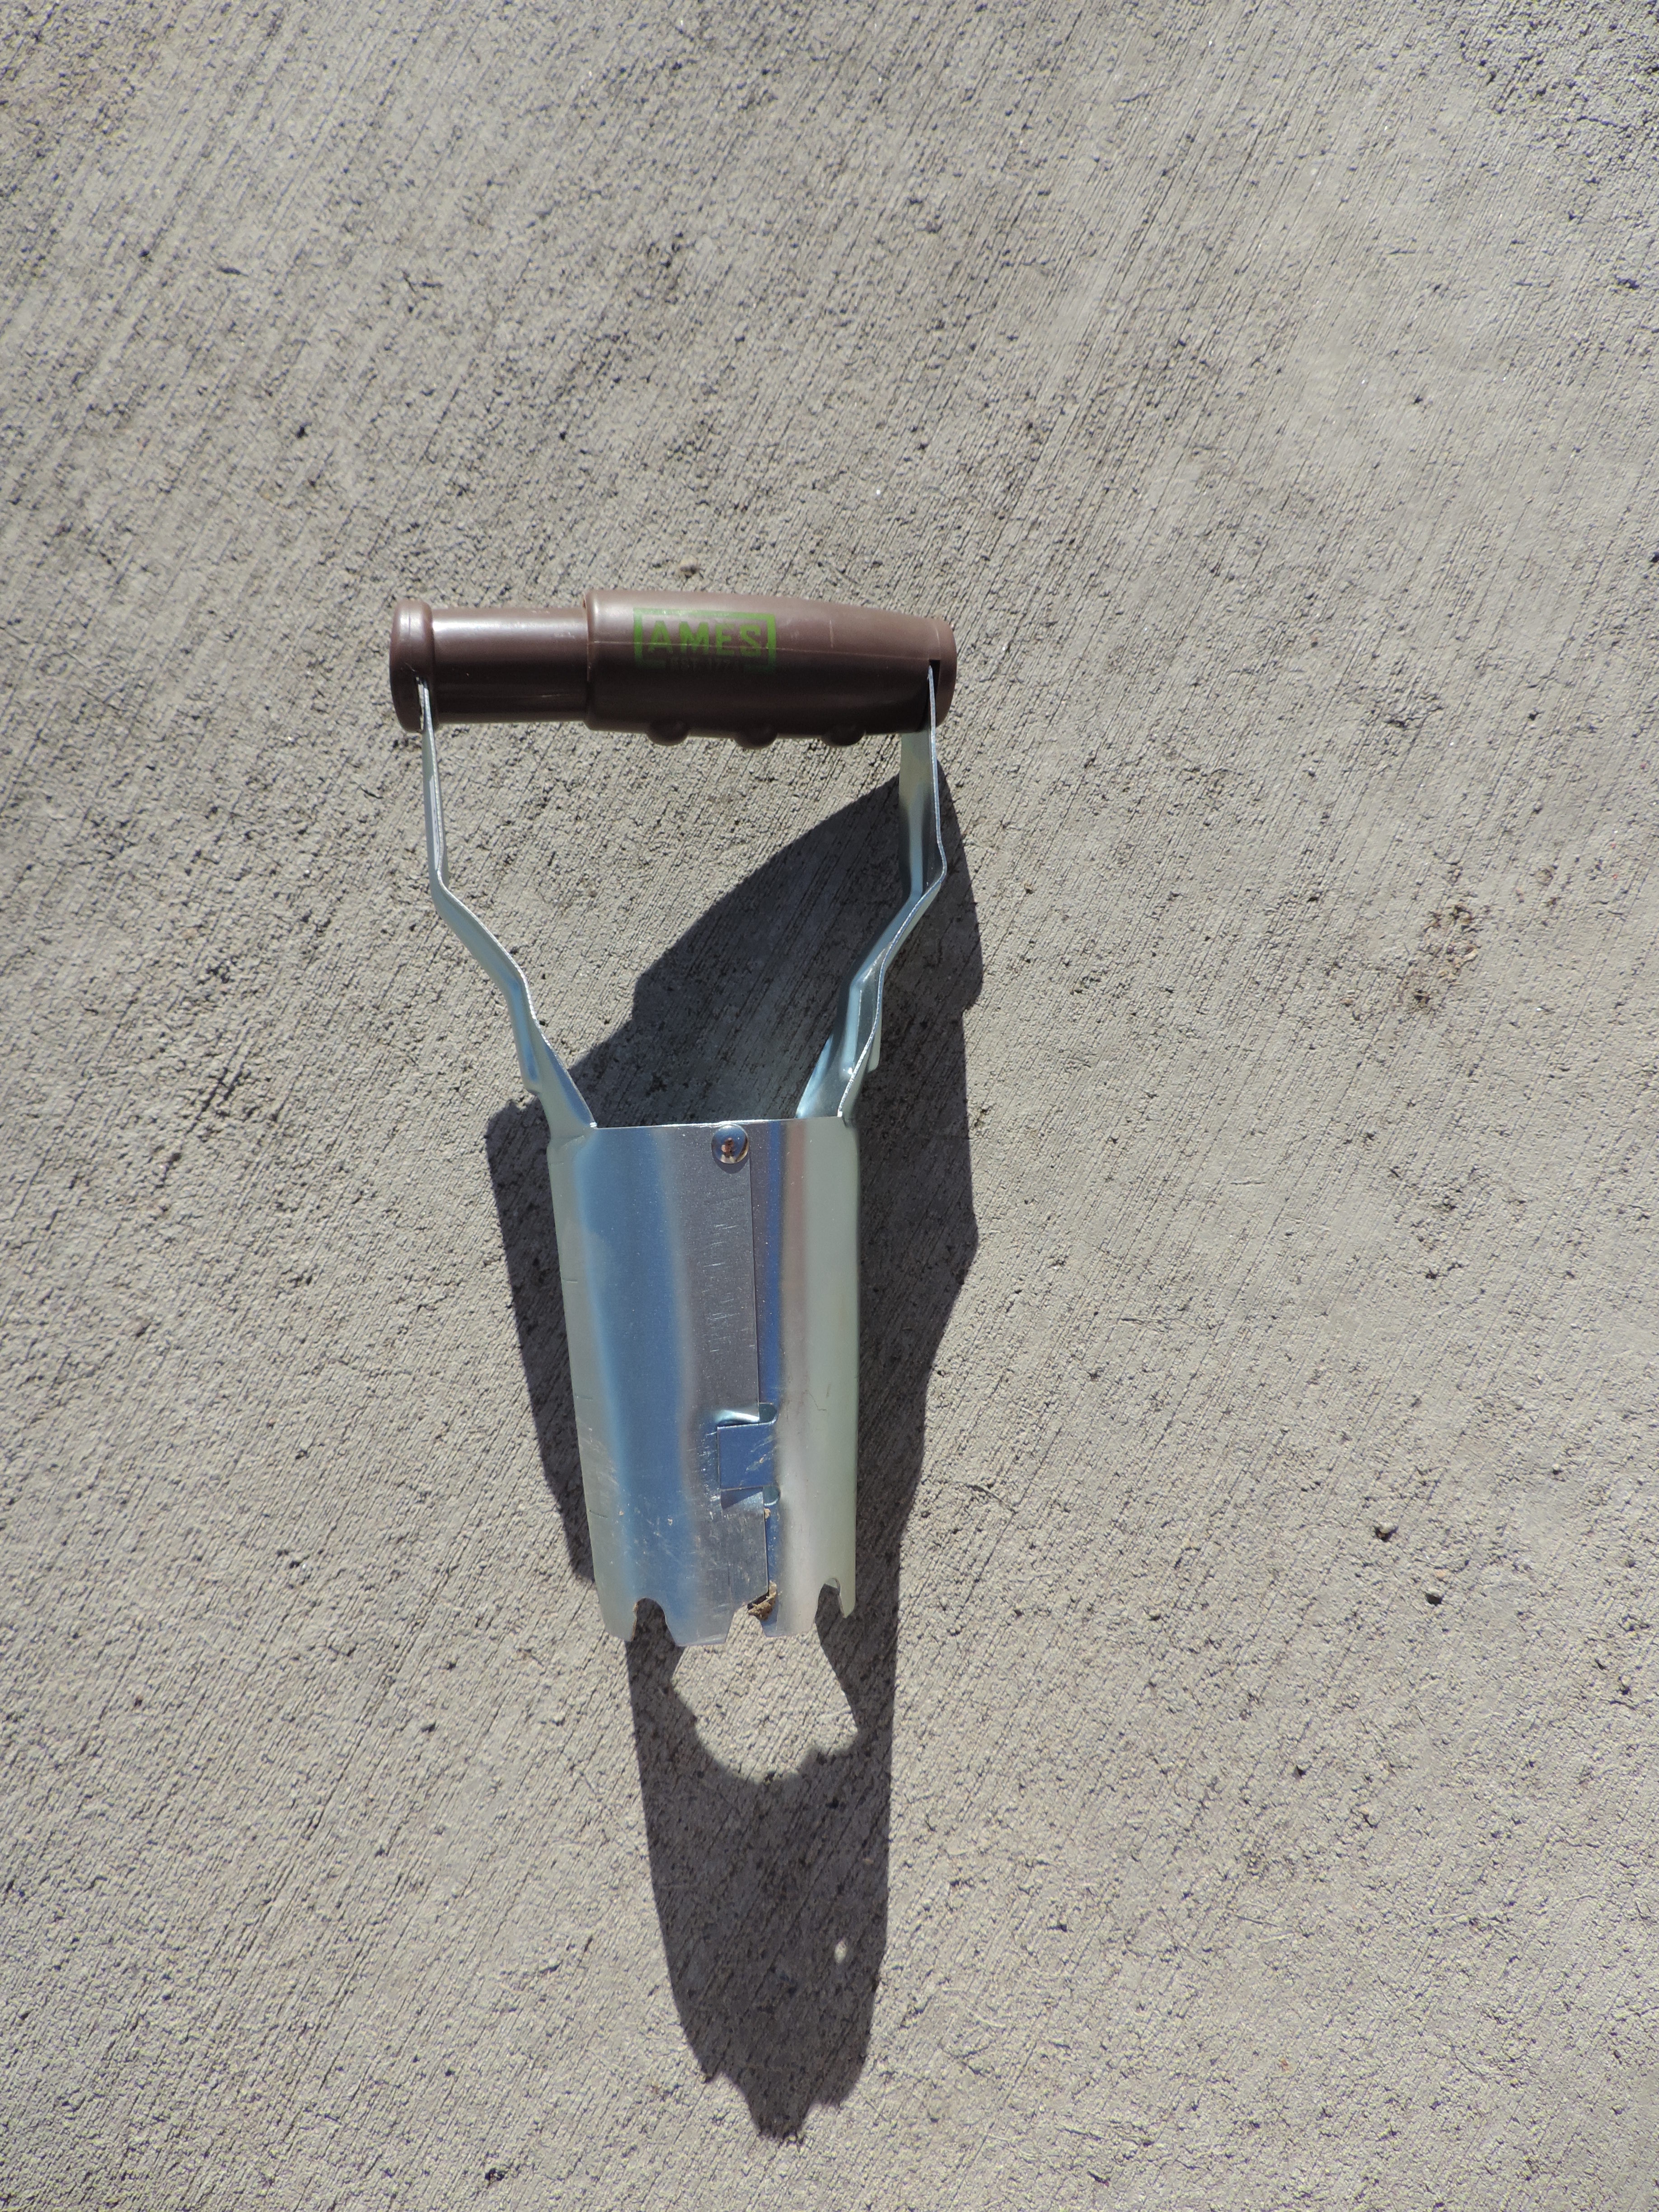
You just twist a bit to push it down into the dirt. As I pulled up one chunk of dirt, I used that to cover up the previous hole that I had filled with a bulb.
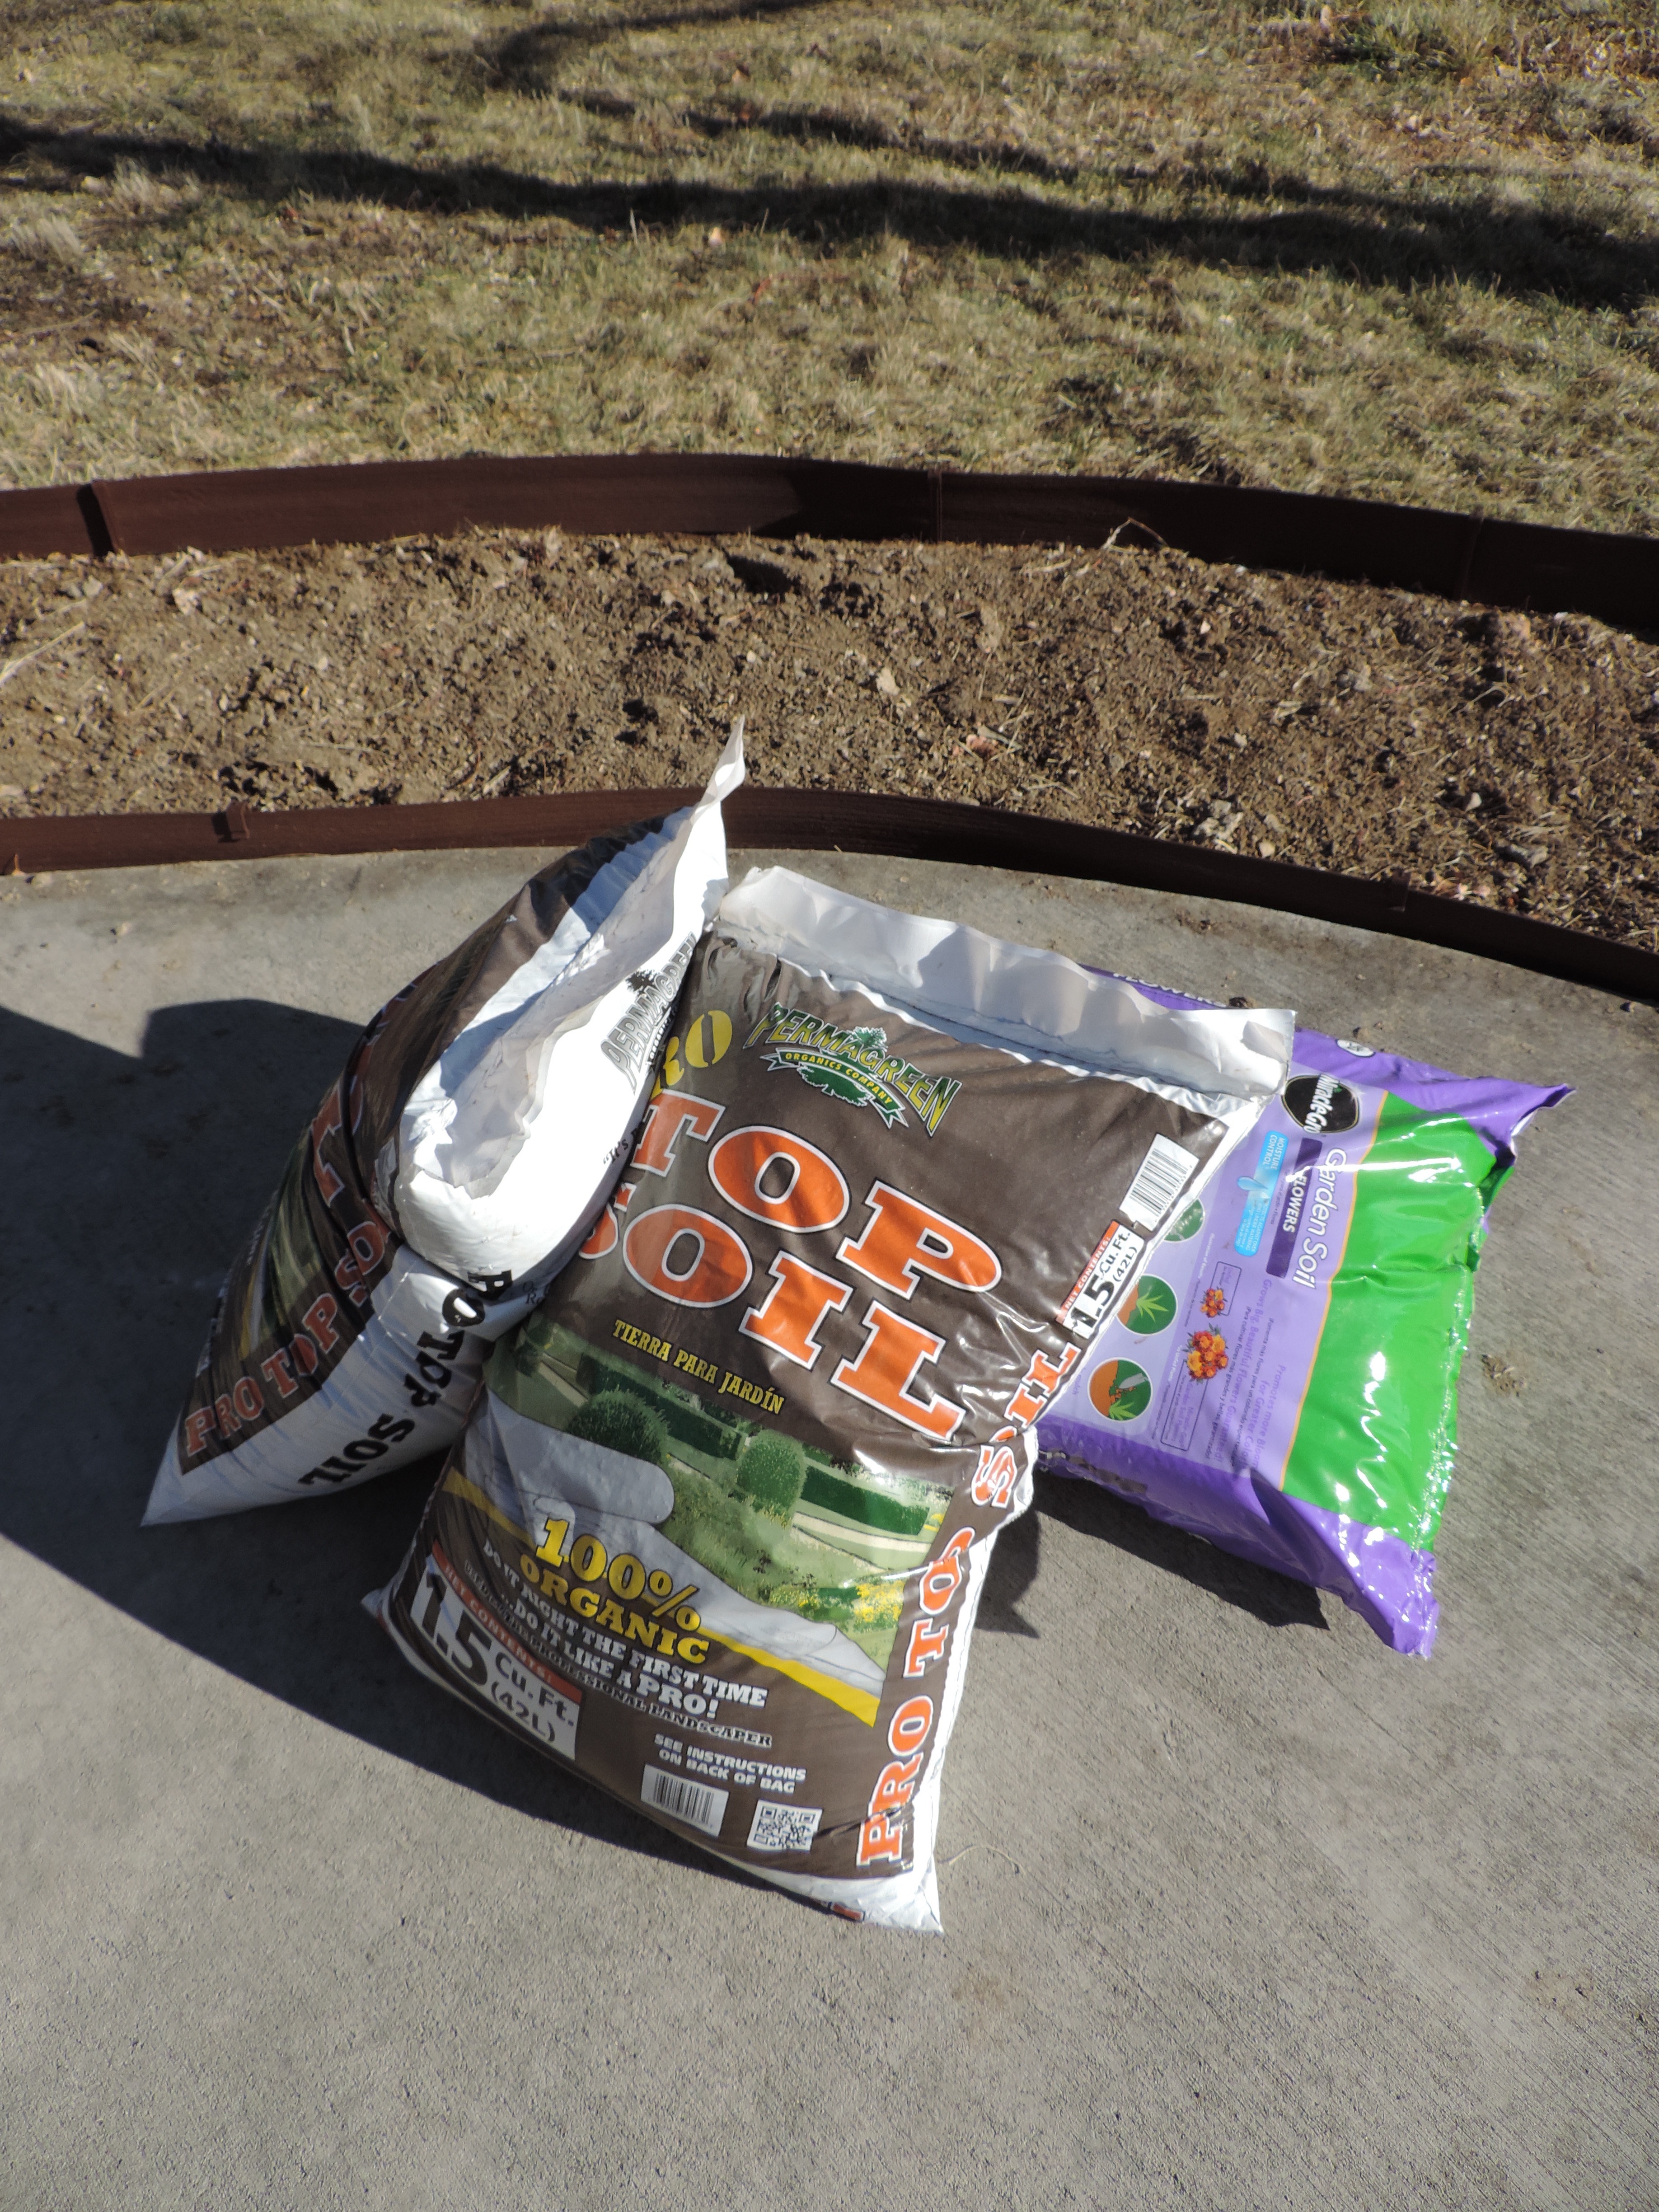
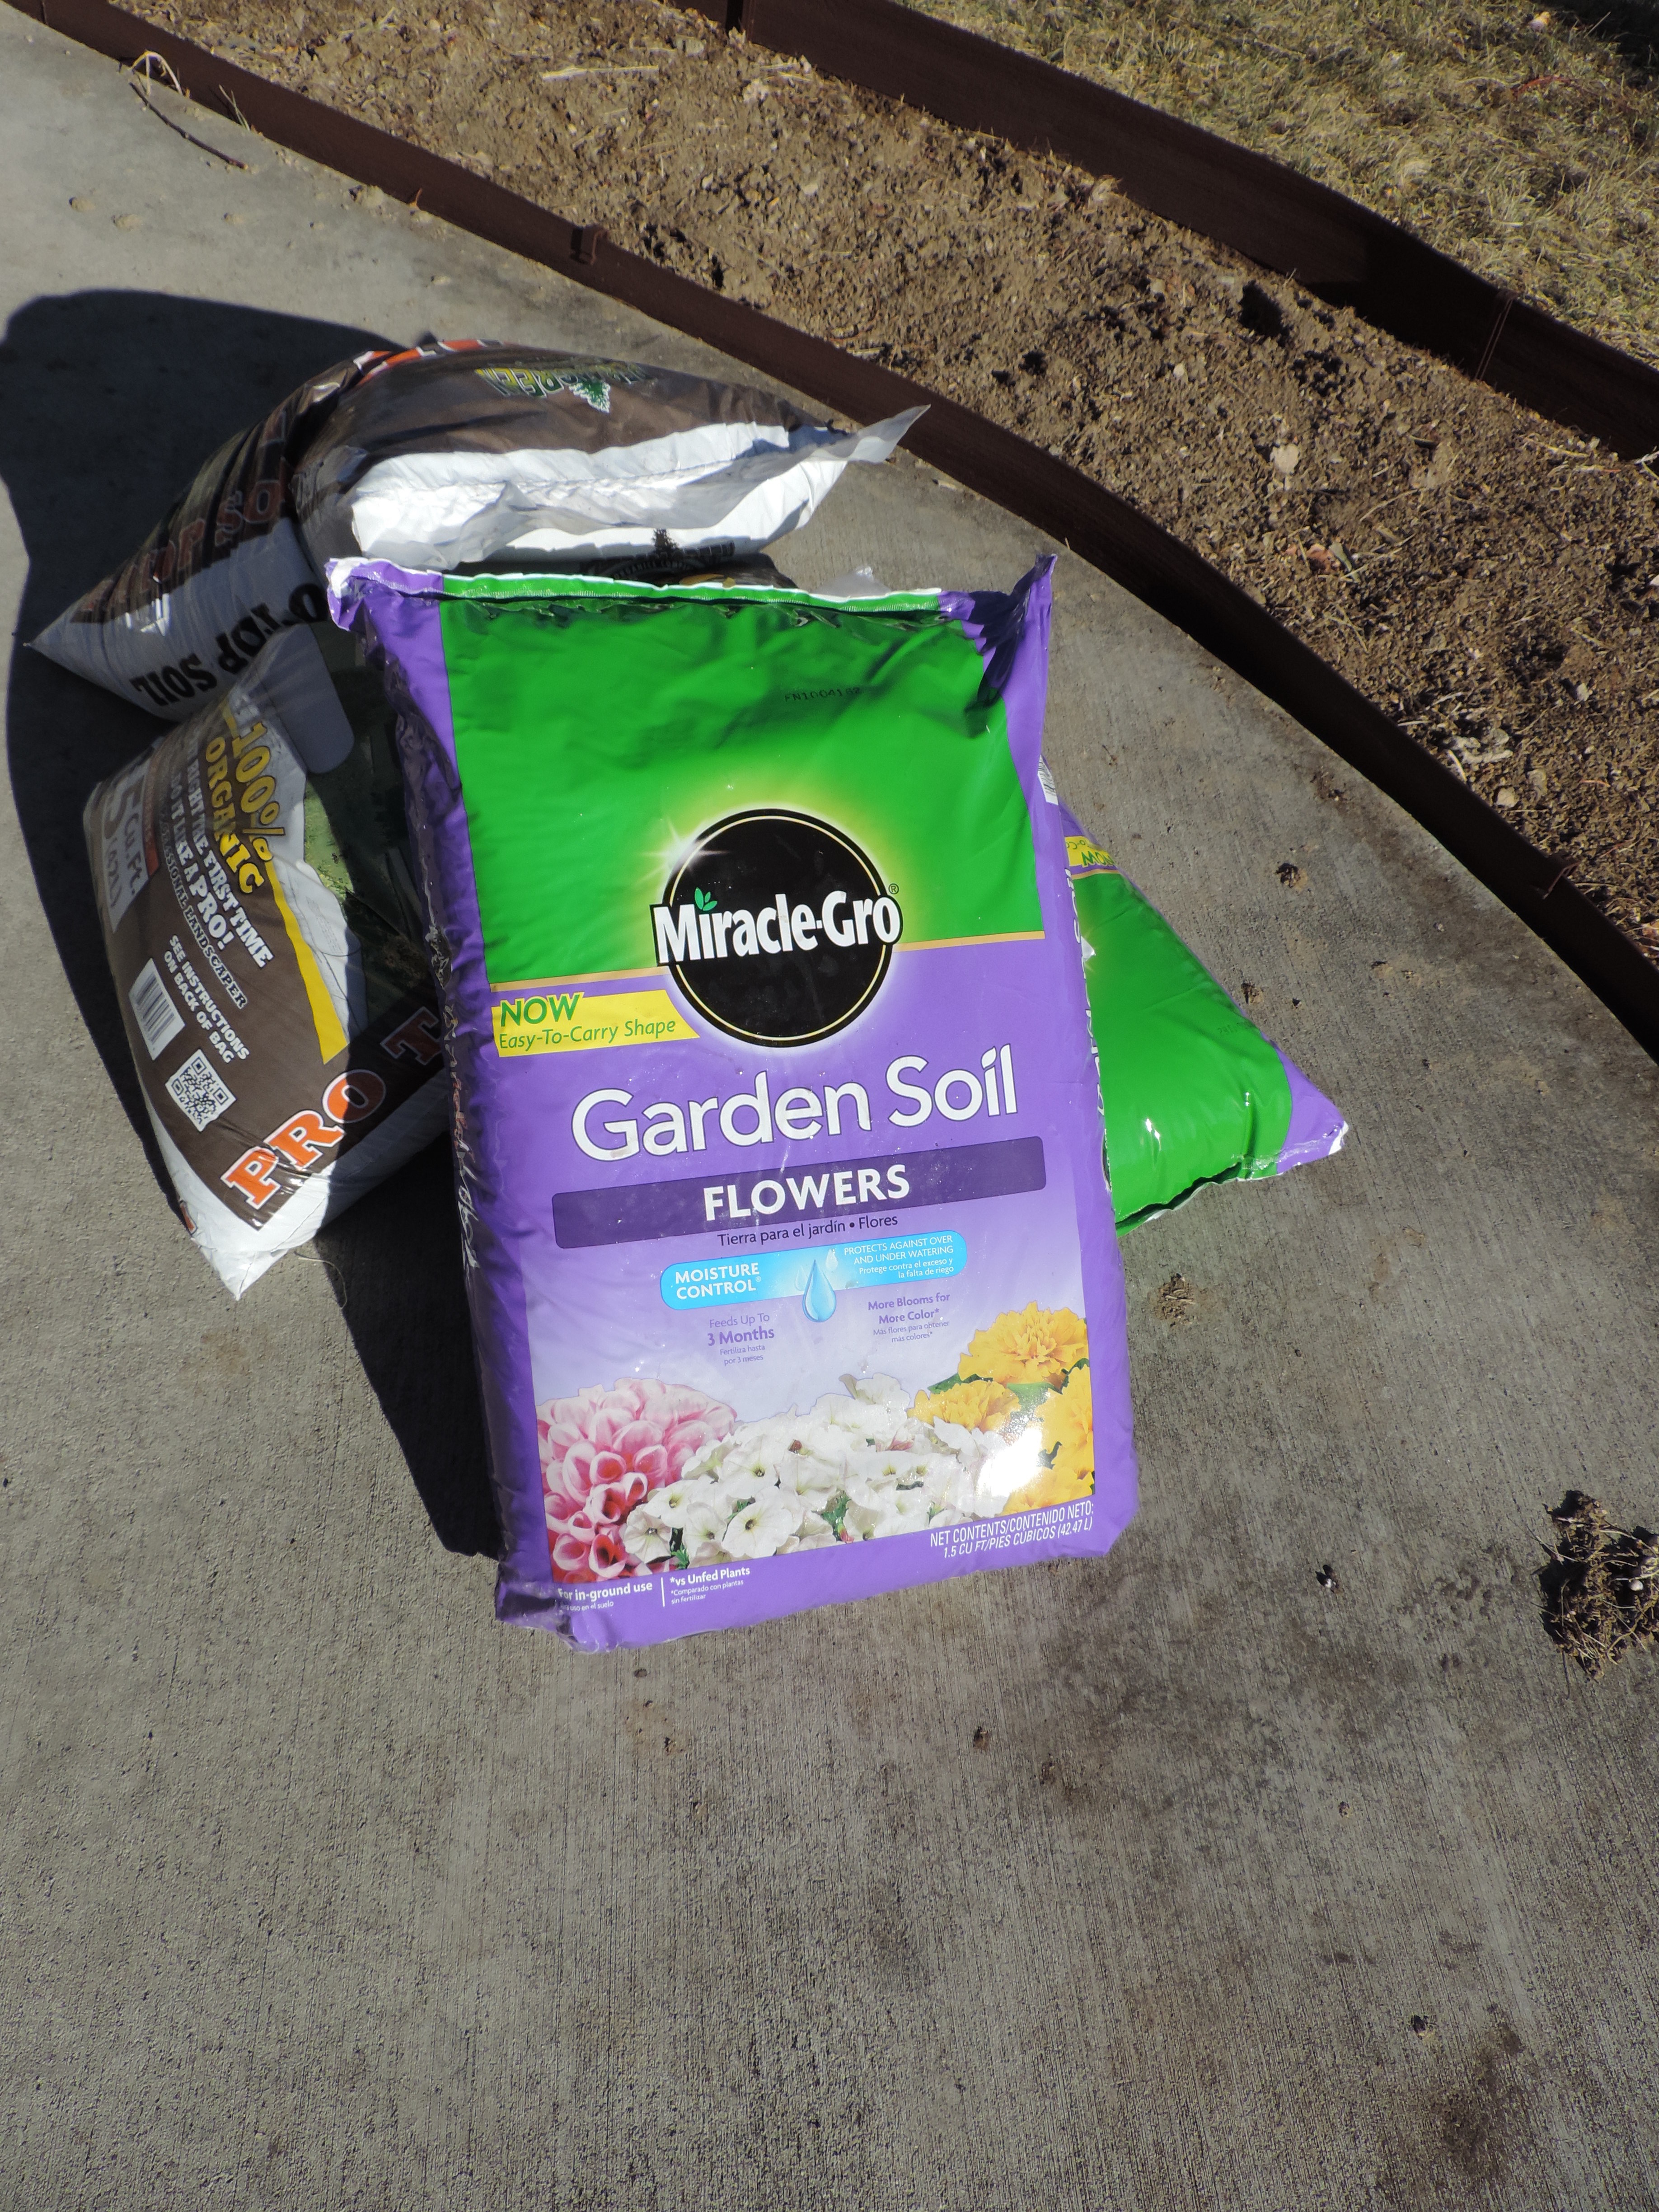
Once I got everything in the ground I covered each bed with a layer of Miracle-Gro Garden Soil for Flowers and a layer of Permagreen Pro Topsoil. I used one bag of each on each flower bed. We have good soil where I live so I only used a thin layer. Later we’ll cover the whole thing with mulch.
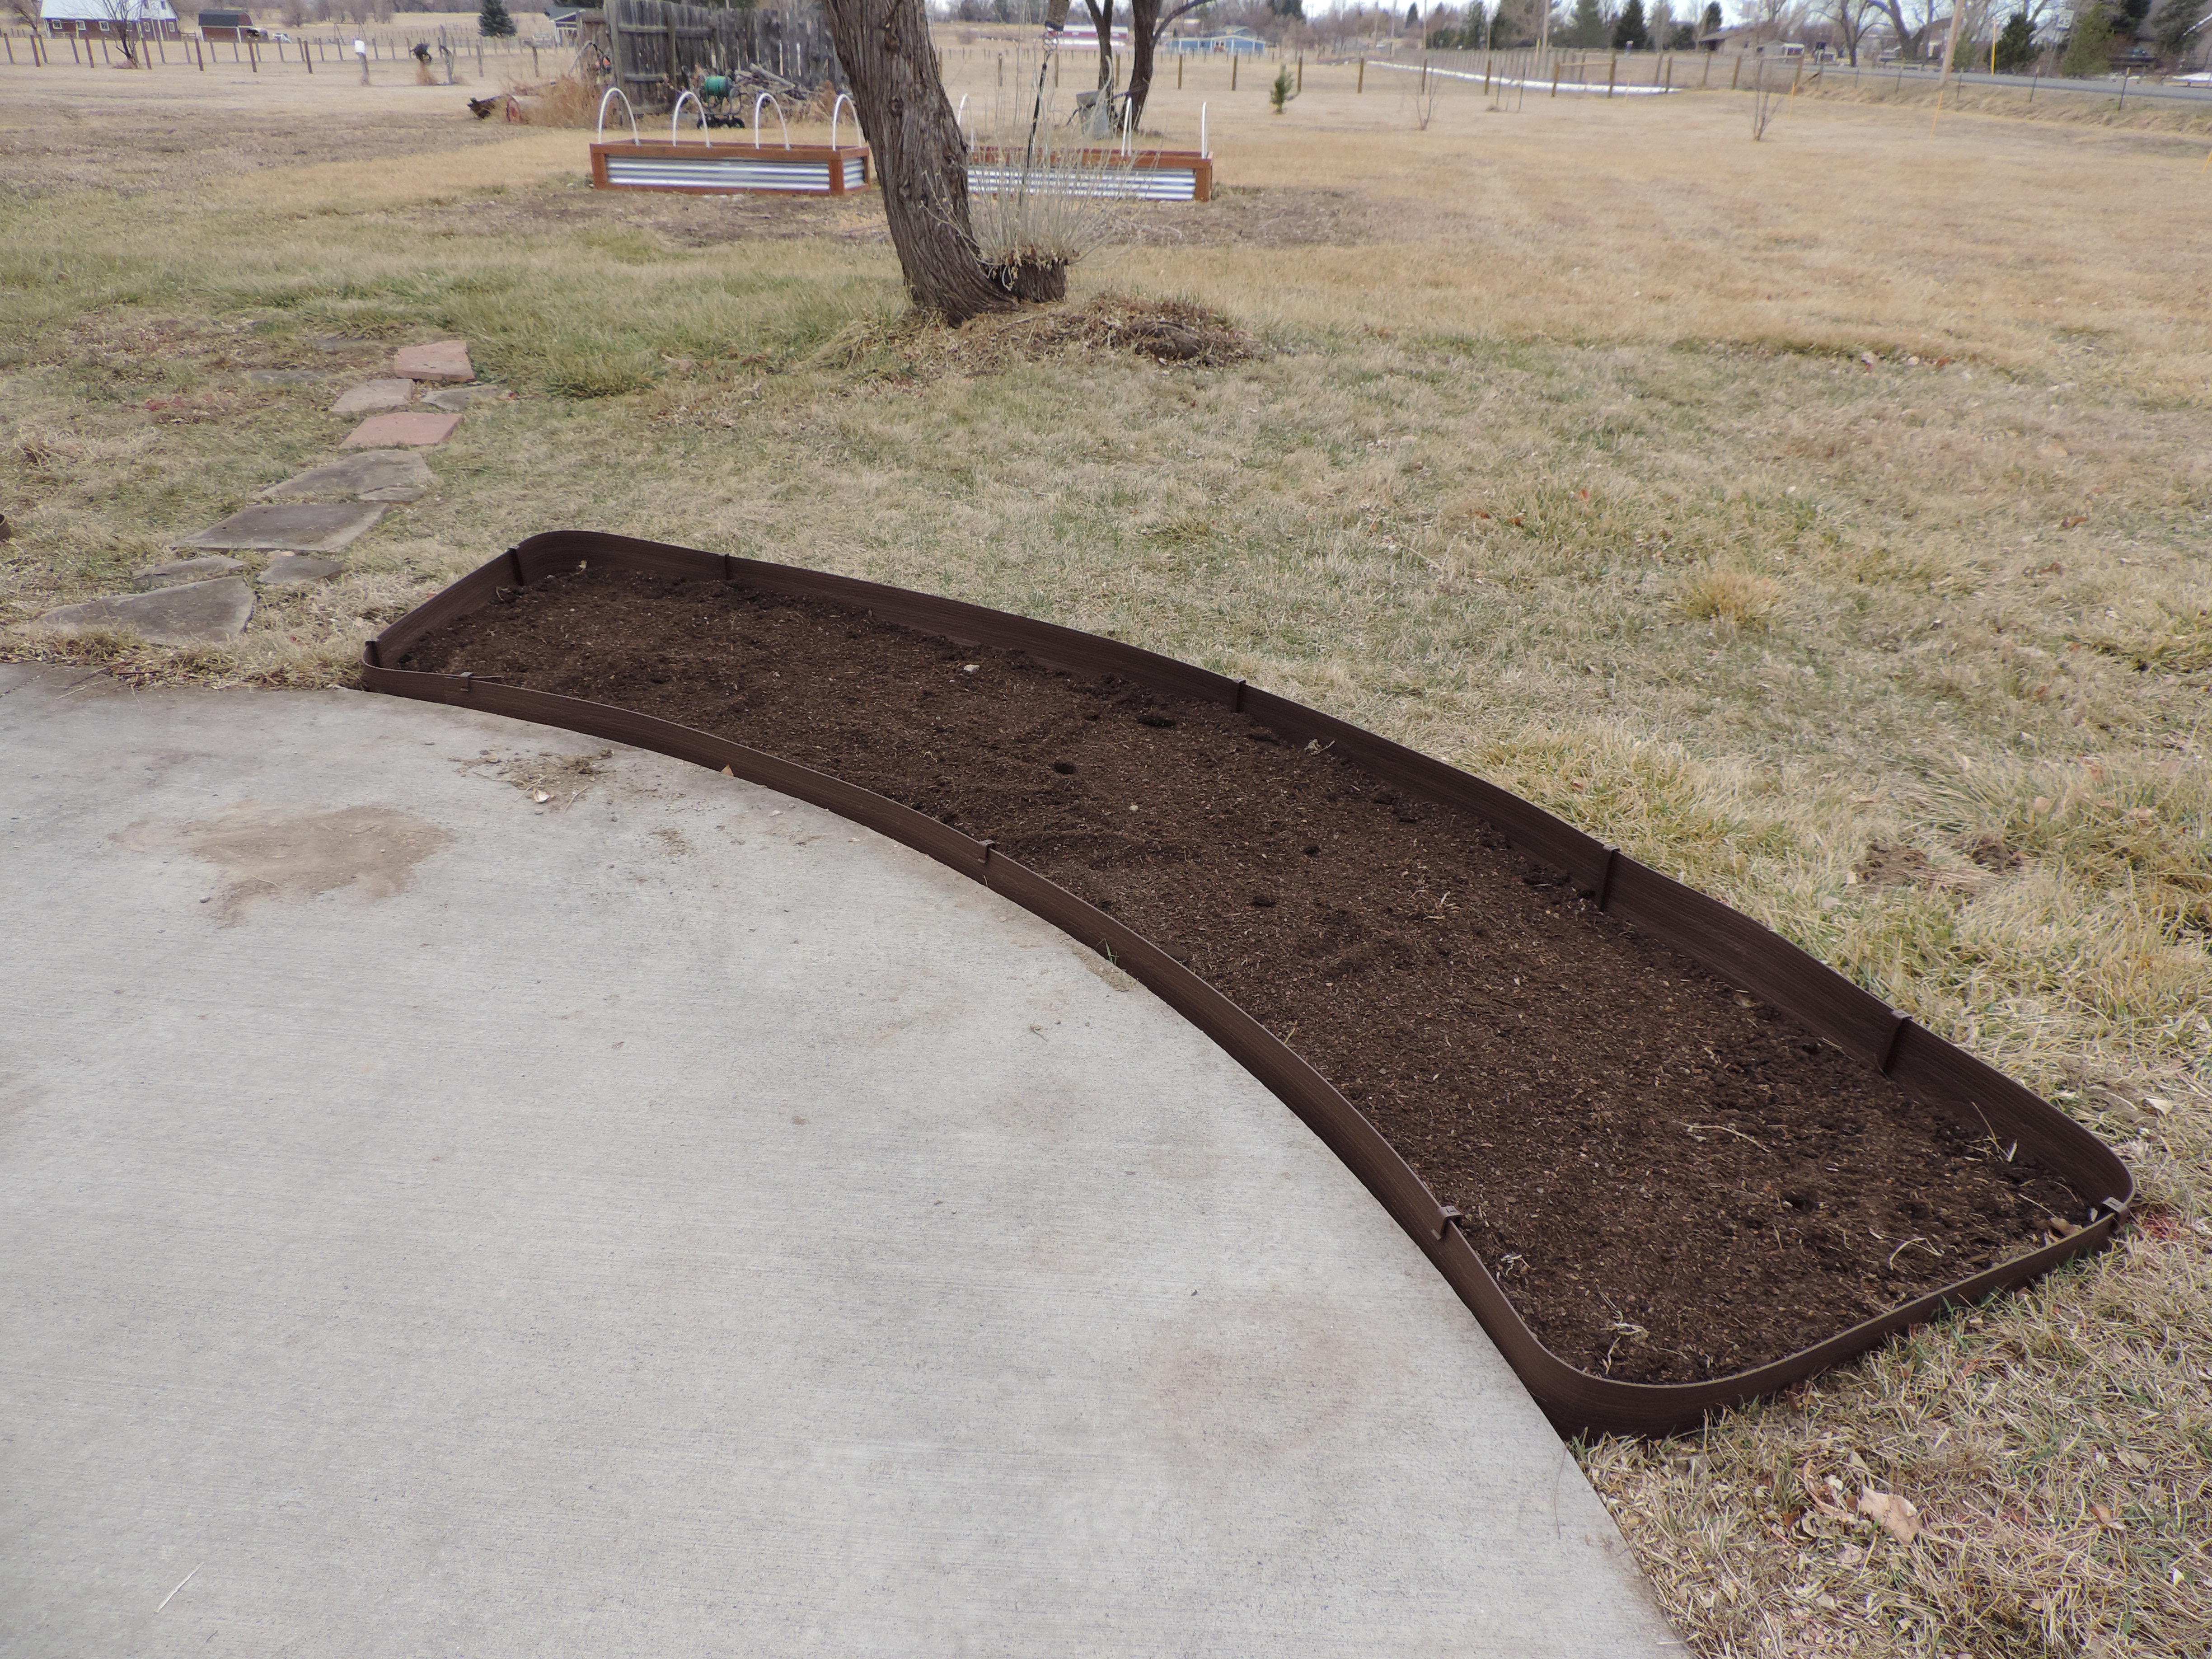
Ta-da! Most anti-climactic flower bed photo ever. Gardening really is a lesson in patience. I can’t wait to show you photos this spring of the flowers growing in these beds.
Because I mentioned that this was an inexpensive project, here’s the breakdown of what it cost. We ordered our edging supplies from Amazon because we found the best price, and purchased our dirt from Home Depot.
- Two rolls of Master Mark Terrace Board Landscape Edging – $42.16
- Two bags of Master Mark Brown Stakes – $14.28
- Two bags of Permagreen Pro Topsoil – $7.38
- Two bags of Miracle-Gro Garden Soil for Flowers – $14.94
Total flower bed project cost: $78.76
Because I know some people will be curious, here is what I have bought so far to plant in my flower garden this year. I’m sure that much will be added to this list.
- Tulip Daydream
- Double Daffodils (pale pink)
- Double Daffodils (yellow)
- Tulip Angelique
- Tulip Pink Impression
- Sarah Bernhardt Peonies
- Ranunculus Pastel Mix {from Floret Flower Farm}
- Dahlia Cafe Au Lait {Floret}
- Dahlia Wizard of Oz {Floret}
- Dahlia Otto’s Thrill {Floret}
- Dahlia Skipley Spot of Gold {Floret}
The flowers from Floret are hard to come by and sell out in the blink of an eye. Check your local garden center!