Home Projects

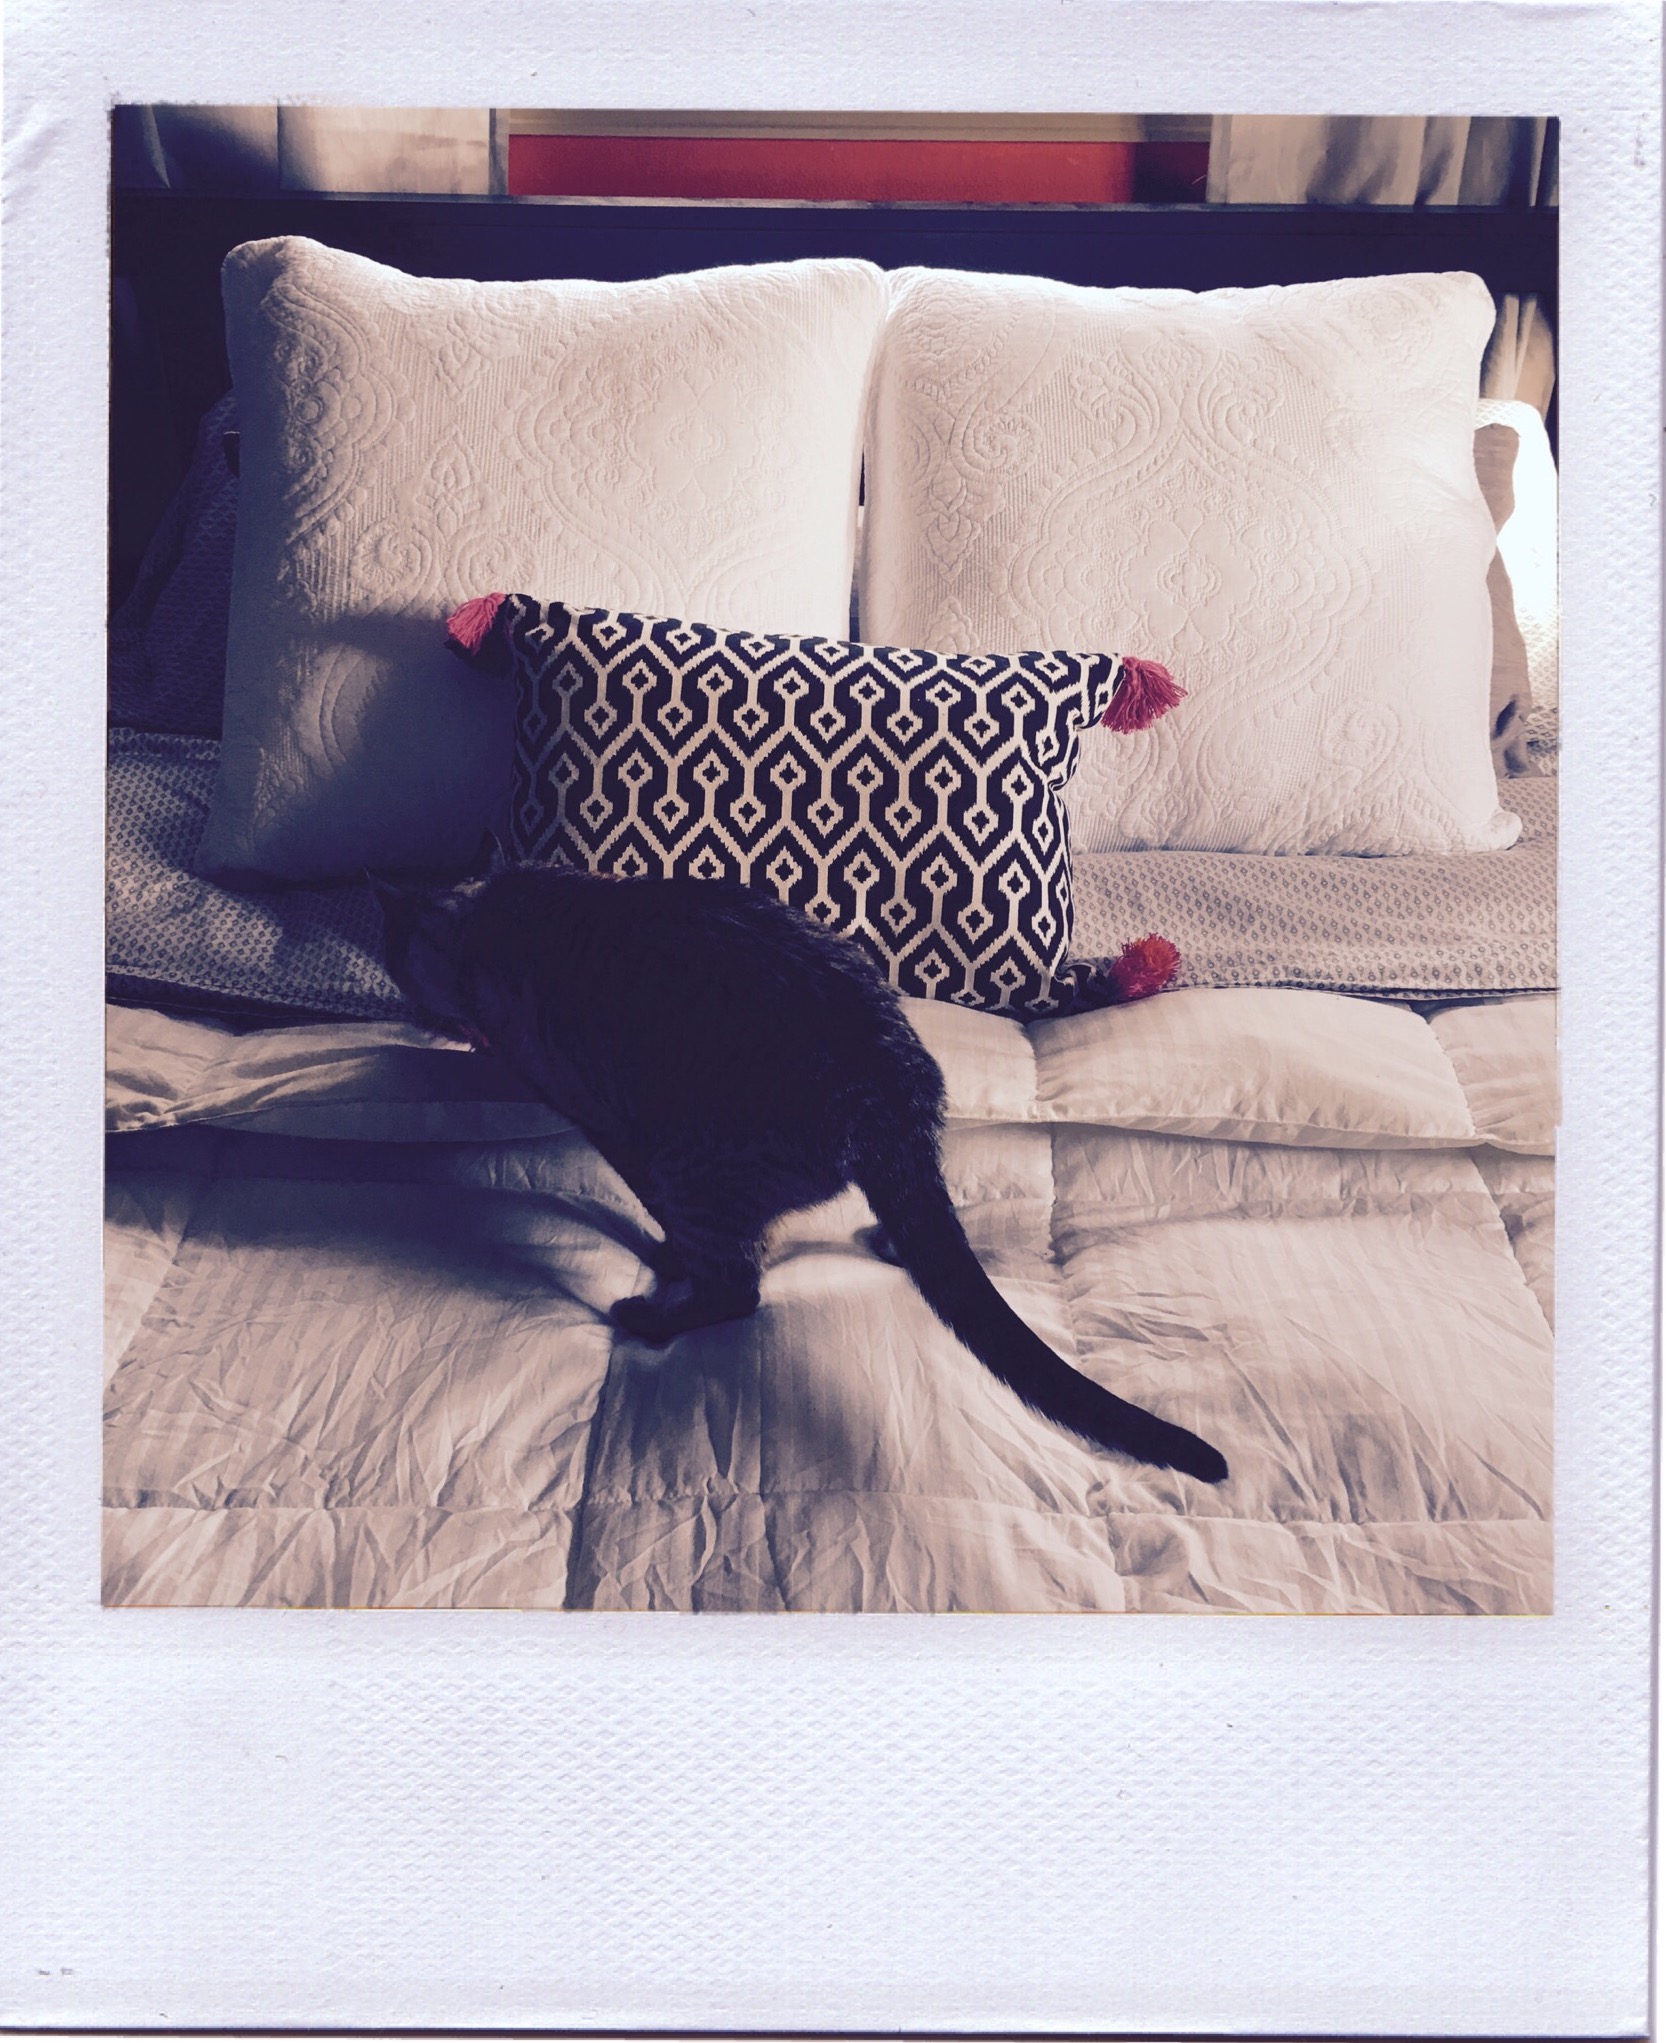
Prepare yourselves to see some epically awesome pictures of our home. When I first began thinking about starting a blog about my life at home, I worried about taking pictures around the house. Then I decided to give myself some grace and not compare my home to all of the beautiful home decor blogs that I like to drool over. My husband and I have been married just over a year now and we are still settling in. Both of us being mid-30s homeowners, we had a *cough* few things to combine. Here I sit, less than a week after our first anniversary, in an office still piled high with things that I need to organize, purge, or move to the barn where we have been building extra storage. Don’t mind me while I smell my pretty candle as I work and pretend there isn’t a mountain of stuff on the bed next to me… and tune out the sound of my cat licking a plastic bag.

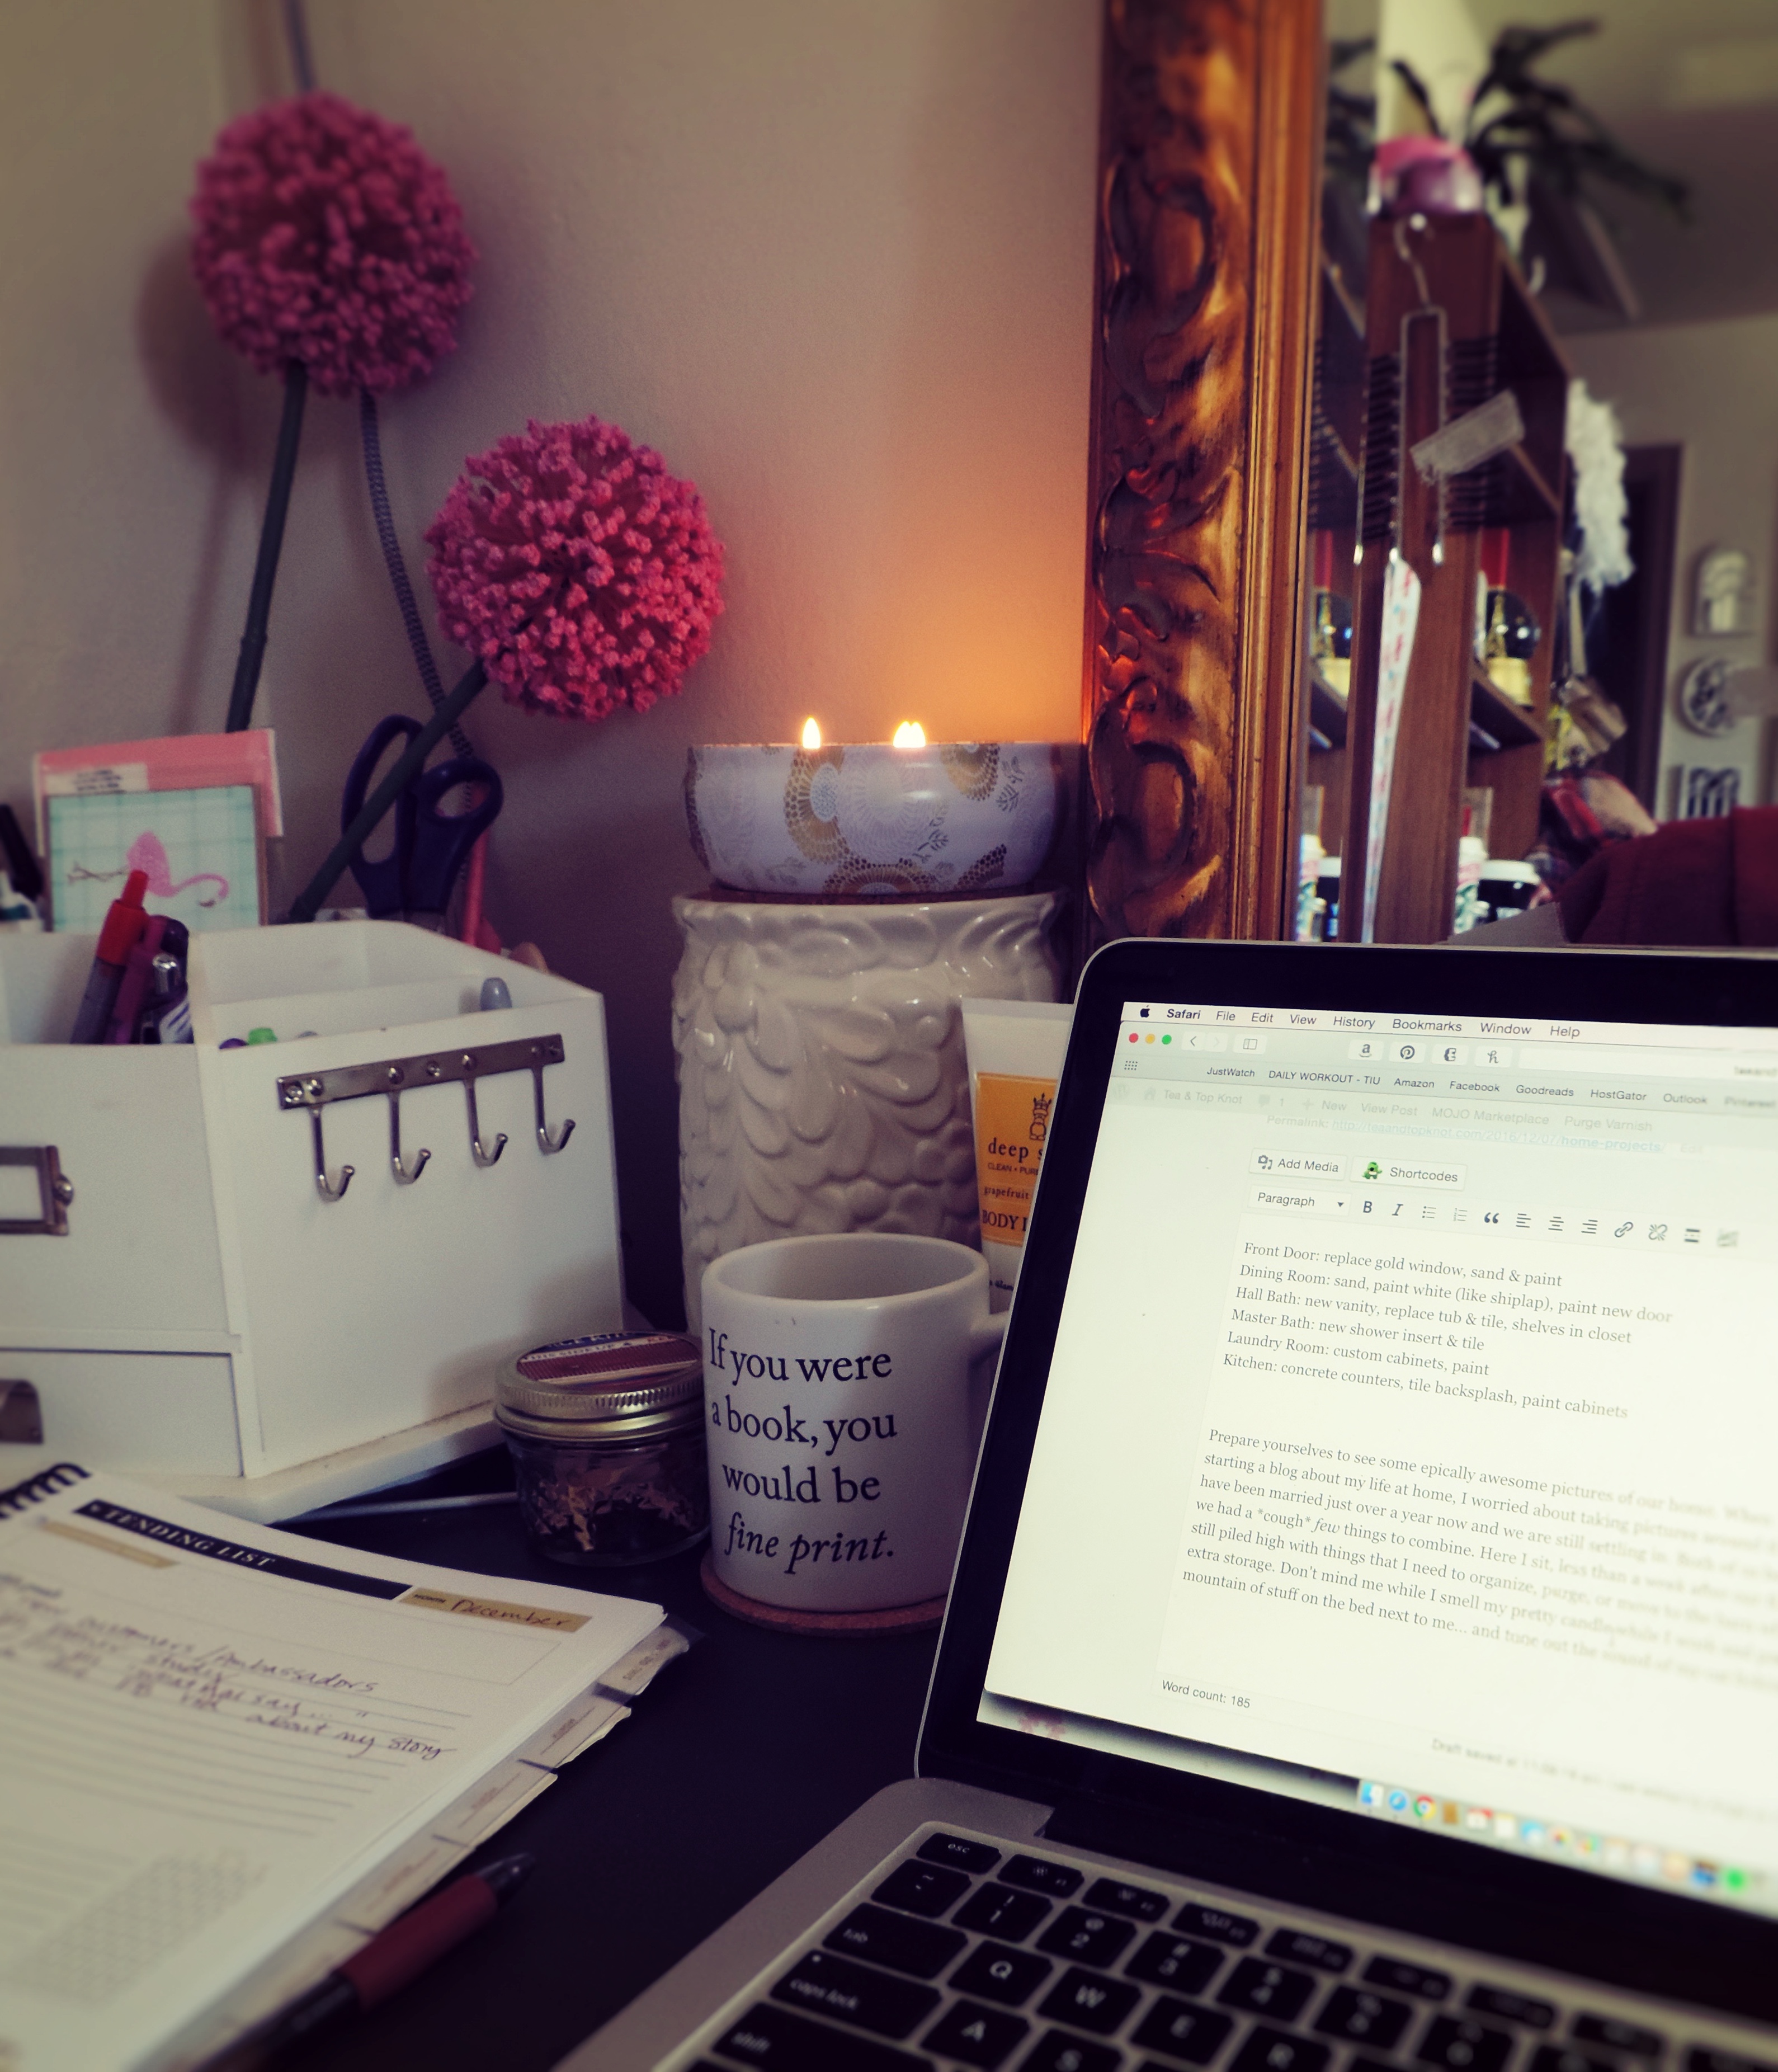
My cozy writing corner. That lotion peeking out smells like fruit loops. Get yourself some.

We’ve had quite a year of sorting through our things, trying to figure out what to keep. {Keep my dishes, or yours? Use the old couch, or get a new one?} We’ve also been doing some thinking about how much to do to our house. We live in a 1969 house with no basement and a weird layout. We have 1,400 square feet and a central hallway that takes up a lot of that space. Before I moved in, we had some major flooding in our crawl space from an irrigation ditch that was flowing too high. This caused some resettling in our house and when we had it inspected, we found out that at some point we’ll need to do some foundation work. So the question for us has been, do we level this house and build a new one on the property? {We have 3.5 acres and a great location just outside of town.} Or do we fix the foundation and make the changes we want to the house, possibly including an addition?

We came to the conclusion that we aren’t ready to build yet. We’ll eventually need more space as we start a family but for now we are tackling some other financial goals first. We decided to do minor improvements to enjoy the home we’re in at this phase of our life. Most of the projects you’ll see me share will be DIY & budget conscious!

Luckily we both enjoy home improvement and doing projects around the house. Here are a handful of the things we did in 2016:

  • We had a barn built and began putting up industrial shelving for extra storage. We are almost done with this!!
  • My husband built and installed a barn door to cover our “cantry” that he built before we were married. We needed some more kitchen storage so he hollowed out a wall next to the fridge to make a  shallow pantry big enough for canned goods. {thus the nickname, cantry}
  • Husband also built extra shelves into our hall bath closet. Huge closet, few divider shelves. We still have some more to go on this but one side was much needed for my beauty product stash.
  • I’m starting to see a trend here… I swear I help! My sweet husband built me some amazing raised beds to start a vegetable garden in. We will add to these over the years!
  • We put in a couple storage shelves over the chest freezer in our other storage/bedroom for holding all of the small appliances that don’t fit in the kitchen.
  • My husband and father in law put a new full-window door into our dark dining room. It is so much brighter now!
  • Hubby also made a rack to organize hangers in the laundry room! Previously I had a jumbled mess on the countertop and now they are neatly organized on the wall.


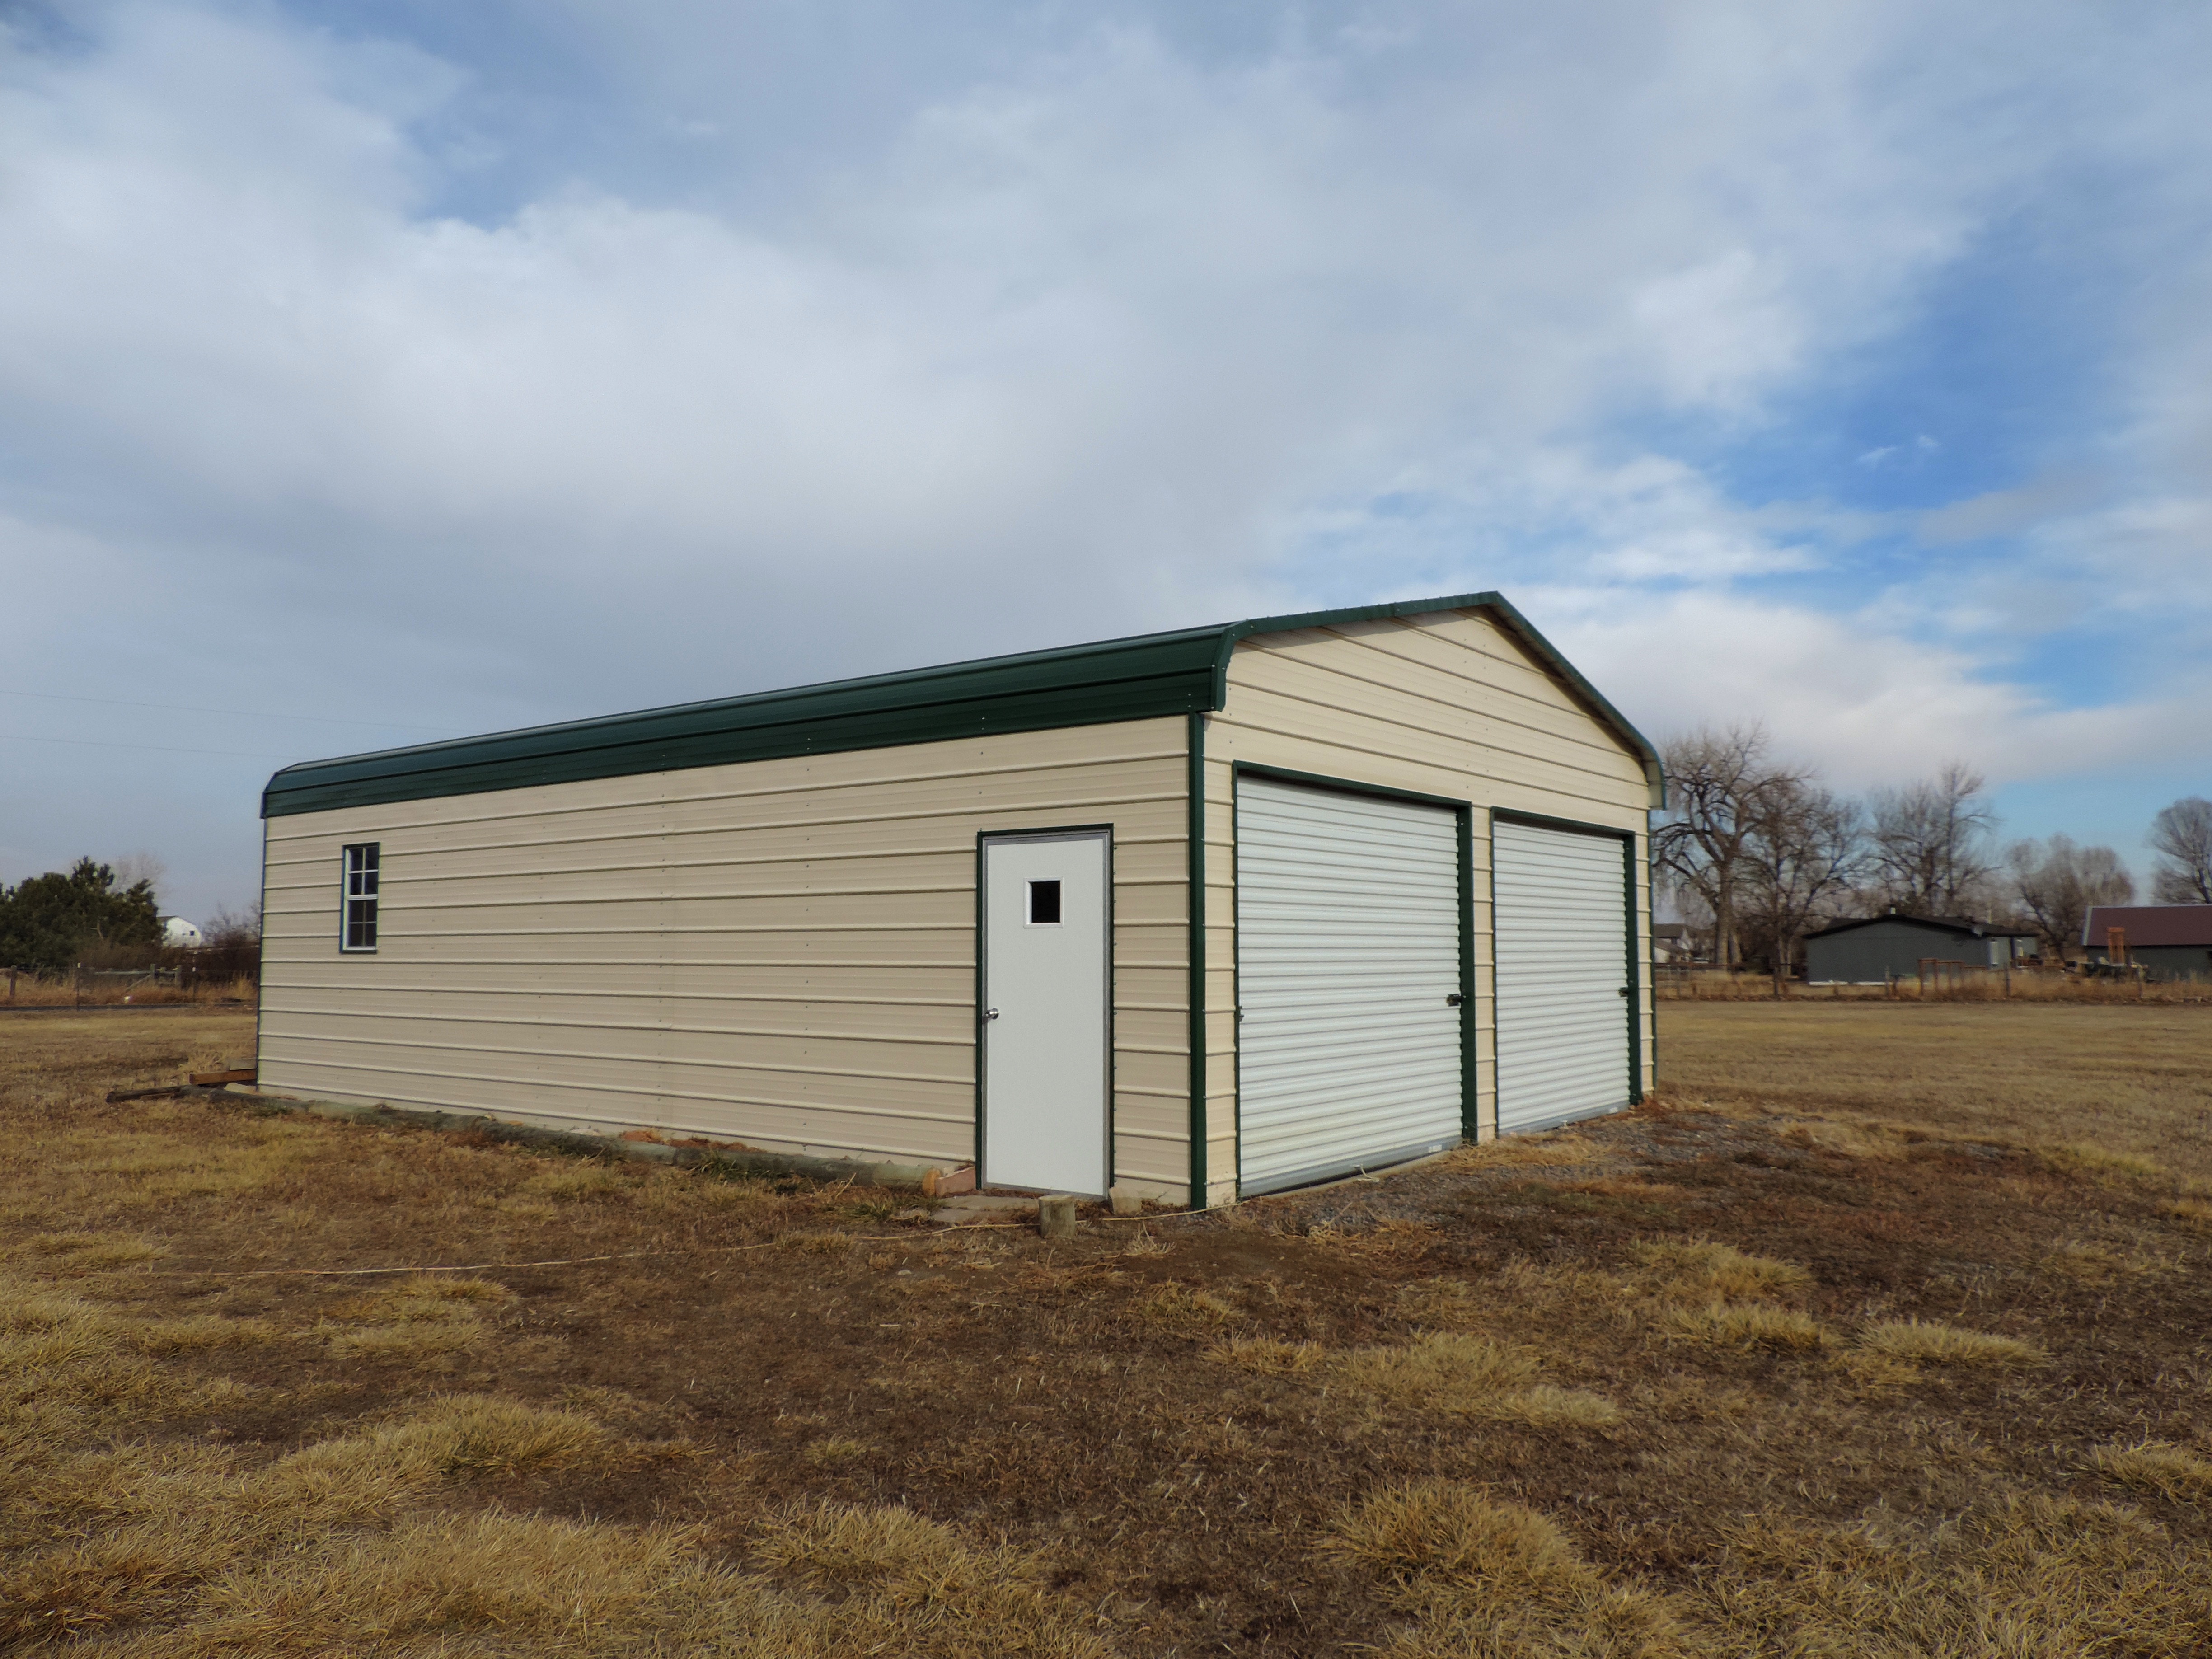
Our barn! I’ll show you the storage when it’s all finished!

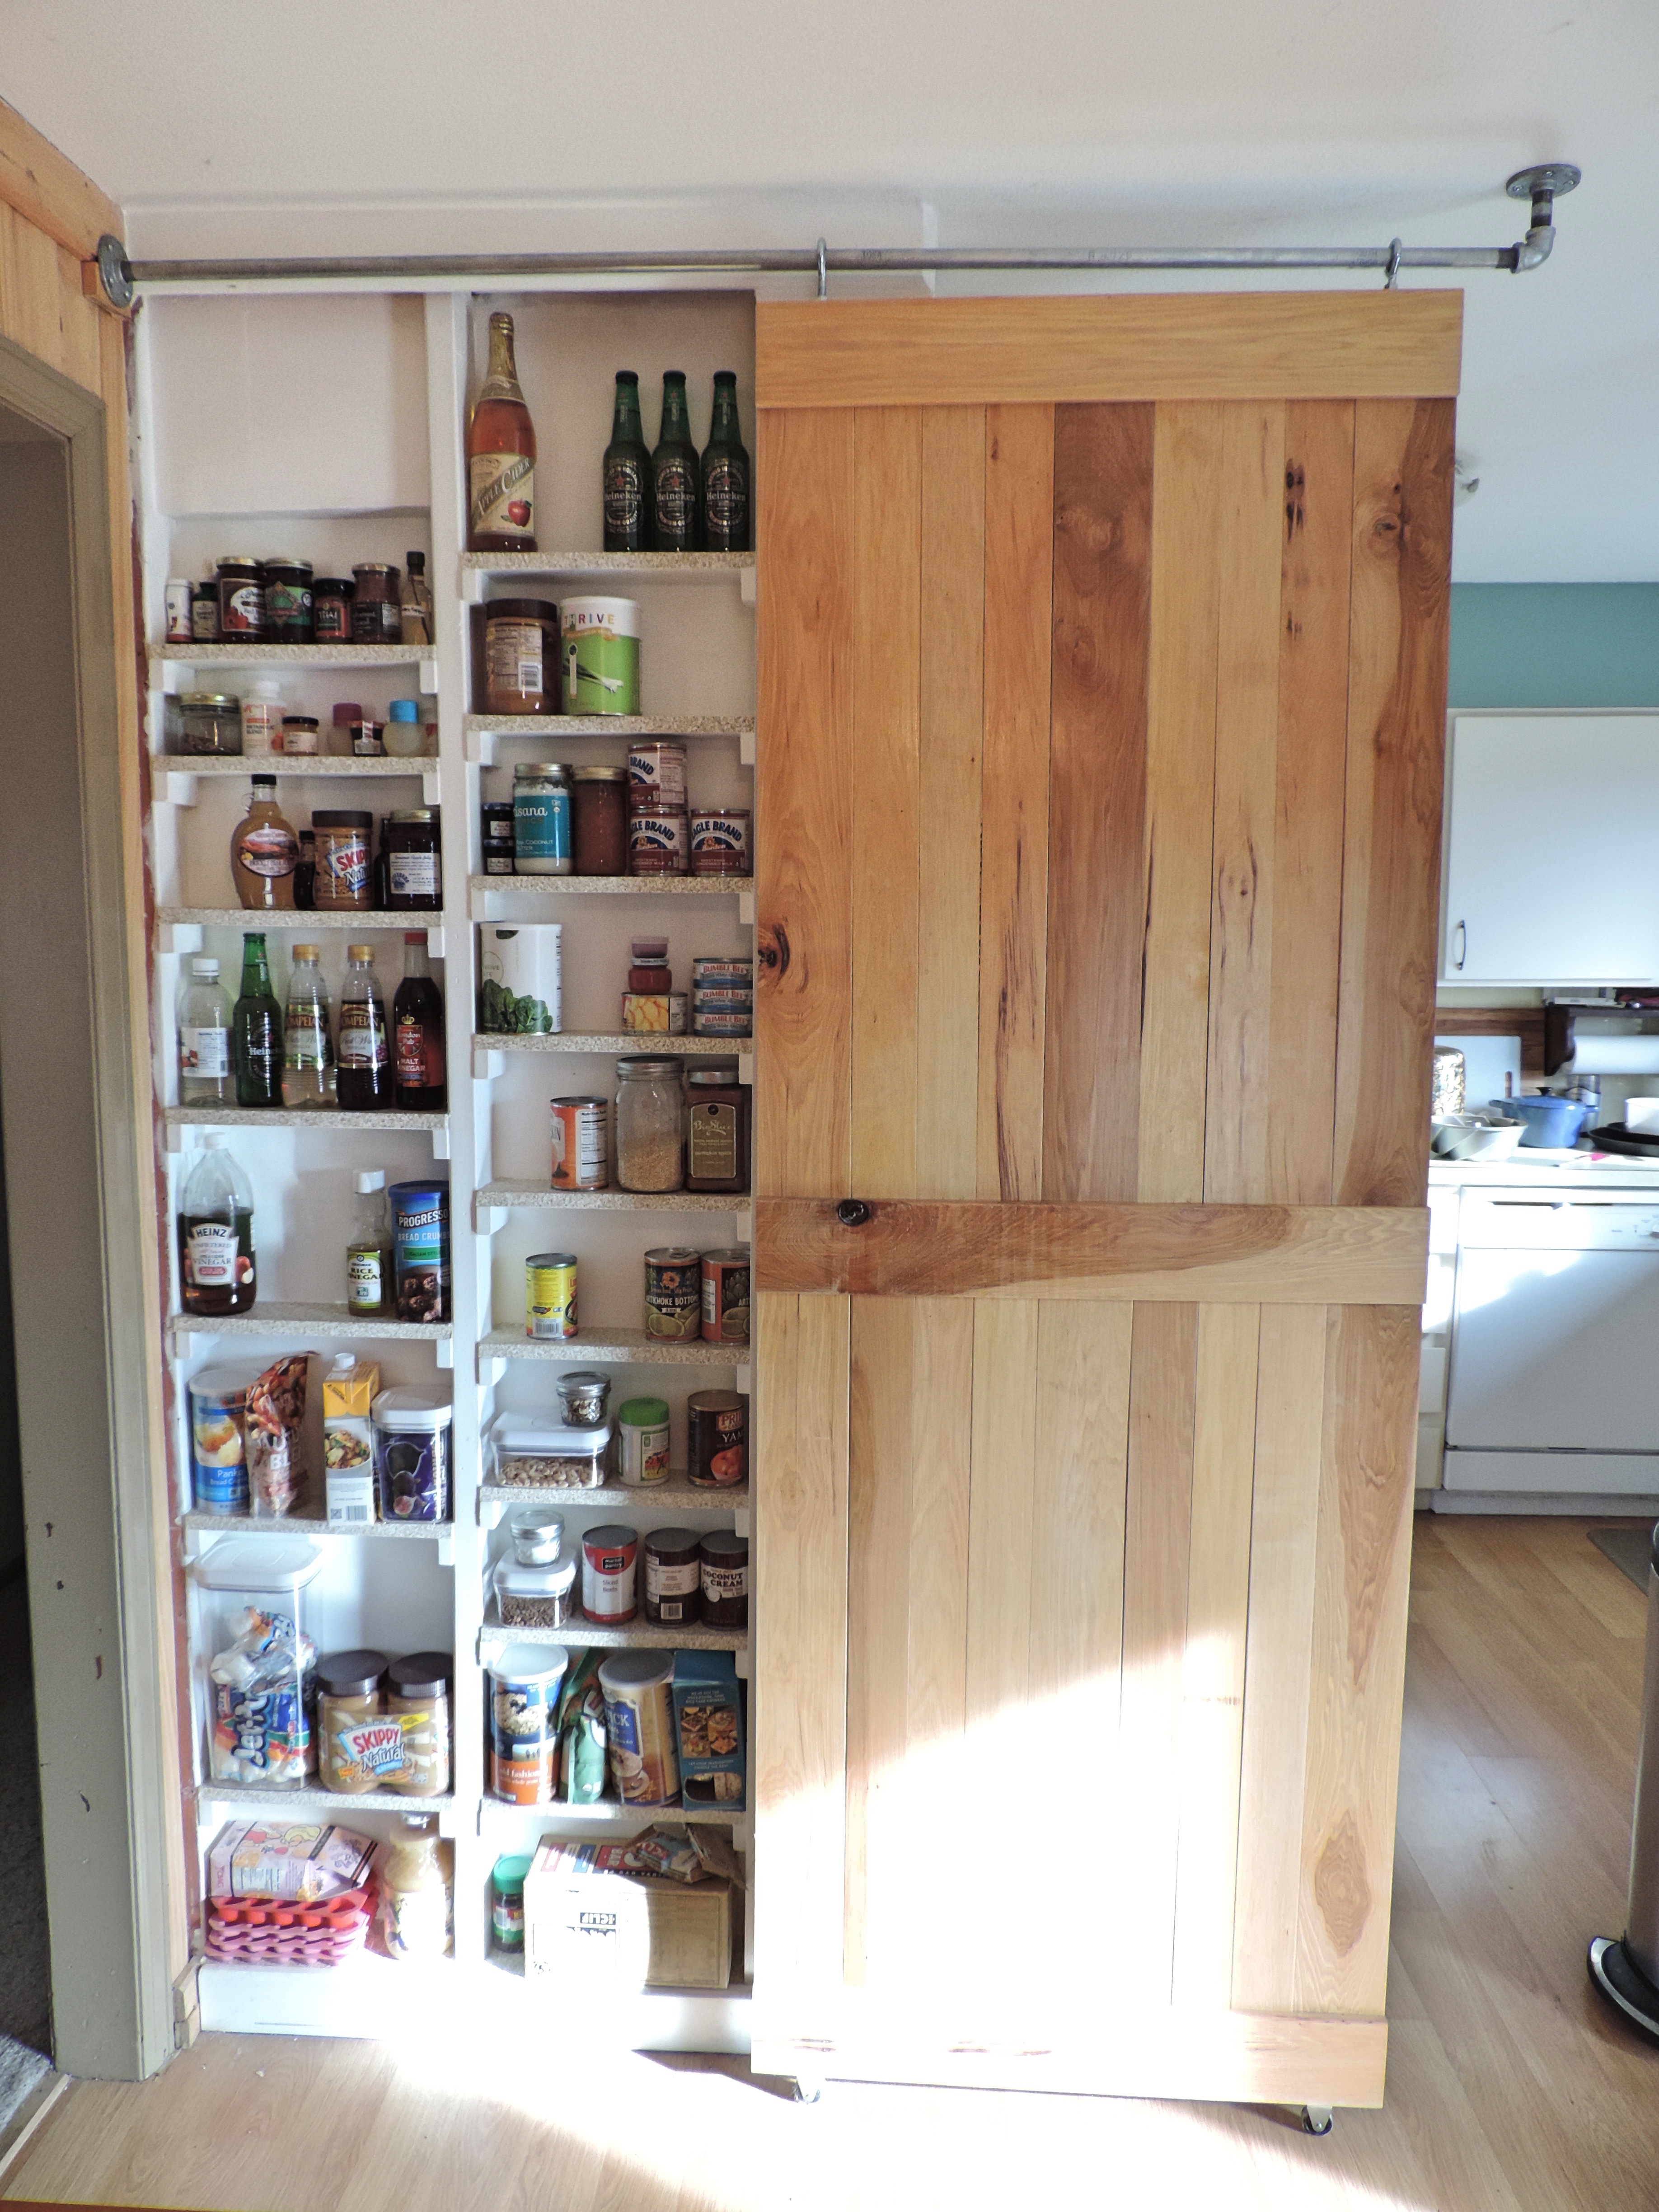
This is the awesome “cantry” and barn door that my husband installed!

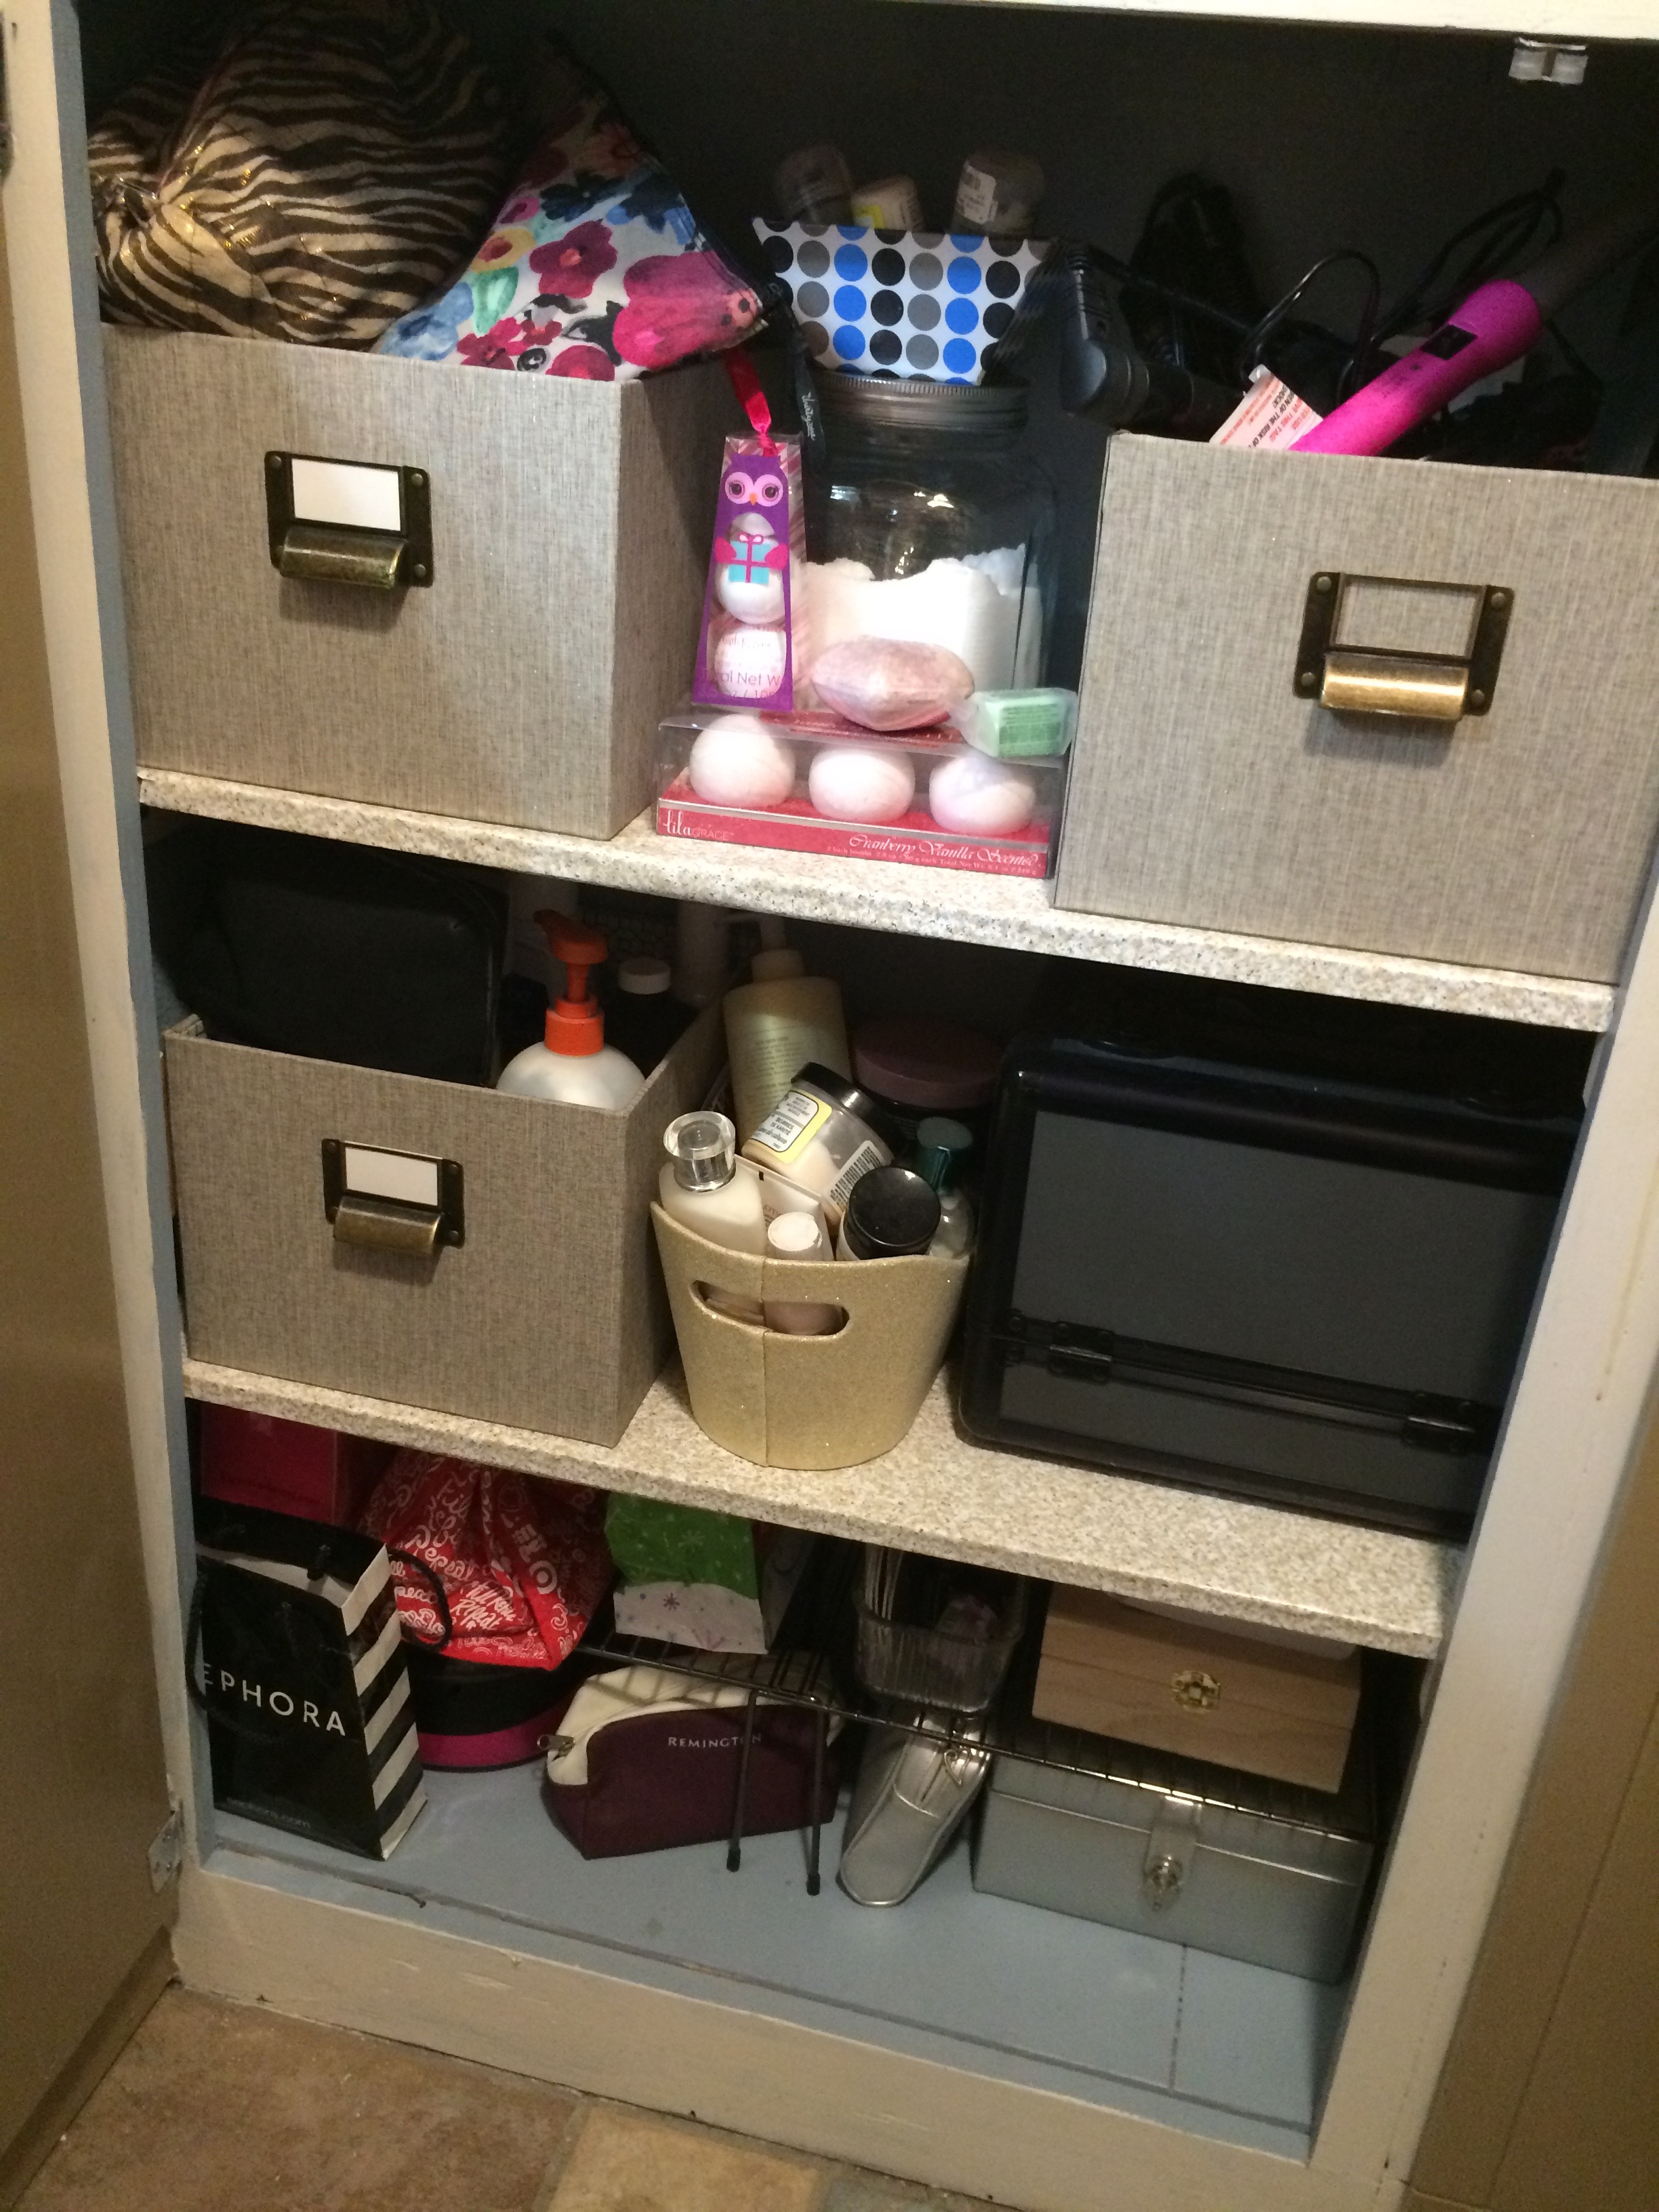
Much needed extra shelves in the hall bath linen closet.

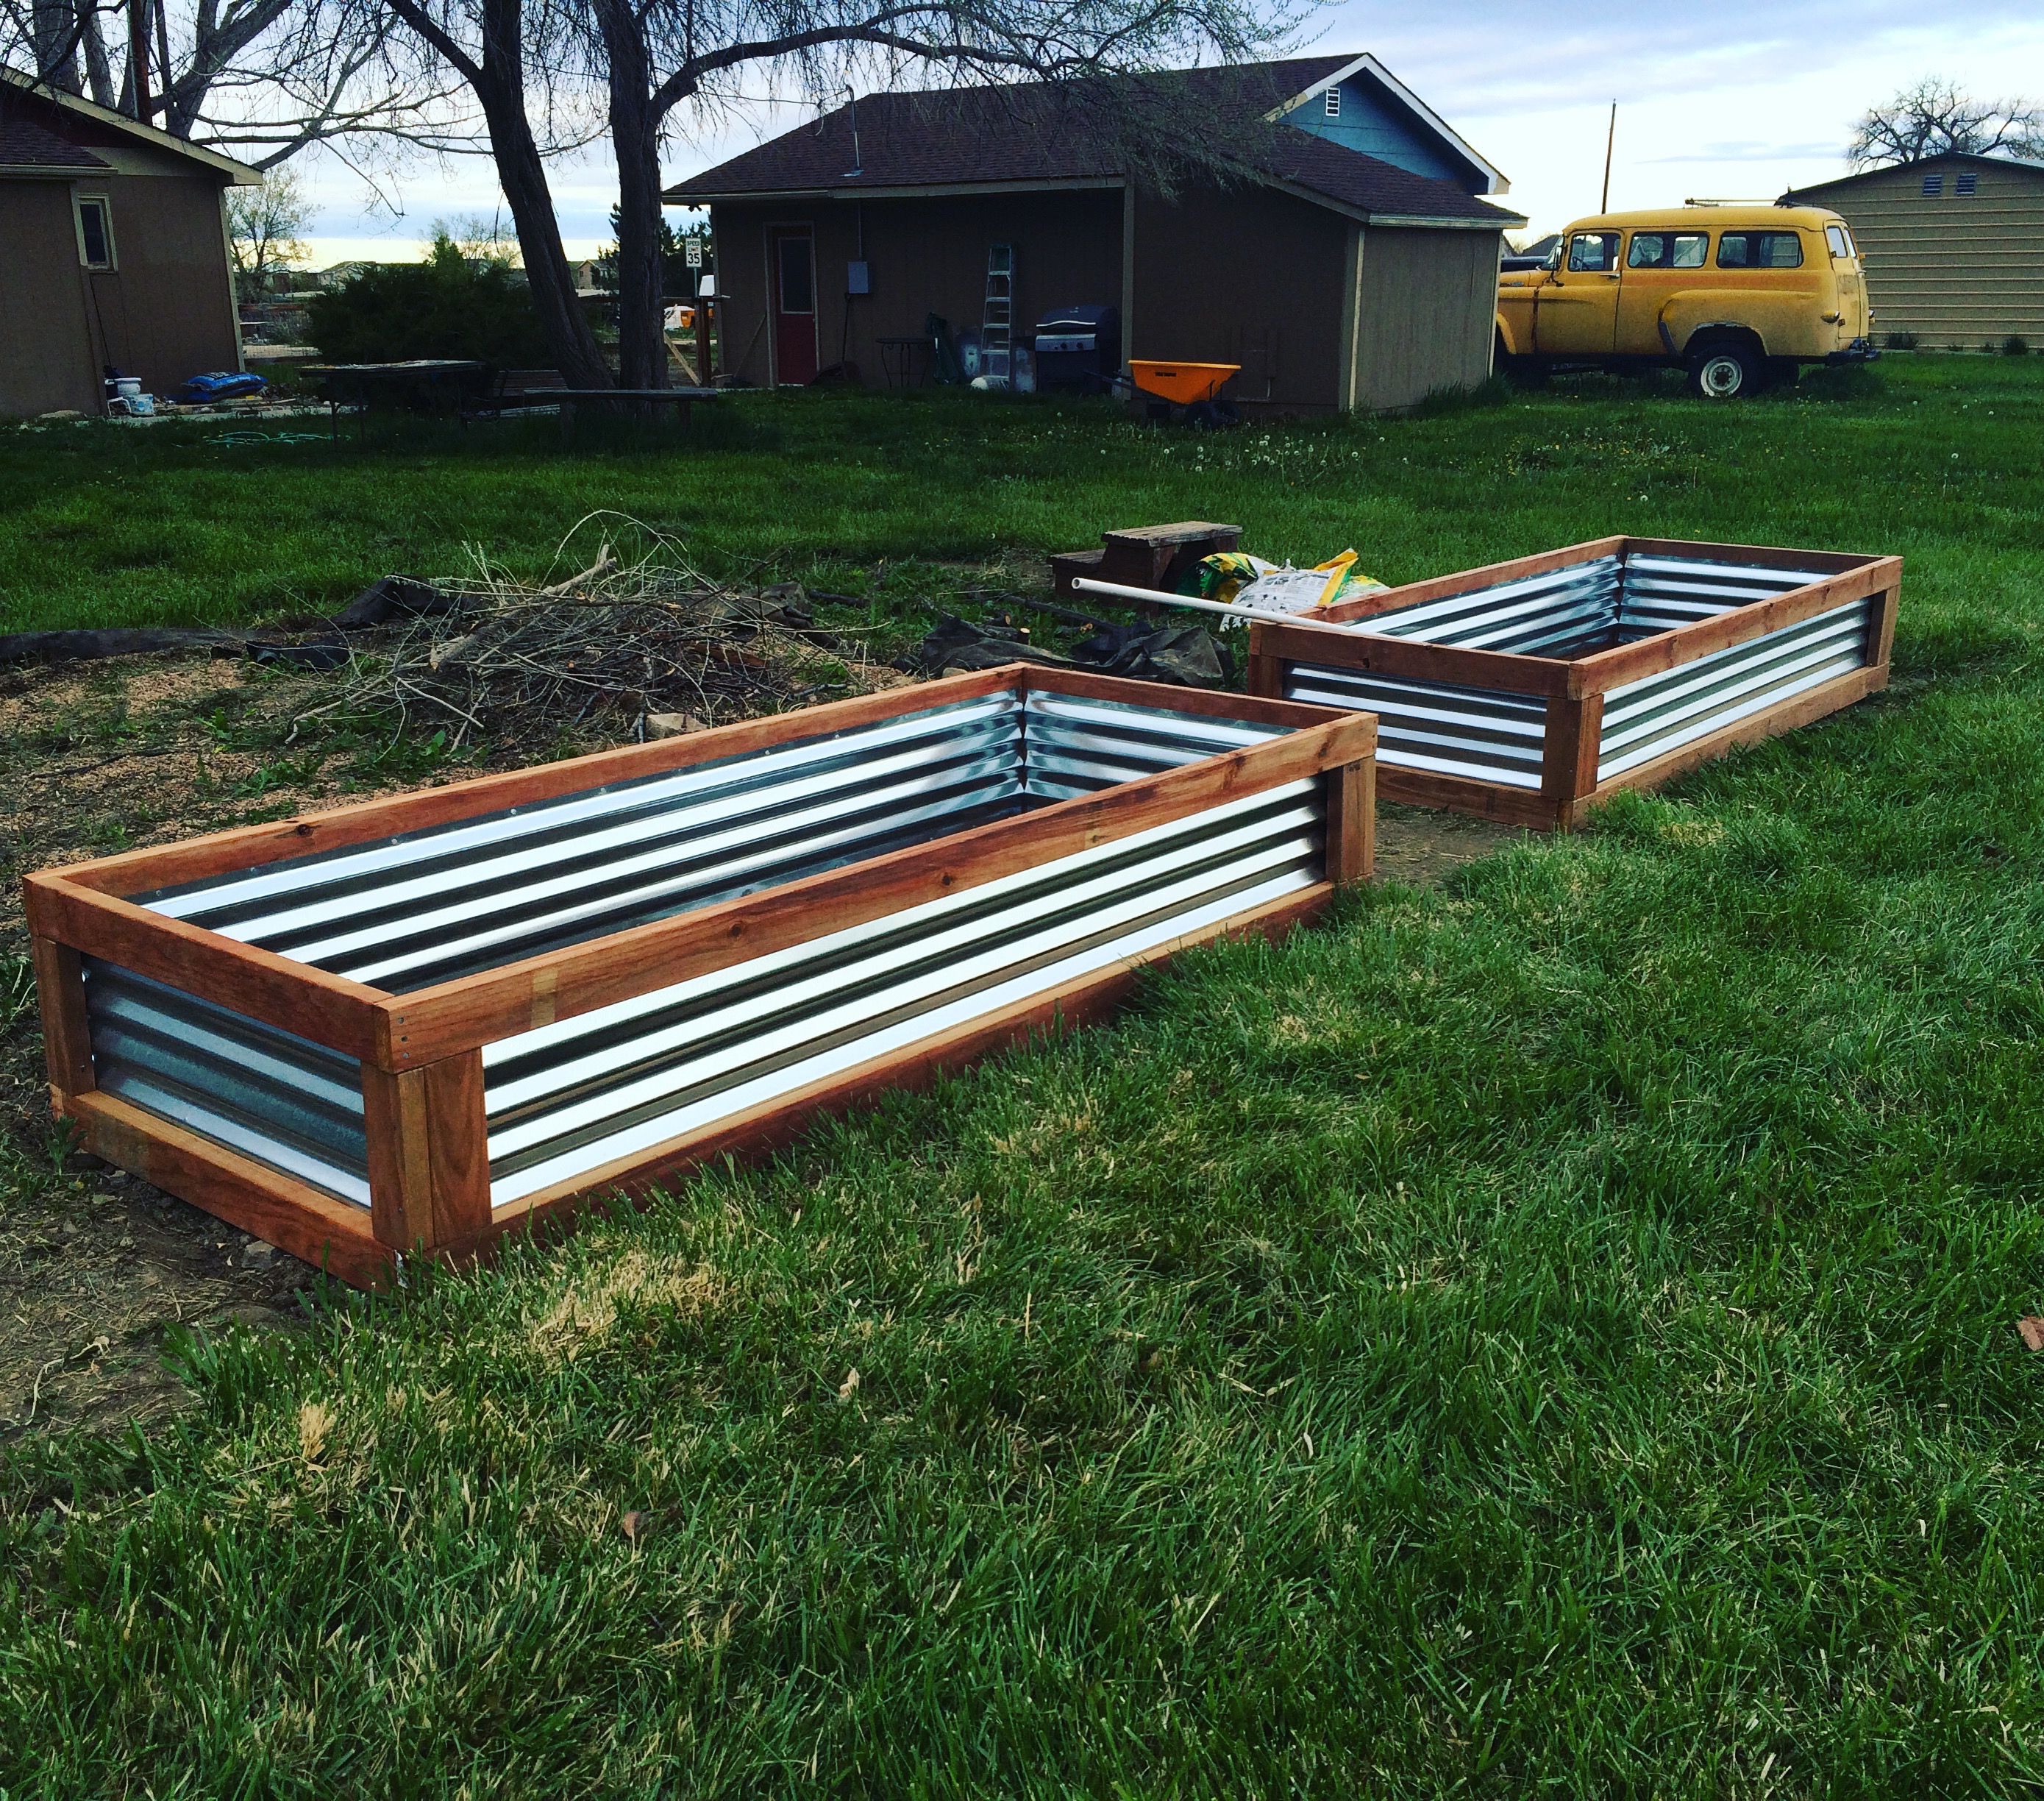
Pretty new raised garden beds. Ready for planting!

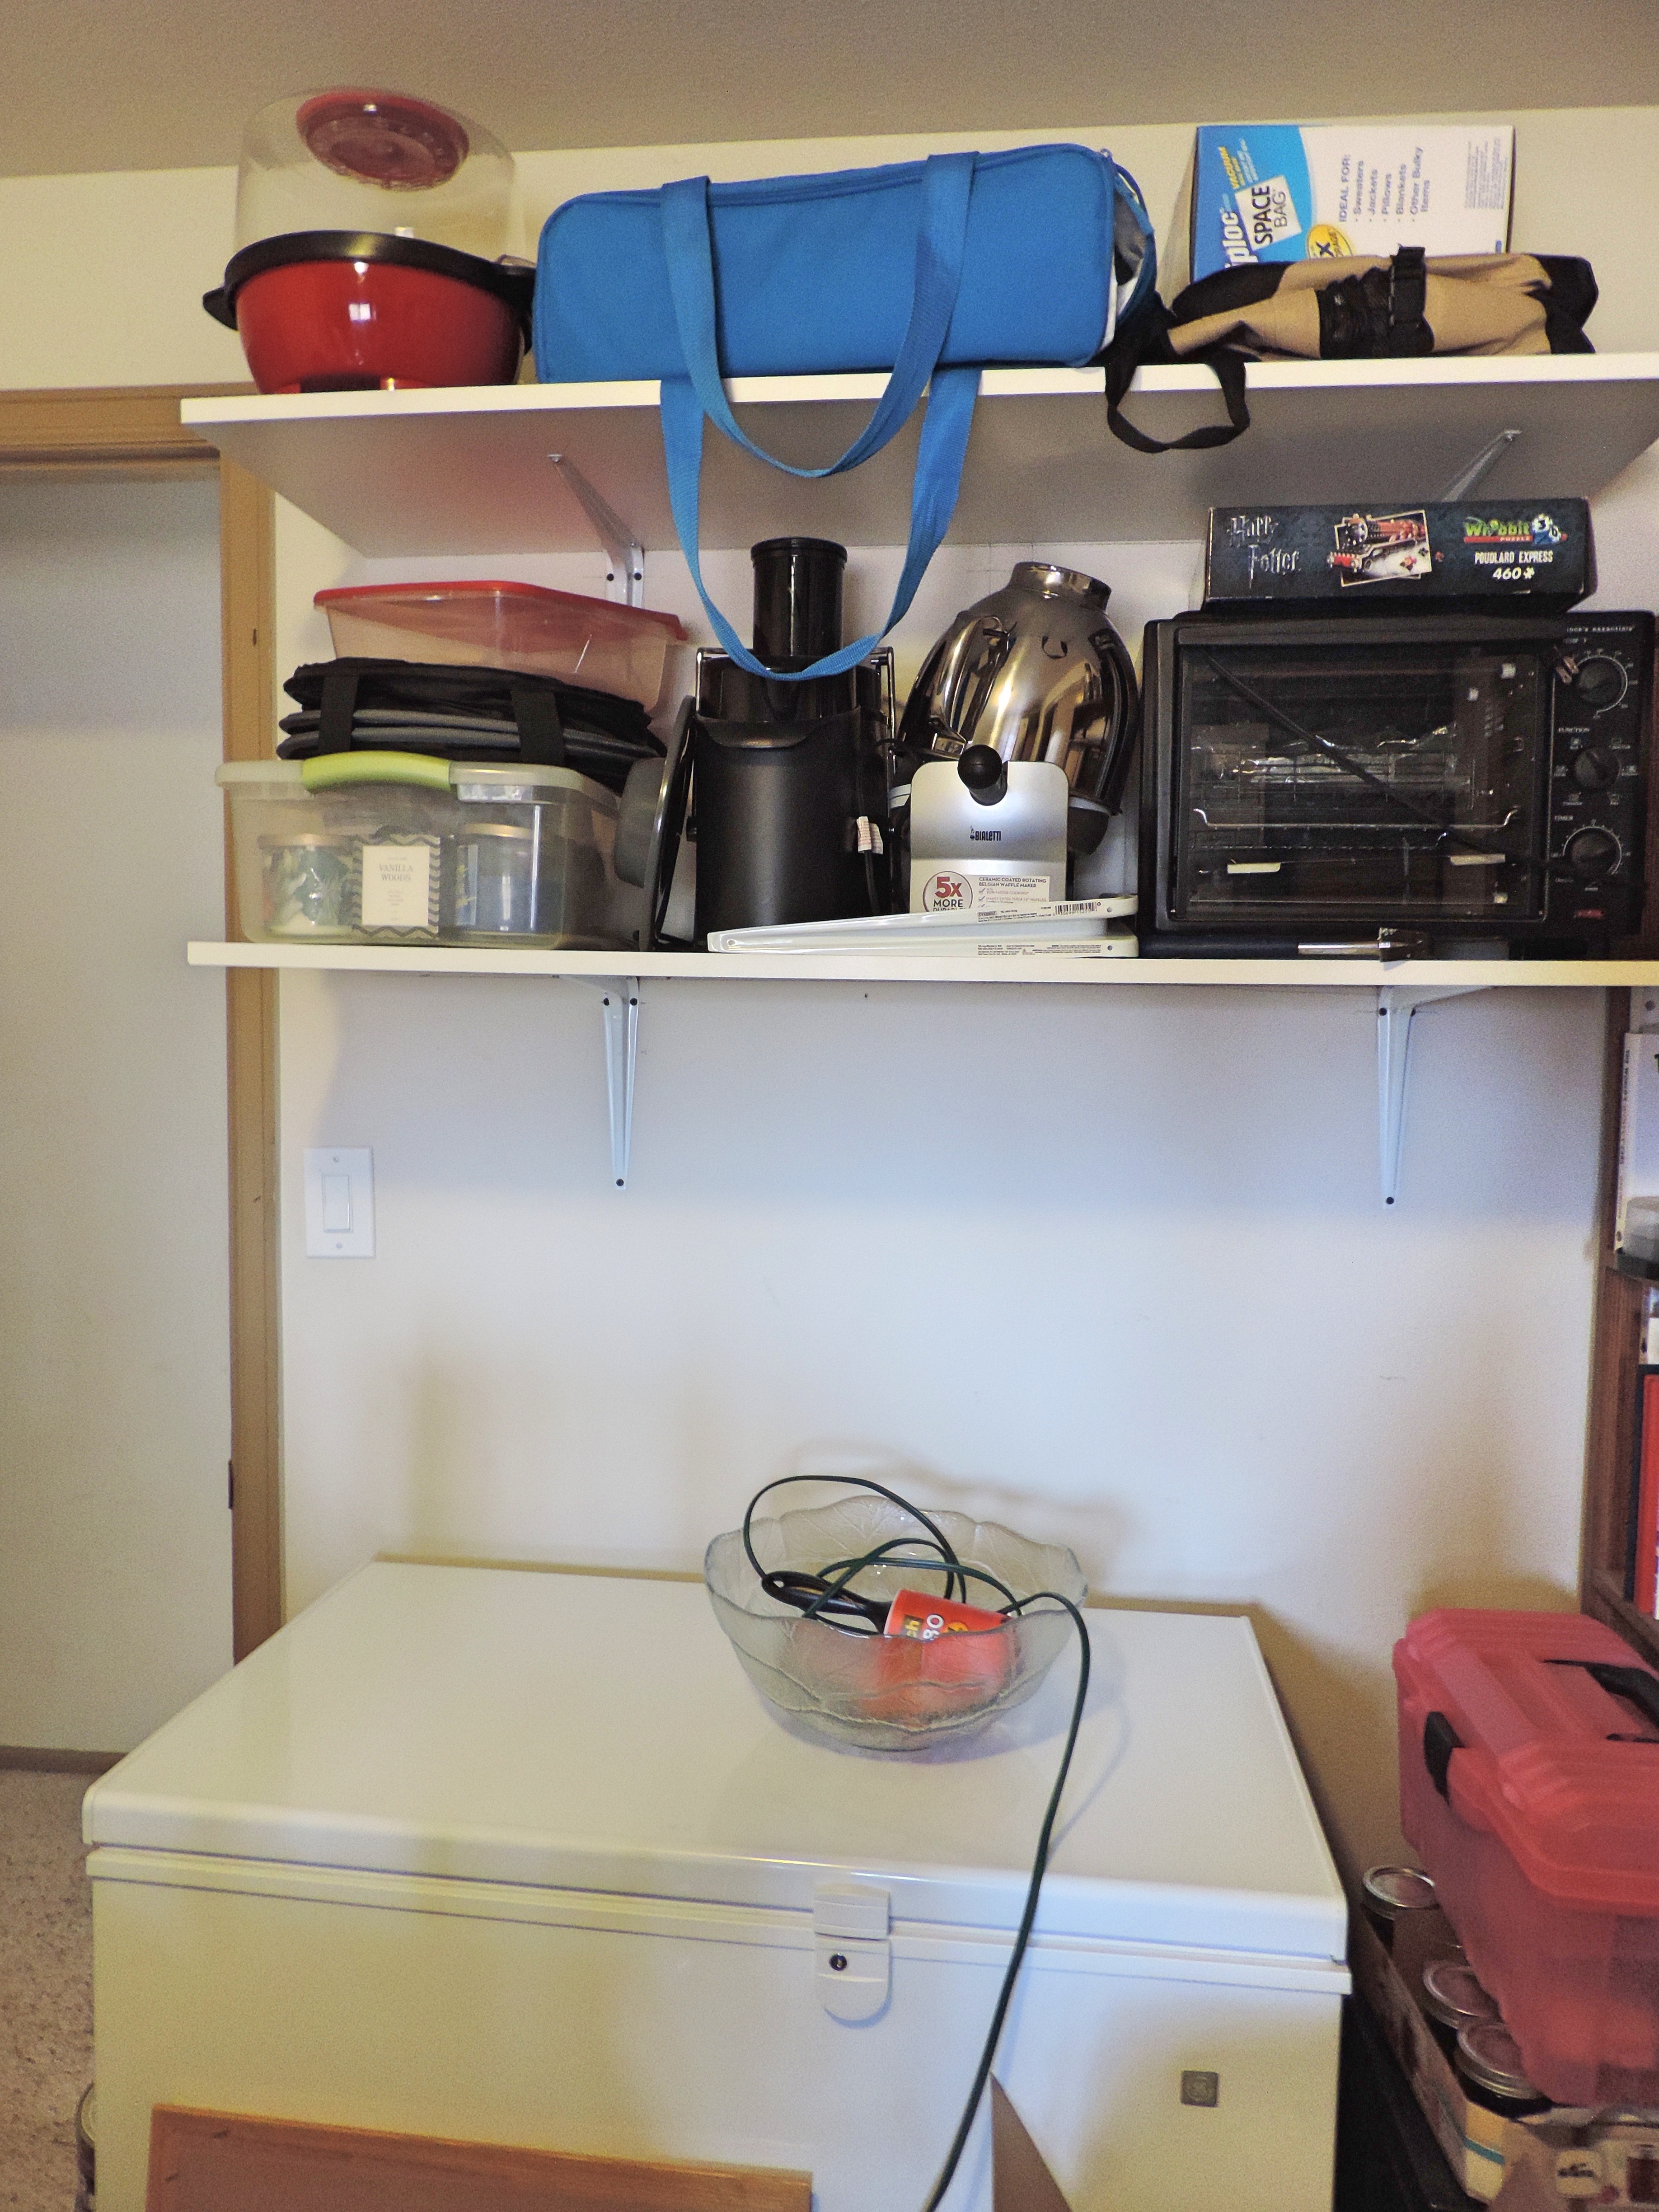
Nothing glamorous here. Just needed storage for overflow appliances.

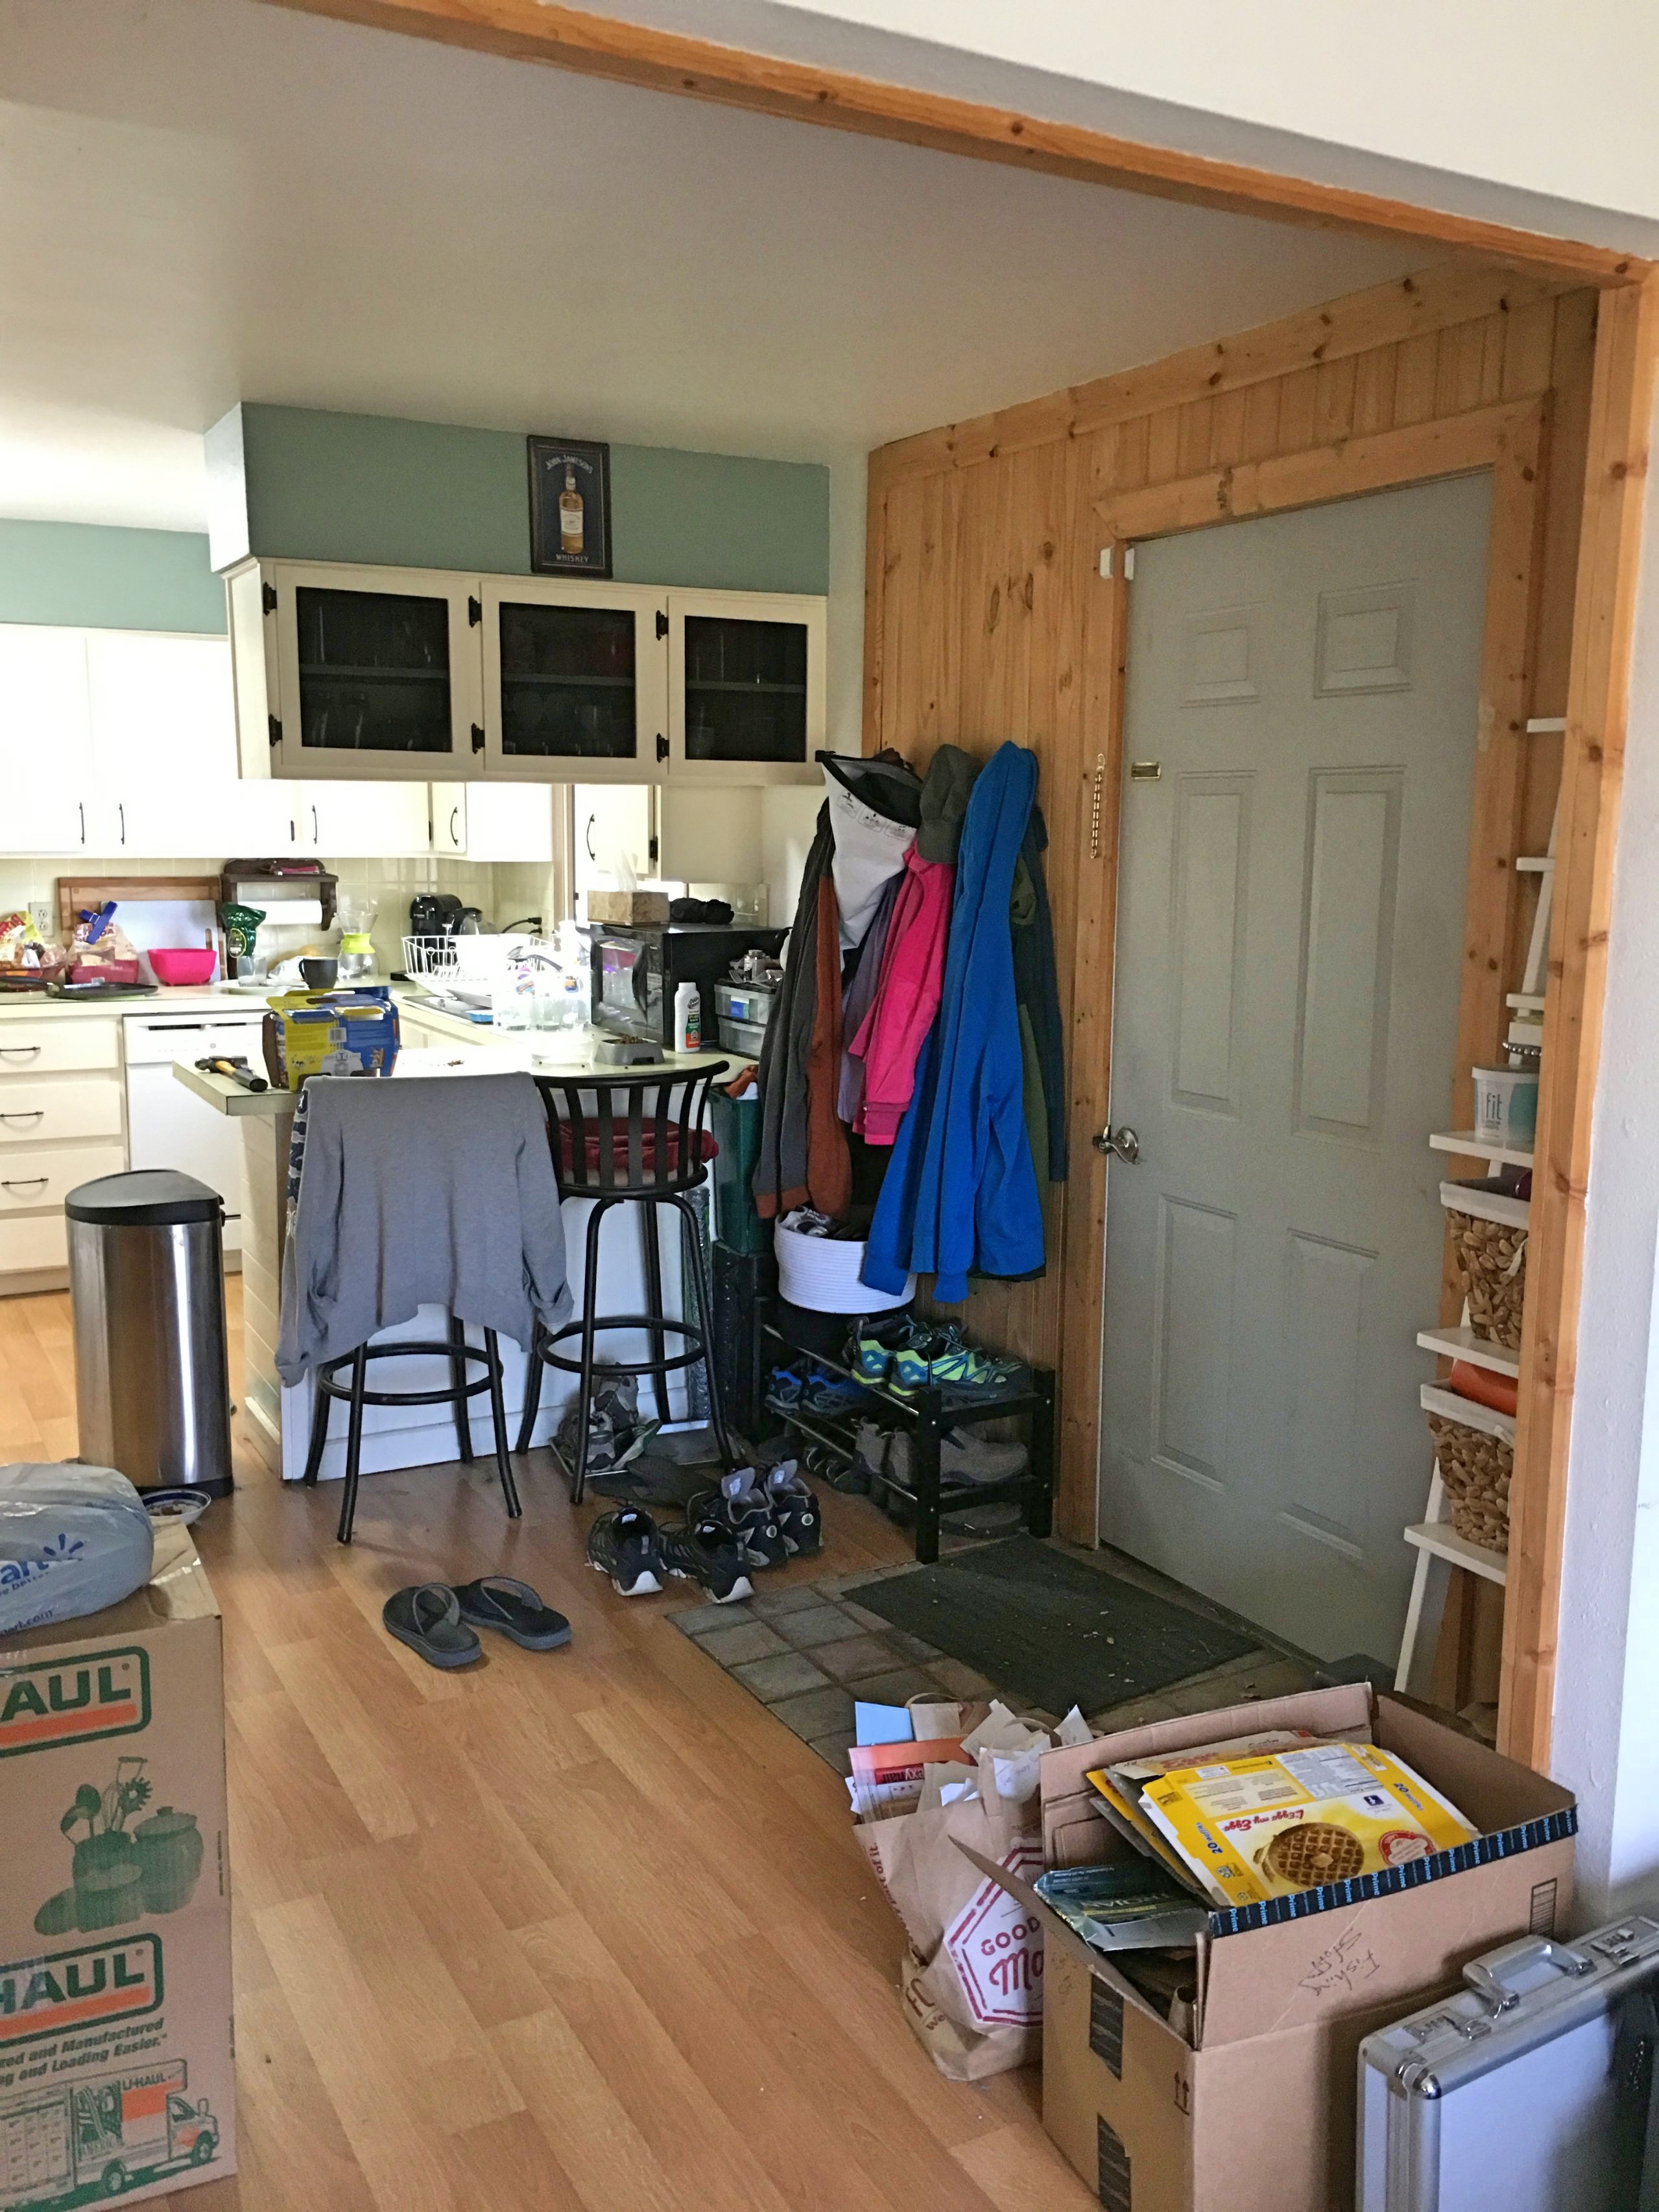
Our dining room before. This is with the light ON. Excuse the recycling piles.

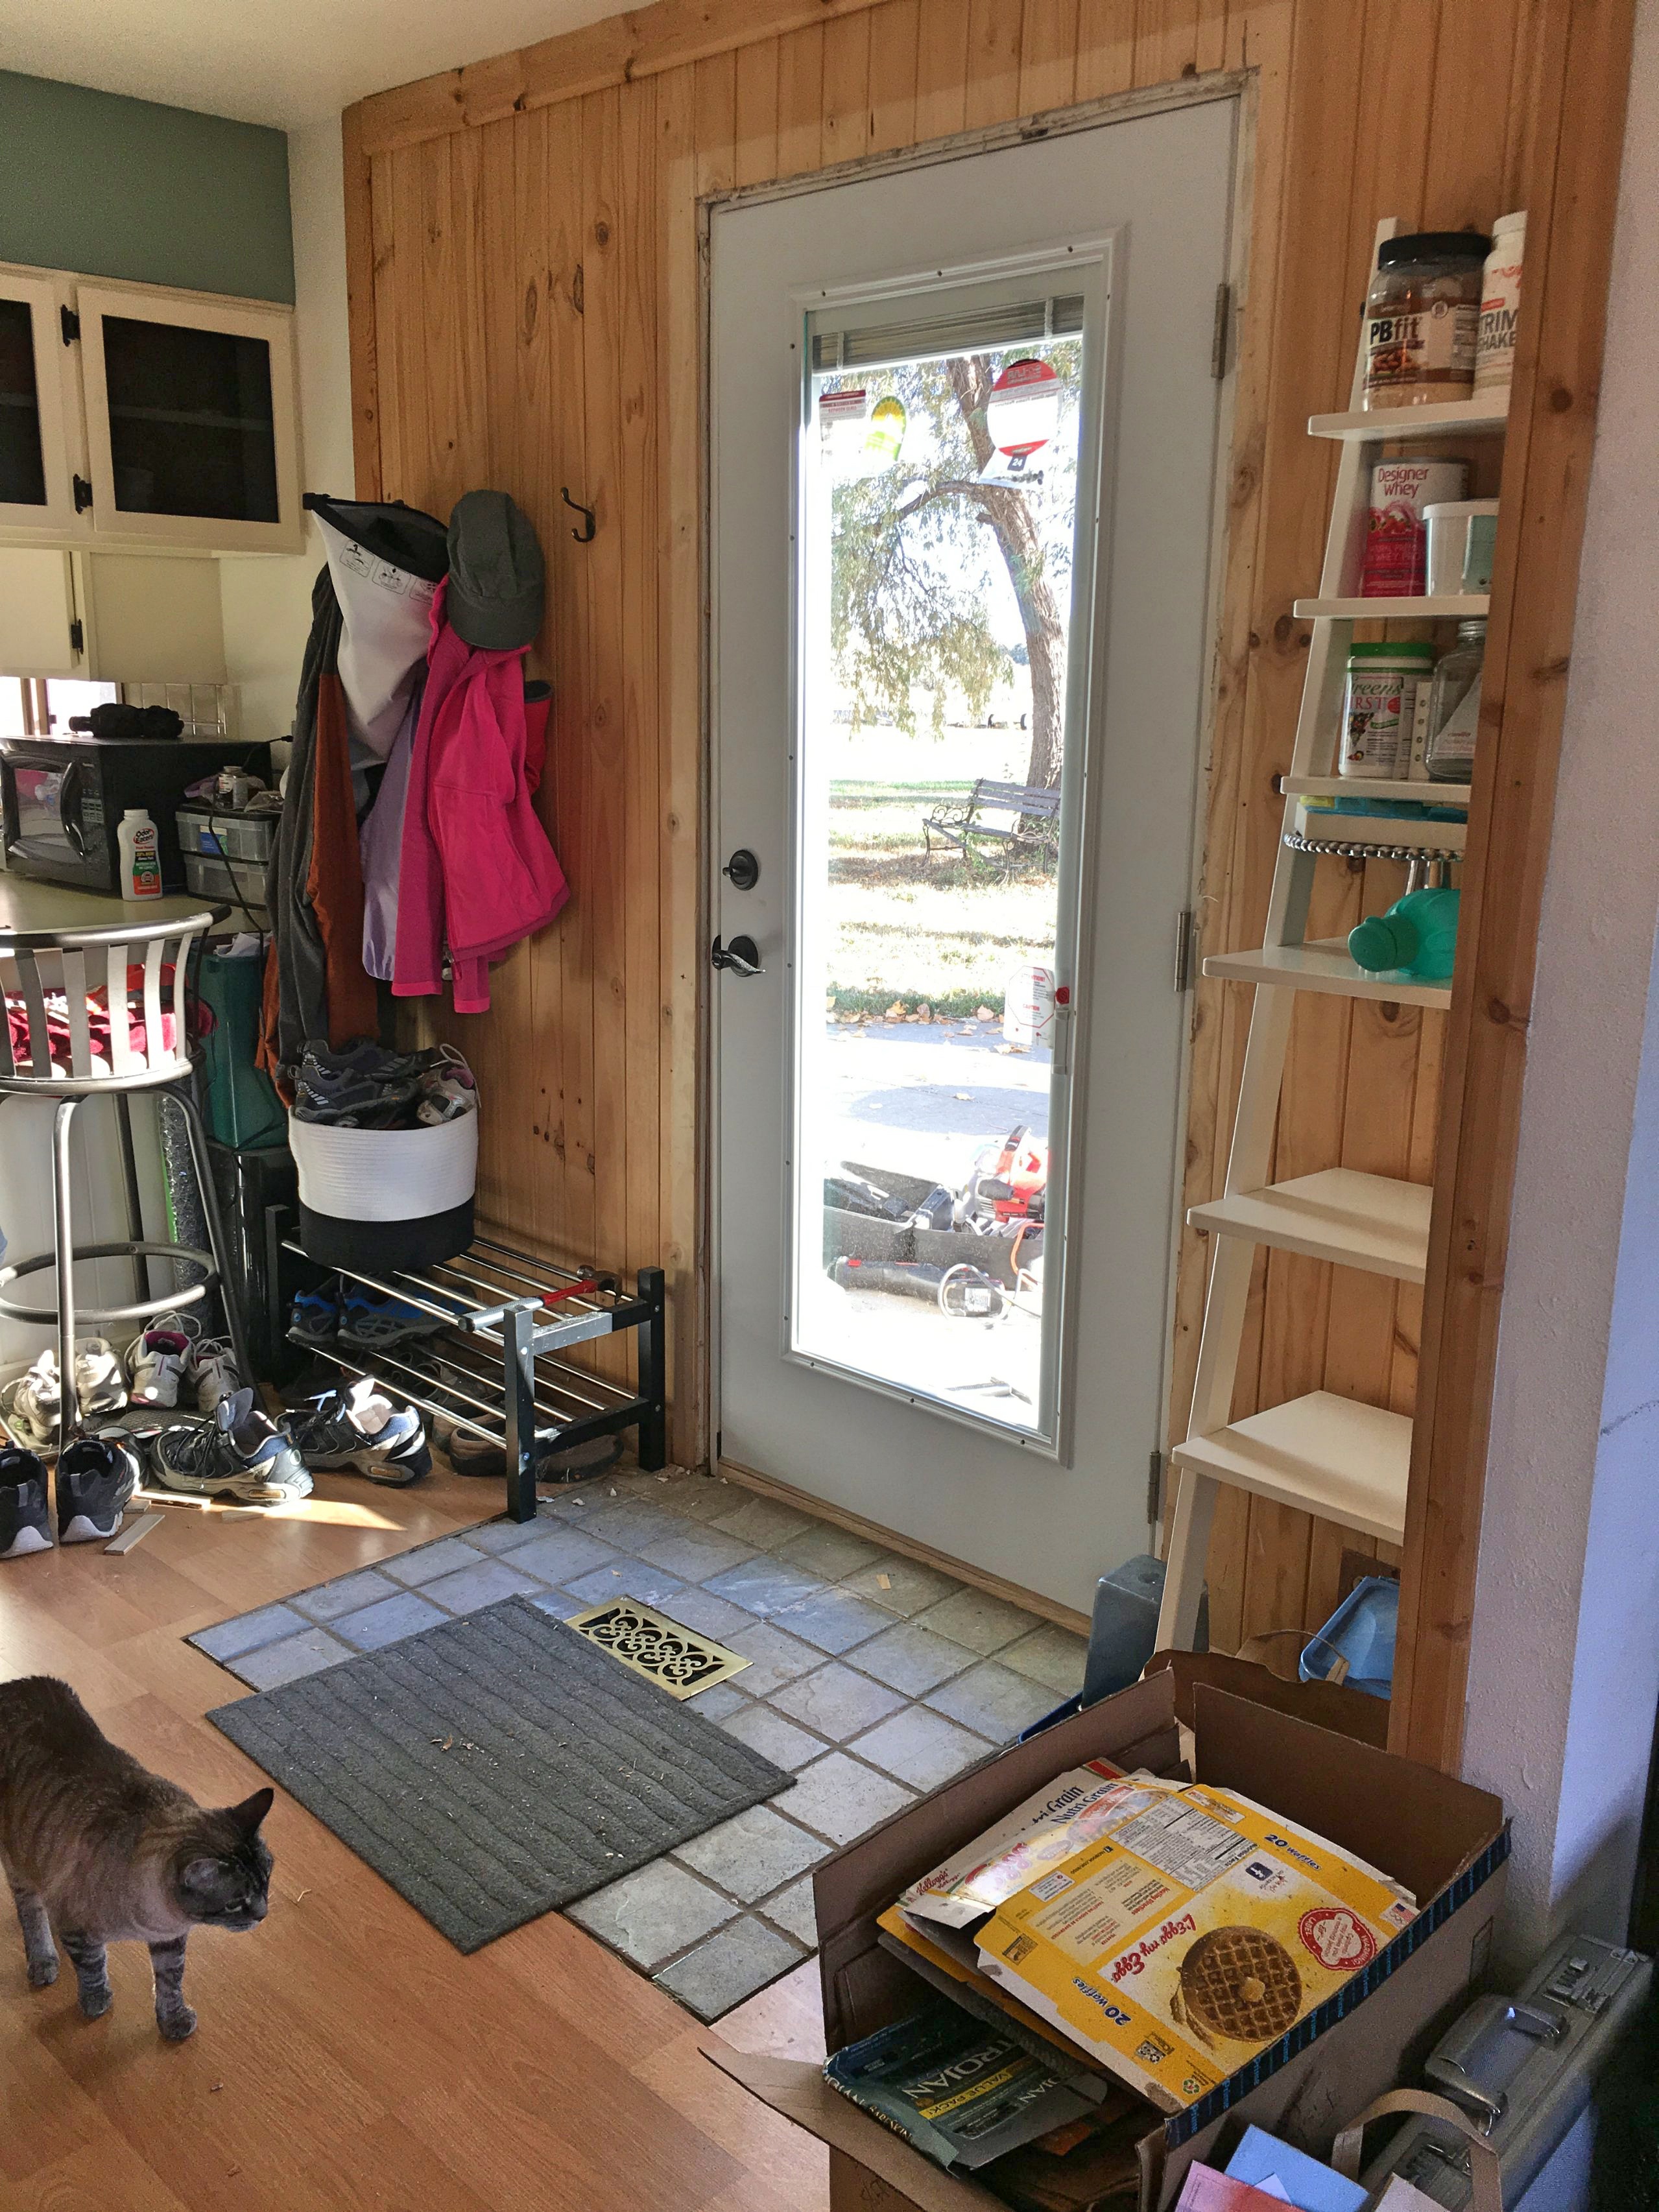
Our dining room after. So much brighter!

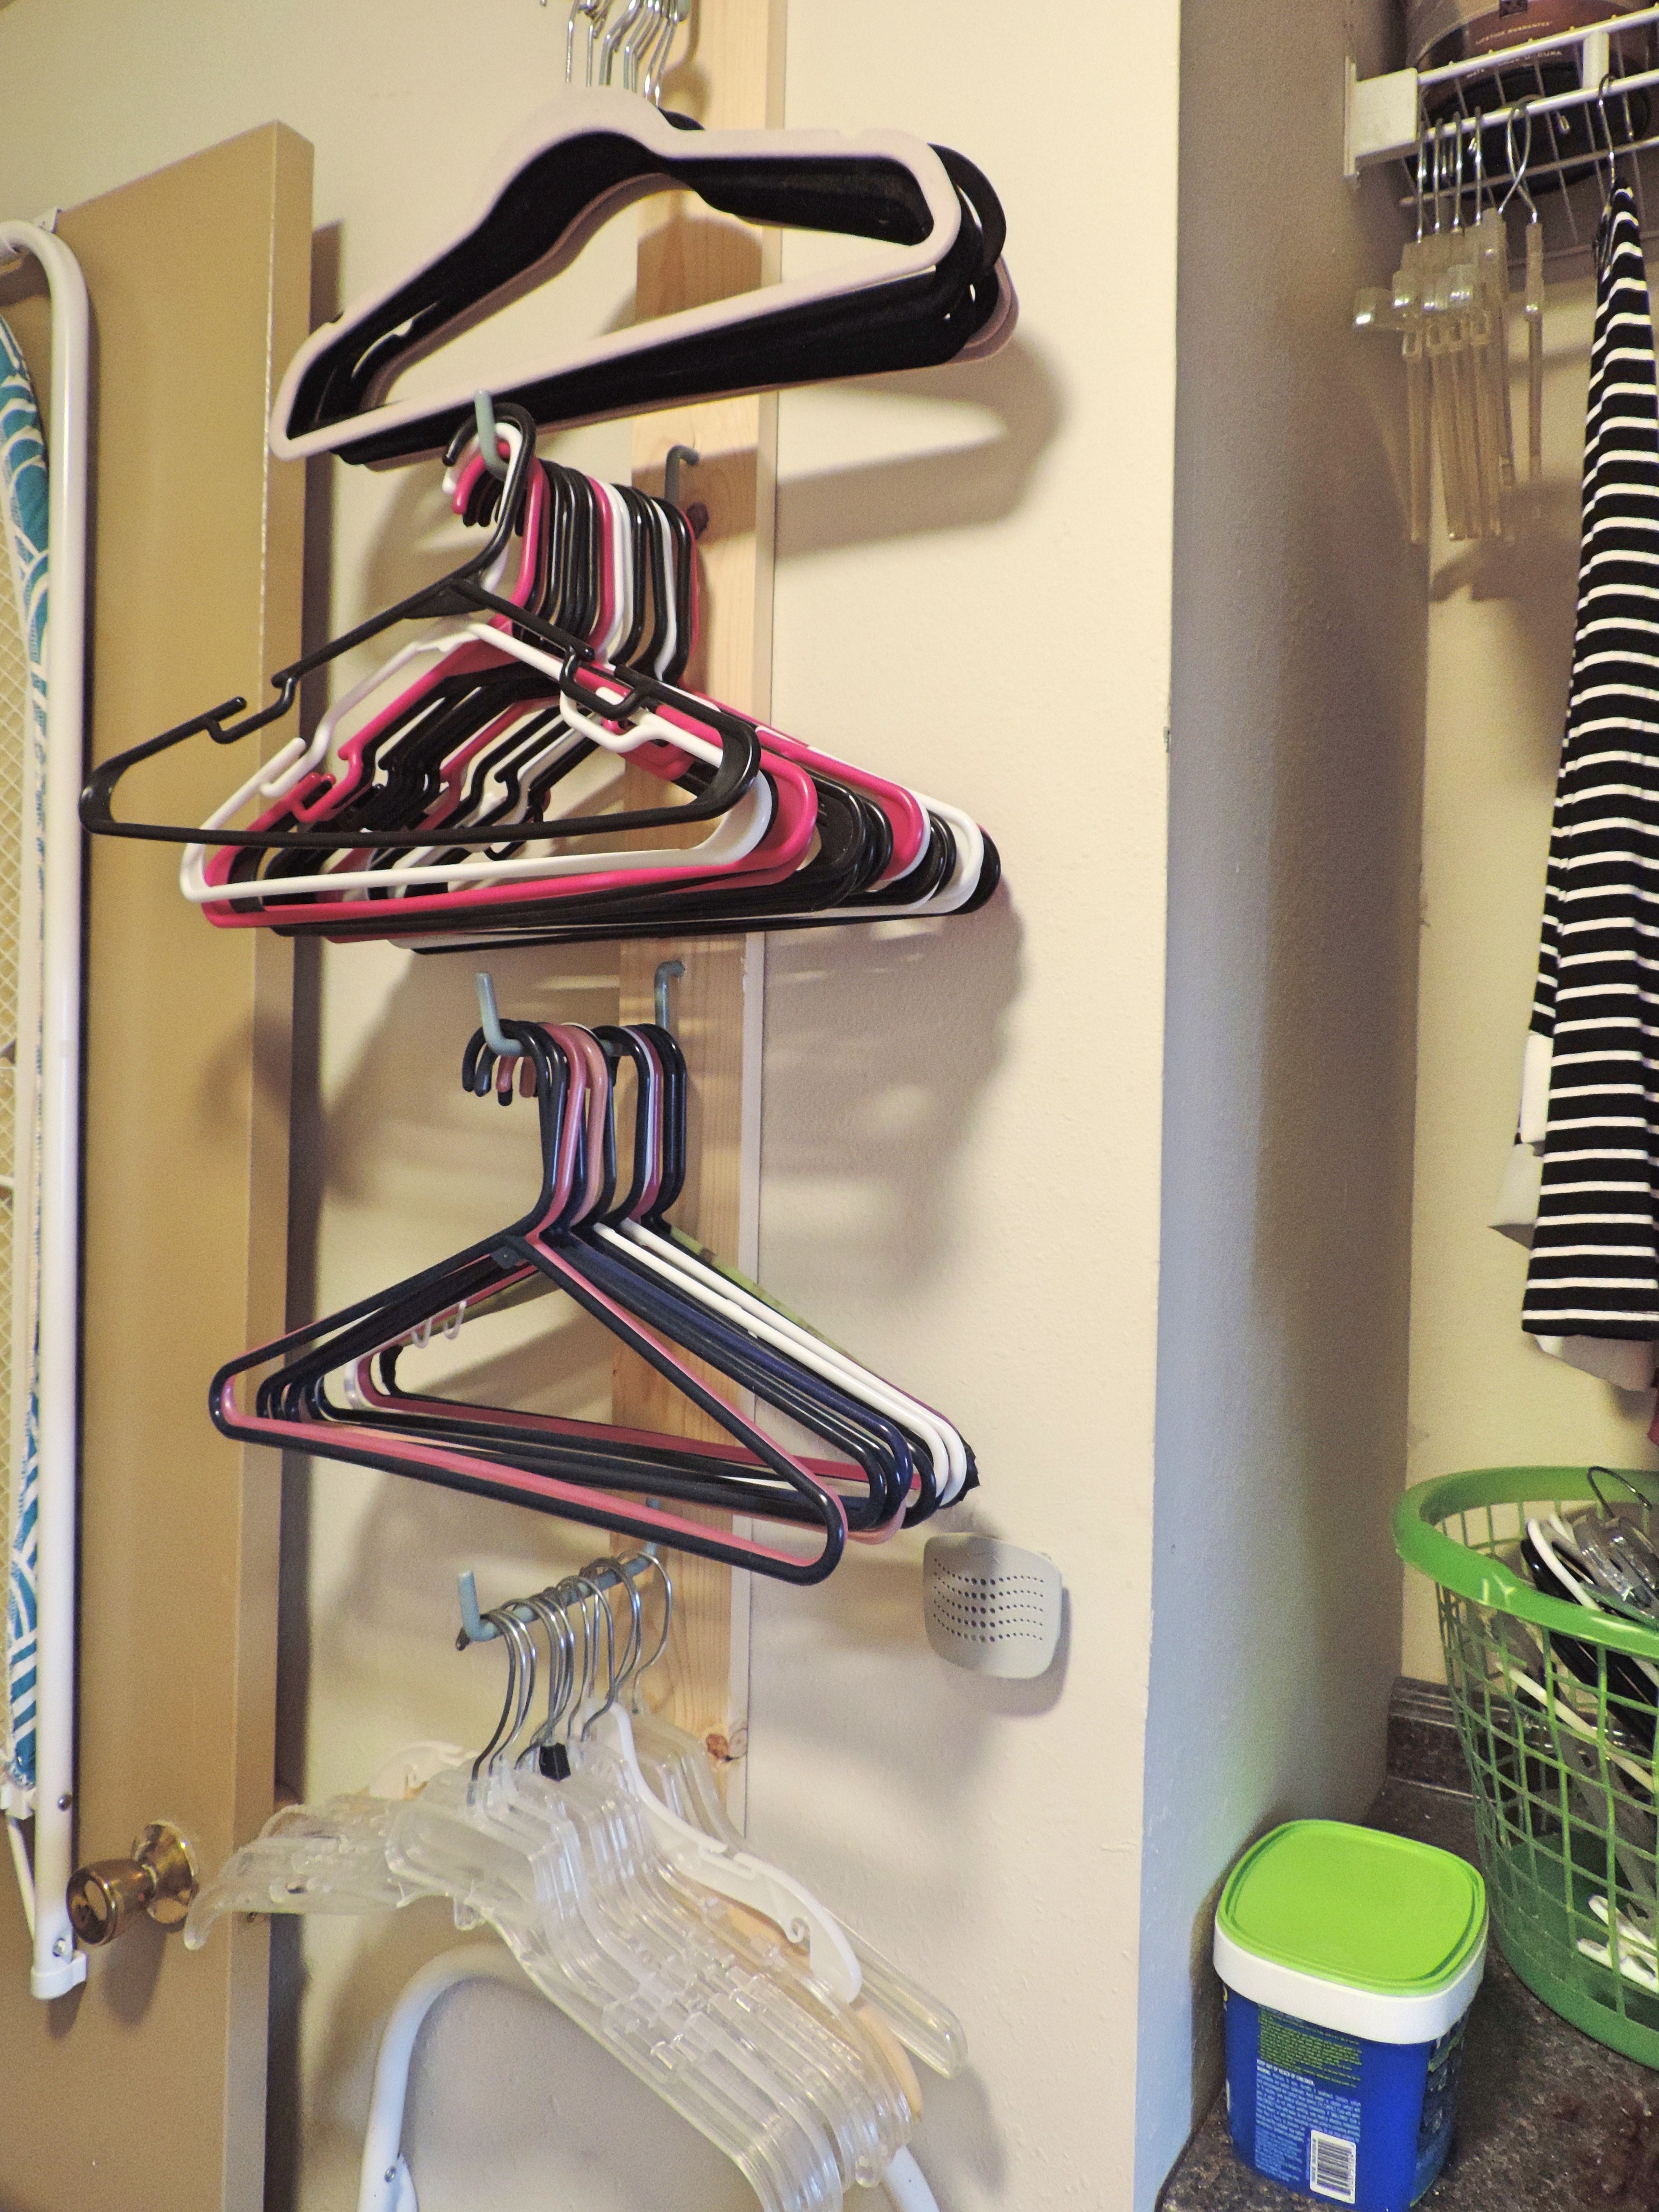
I love having these hangar racks within reach of where I hang up wet clothes!

Here is our wish list of projects that we want to do in the future!

  • Living Room: replace gold window, sand & paint door, install baseboards
  • Dining Room: sand, paint white (like shiplap), paint new door
  • Hall Bath: new vanity, replace tub & tile, shelves in closet
  • Master Bath: new shower insert & tile
  • Laundry Room: custom cabinets, paint
  • Kitchen: concrete counters, tile backsplash, paint cabinets
  • Outside: organize garage & sheds, finish shelves in barn, shade garden, flower beds, more raised beds for veggie garden, recycle storage from palette shipping containers

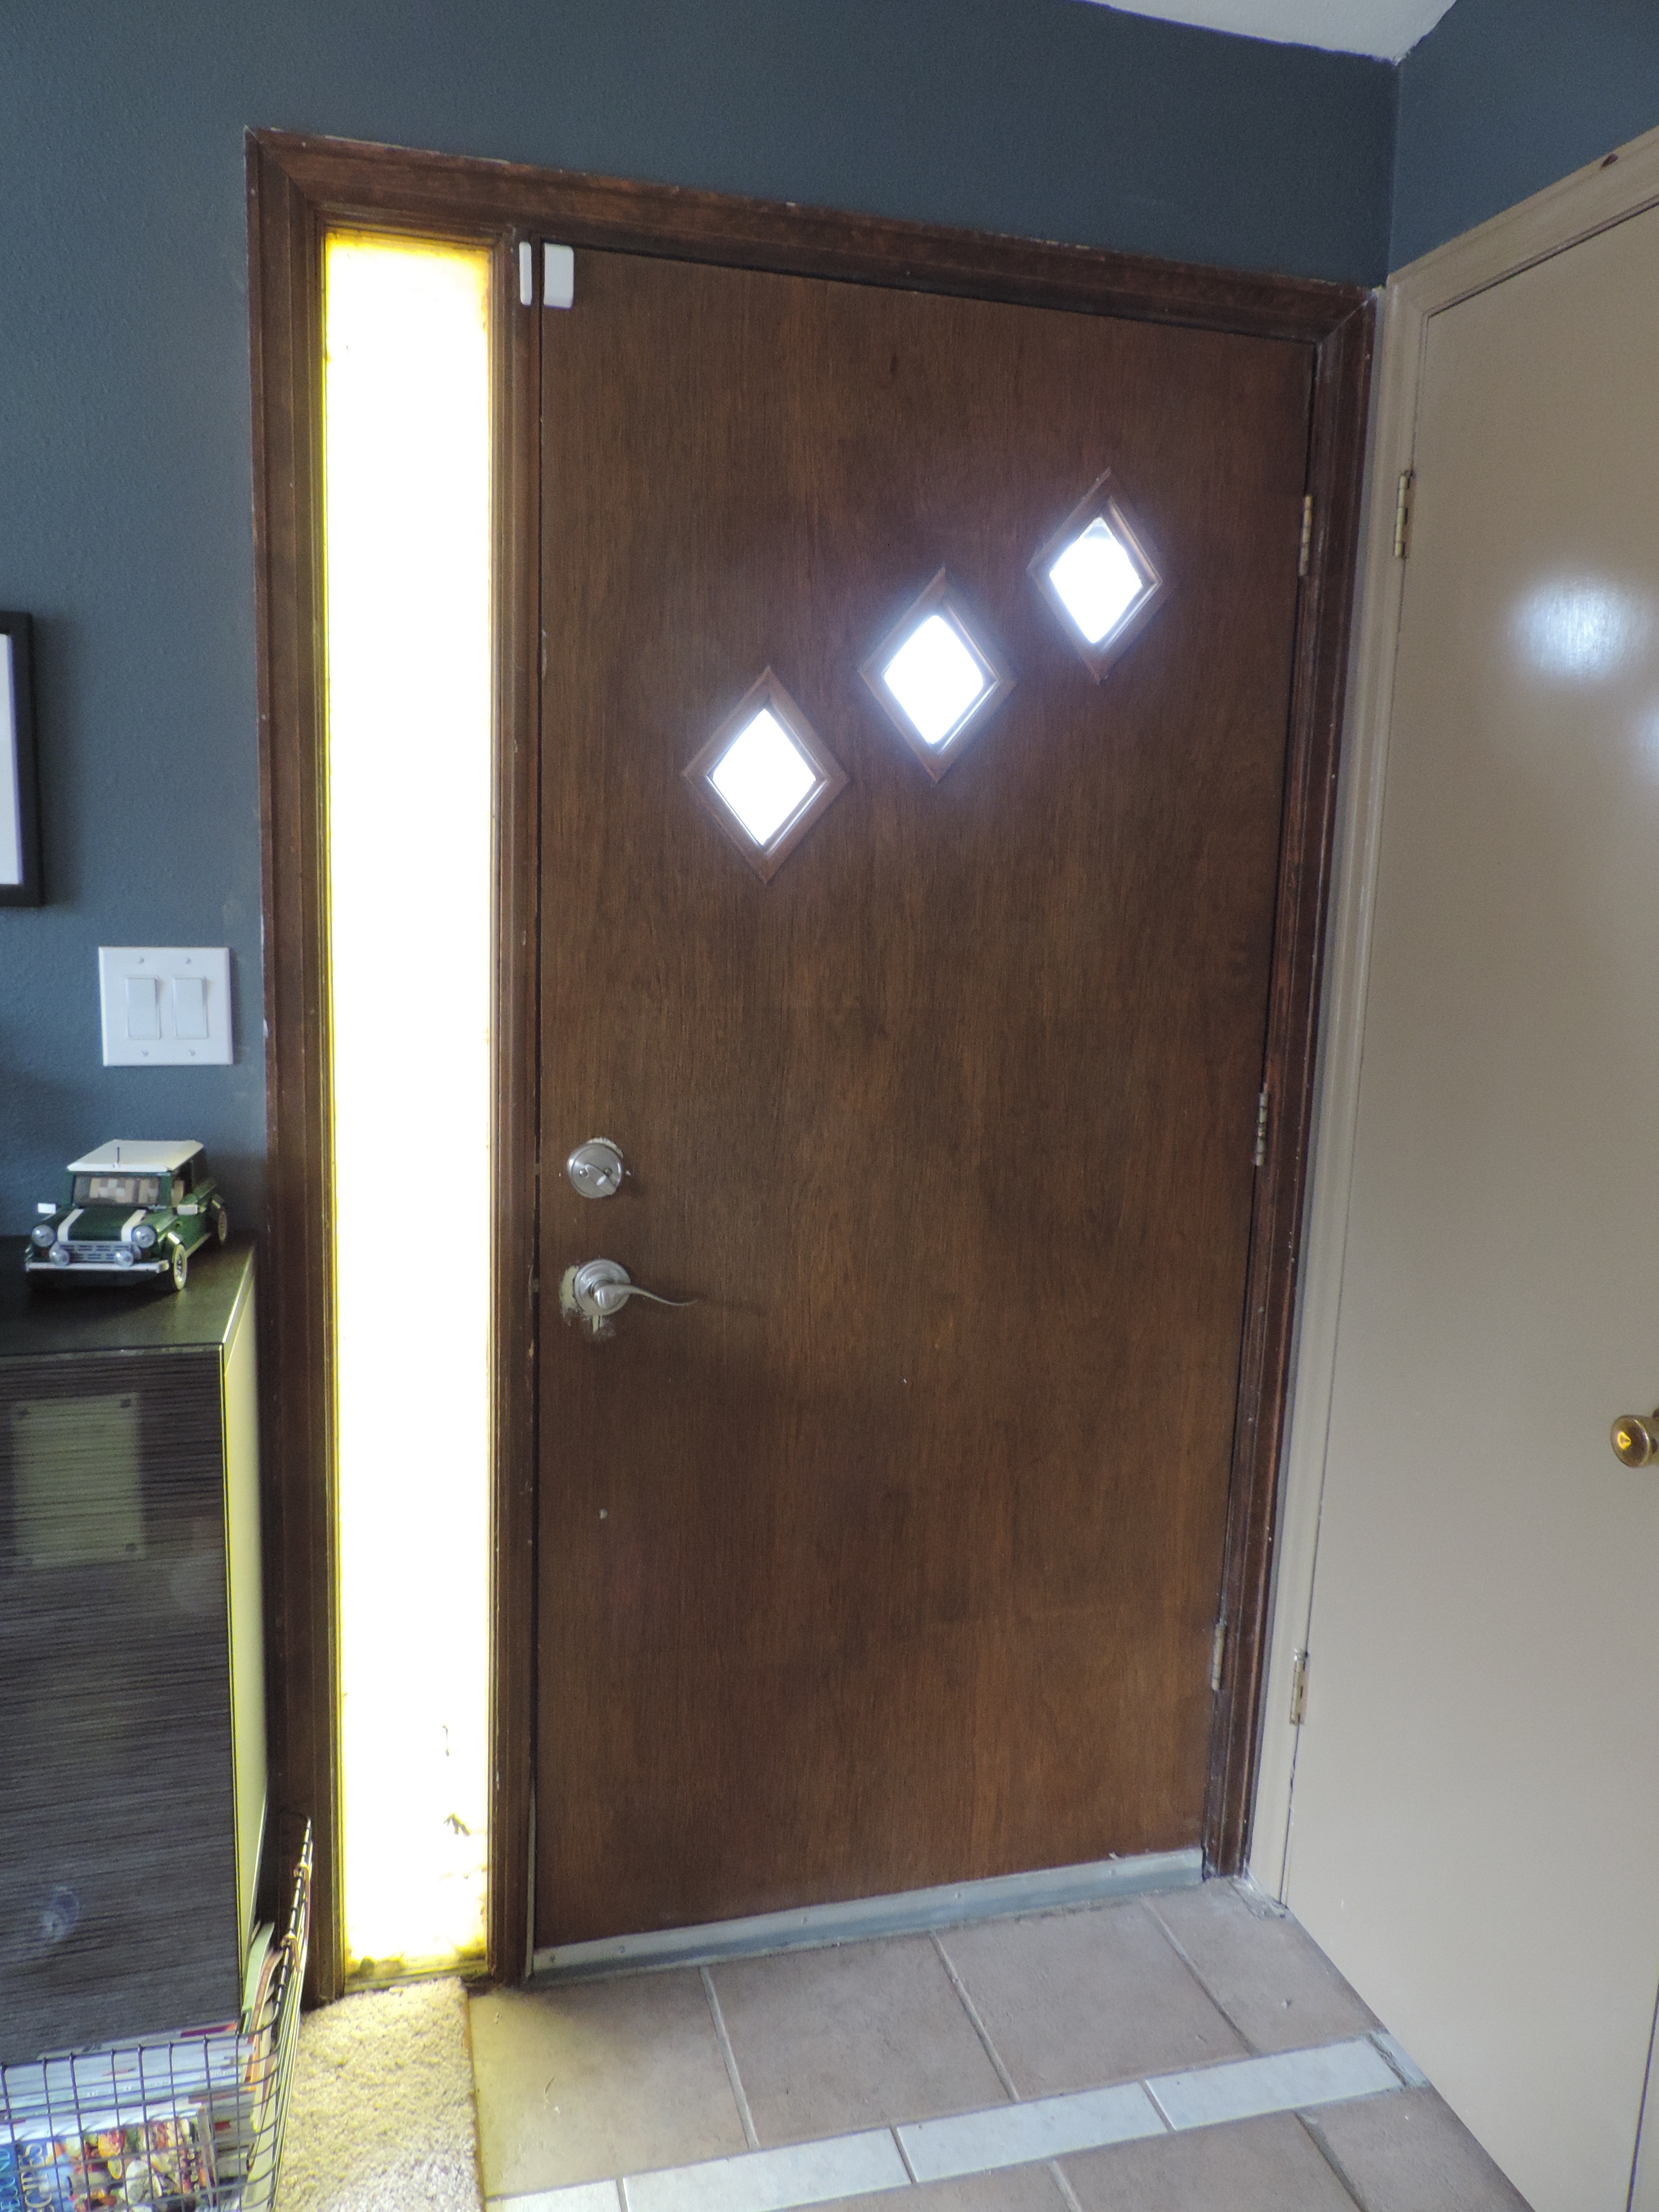
There is good retro, and there is bad retro. You decide.

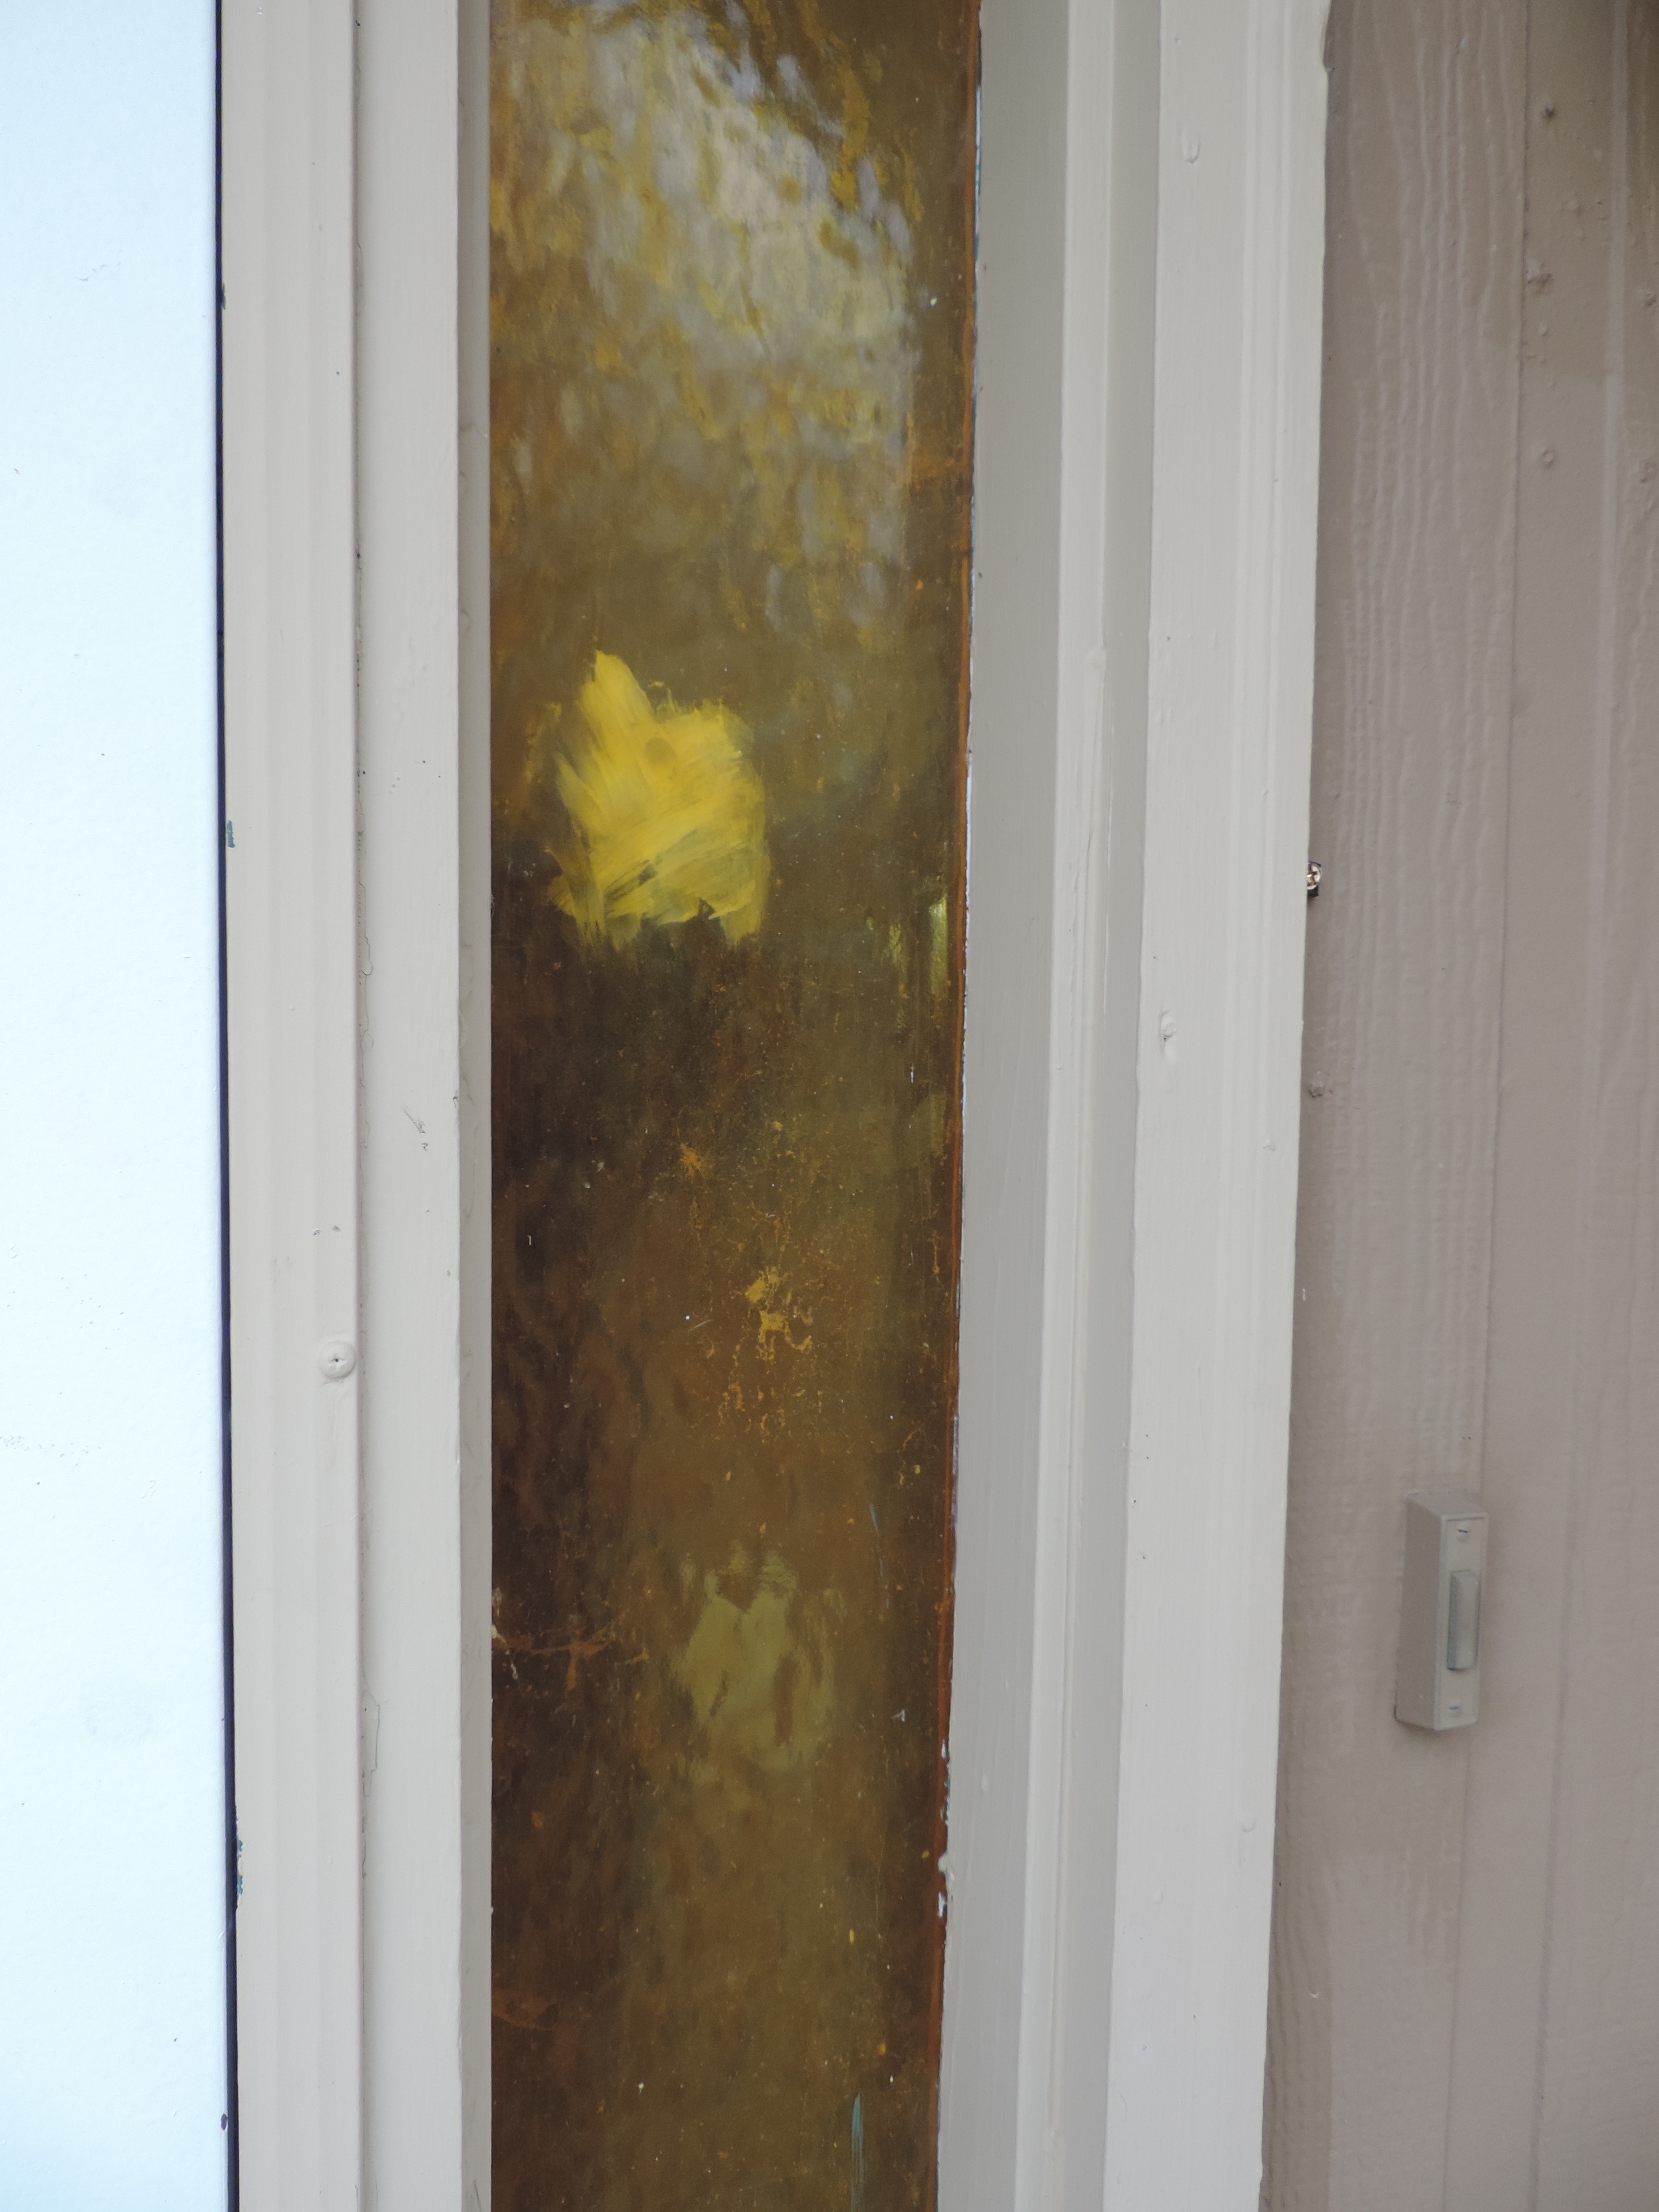
You can’t tell from the inside photo of the front door just how awesome that side window really is. That white splotch is from a failed attempt to cover the gold with mercury glass paint.


As we add new things or cross them off I’ll update the list. This is just a peek into our home and what we’re doing around here!


Favorite Recipes & Petit Fours

Do you have recipes that you return to again and again?

For me one of those recipes is Magnolia Bakery’s Red Velvet Cake. Not to be confused with the Silos Baking Co. at Magnolia Market in Waco. {{Chip & Jo!!!}} Nope, this is courtesy of Magnolia Bakery in New York City. In my eyes, this is the shop that started the cupcake craze several years ago. I purchased their cookbook More From Magnolia over ten years ago. To date, this is probably my most used & loved cookbook in my ridiculously large collection. It is stained, highlighted, dog-eared, and has notes in the margins. It’s one of those cookbooks that has never failed me.

I know that Red Velvet Cake is one of those things that people are very opinionated about. For me, Magnolia’s recipe is perfect. They pair the cake with their Creamy Vanilla Frosting. I know what you’re thinking… Red Velvet Cake should be eaten with cream cheese frosting. {blech!} I have read in more places than I can count that this is simply not how it was intended. The traditional icing for R.V.C. is a “boiled frosting”. Keep reading to find out more!

I can’t bring myself to try any other R.V.C recipes. I’m sure there are plenty good ones but if it ain’t broke, don’t fix it… Right? I have made this so many times. I’ve made it as layer cakes and cupcakes. I’ve made it as a pink velvet cake and put Chambord liquor in the icing. I’ve made it Tardis blue with chocolate frosting and raspberries. We even served this cake at our wedding last year.

Since this is such a go-to recipe for me, I knew that I could count on it when I needed to make something a bit trickier. My mom and I hosted a Ladies Tea Party last weekend. I got this crazy idea that I needed to take a crack at making petit fours. What seems more fitting for a Tea Party than that?

I made a full batch of the cake batter {recipe below} and poured it into a cookie sheet/jelly roll pan lined with wax paper. (I also sprayed a little baking spray on the sides, just in case.) The cake was perfectly done in 30 minutes. When the cake was cooled I had my hubby help me lift it out of the sheet pan. We placed it on a large cutting board so that I would have something portable to move it to the freezer later. Then I used a bread knife to {very carefully} slice the cake in half horizontally.

As you can see my cake is a deep red. I seem to always make a mess when I make this. I’ll spare you the vampire-crime-scene pictures. No one wants to see that.

After I sliced my cake in half, I cut it into quadrants to make the lifting easier. Why not since I’m cutting this into small squares anyway? This made it a lot easier to lift a section of the cake to spread the frosting between the cut layers. I made a half batch of the Creamy Vanilla Frosting {recipe below} since I only wanted a layer in the middle of the cake.

Once I had the cake frosted, I put it in the freezer for an hour. After I removed it from the freezer I cut the cake into about 1 1/2″ squares with a large, sharp knife. Make sure to wipe the frosting off the blade in between rows!

So here’s where things got a little tricky for me. I had NO idea what kind of glaze to use on petit fours as I’ve never made them before. I had made a delicious cinnamon glaze on some pumpkin cookies a few weeks back and thought this would taste good with this cake. Was I ever wrong! The amount of cinnamon was too much, the texture was too thick, and it was just all wrong for this cake. One half-batch of glaze barely covered four little squares of cake. Not to mention the glaze was not sticking to the sides of the squares the way it should. This was a total shot in the dark and it was a flop. So in my {at this point} late night baking haze, I went on the hunt for a proper petit four glaze recipe.

I found a recipe from Jennifer Yu at use real butter that called for ingredients that I had on hand. This glaze was divine! And it was a much better consistency for applying to my cake squares. With a sprinkle of cinnamon added to it, it was just what I’d had in mind.

I’d love to tell you that at this point I had total success with my petit fours. I don’t know if it was because it was way past my bedtime or because I had already been baking and cooking all. day. long. I never did get my glaze to fully cover the sides of my squares. I got about two dozen squares as glazed as they were going to get and decided to call it quits for the night.

My petit fours didn’t make it to the Tea Party. However, this was to no disappointment of my husband. He was all too happy to help me gobble up these less than pretty cakes. The combination of flavors was perfect.

I think it will be a minute before I attempt to make these again. I know I’ll try because I can’t leave well enough alone. If you want a pretty petit four, this combination needs some tweaking. But if you want a delicious one, then by all means, make these. Especially if you just plan to eat them straight from the storage container in front of the fridge. {guilty} Either way, you should definitely make this Red Velvet Cake and Creamy Vanilla Frosting any time you need a really wonderful Red Velvet Cake!

Magnolia Bakery’s Red Velvet Cake {with my modifications for the petit fours in italics}

3 1/3 cups cake flour (not self-rising)
3/4 cup (1 1/2 sticks) unsalted butter, softened
2 1/4 cups sugar
3 large eggs, at room temperature
6 tablespoons red food coloring {sometimes I use gel and make up the liquid measurement with water… careful, this is messy!}
3 tablespoons unsweetened cocoa powder
1 1/2 teaspoons vanilla extract
1 1/2 teaspoons salt
1 1/2 cups buttermilk
1 1/2 teaspoons cider vinegar
1 1/2 teaspoons baking soda
Creamy Vanilla Frosting (recipe follows)

Preheat oven to 350 degrees.

Grease and lightly flour three 9 x 2-inch round cake pans, then line the bottoms with waxed paper. {for the petit fours, use a full size jelly roll pan/cookie sheet}

To make the cake:
In a small bowl, sift the cake flour and set aside. In a large bowl, on the medium speed of an electric mixer, cream the butter and sugar until very light and fluffy, about 5 minutes. Add the eggs, one at a time, beating well after each addition.

In a small bowl, whisk together the red food coloring, cocoa, and vanilla. Add to the batter and beat well.

In a measuring cup, stir the salt into the buttermilk. Add to the batter in three parts, alternating with the flour. With each addition, beat until the ingredients are incorporated, but do not over beat.

In a small bowl, stir together the cider vinegar and baking soda. Add to the batter and mix well. Using a rubber spatula, scrape down the batter in the bowl, making sure the ingredients are well blended and the batter is smooth.

Divide the batter among the prepared pans. Bake for 30-40 minutes, or until a cake tester inserted in the center of the cake comes out clean. {begin checking for doneness at 30 minutes for the petit four version!} Let the layers cool in the pans for 1 hour. Remove from the pans and cool completely on a wire rack.

When the cake has cooled, spread the frosting between the layers, then the ice top and sides of the cake with frosting. {only between the layers for my petit fours!}


Magnolia Bakery’s Creamy Vanilla Frosting {make a half batch for the petit fours}

This silky smooth frosting is made by beating together softened butter and sugar with a thick saucelike base. Be sure to follow the recipe directions exactly.

6 tablespoons all-purpose flour
2 cups milk
2 cups (4 sticks) unsalted butter, softened
2 cups granulated sugar {not confectioner’s sugar!}
2 teaspoons vanilla extract

In a medium saucepan, whisk the flour into the milk until smooth. Place over medium heat and, stirring constantly, cook until the mixture becomes very thick and begins to bubble, 10-15 minutes. {you want this to be about the texture of pudding… keep your eye on this!} Cover with waxed paper placed directly on the surface and cool to room temperature, about 30 minutes.

In a large bowl, on the medium high speed of an eclectic mixer, beat the butter for 3 minutes, until smooth and creamy. Gradually add the sugar, beating continuously for 3 minutes until fluffy. Add the vanilla and beat well.

Add the cooled milk mixture, and continue to beat on the medium high speed for 5 minutes, until very smooth and noticeably whiter in color. Cover and refrigerated for 15 minutes (no less and no longer – set a timer!). Use immediately.


Poured Fondant Icing, slightly modified from use real butter

{original recipe here}

4.5 cups confectioner’s sugar
1/2 cup water
1/4 cup light corn syrup
1 tsp vanilla
1/4 to 1/2 tsp cinnamon {start light, add to taste}

Combine all in double boiler. Heat until lukewarm. Remove from heat. Ladle over petits fours.


Jammies

Confession: I used to be a major shopaholic. I didn’t exercise much self control in the spending department and would use my paycheck to buy #allthethings. Luckily that careless girl is a thing of the past and I am much more responsible now. After I moved in with my husband I realized that I had way too much stuff. I have been on a journey to declutter and simplify… I am challenging myself to use up as many of my current things as I can before buying new!

The other day all of my new found frugality came crashing down on me. I got up in the middle of the night to go to the bathroom and caught a glimpse of my oh-so-sexy self in the full length mirror. {insert appalled face here!} My very old, worn in, comfy jammies made me look like I had lost about 100 lbs. They were beyond baggy. Somehow I had failed to notice that I had several holes in my t-shirt. Then to my horror I turned around and saw some little holes in the tush too!! Y’ALL… I was mortified! I’ve only been married for 11 months and still consider myself a newlywed. My poor husband probably thinks I am going to let myself go! Although, you’ve gotta give a girl a break. For my 35 years before we were married, I was used to single-girl jammies!

I knew this just wasn’t going to do. The next morning I shared my findings with my husband. He had totally noticed but is far too sweet to say anything. We both agreed that I could consider those old jammies used up and that it was time for some new ones.

I wanted to share some of my favorite jammies on my wish list.

Jammies - Soma Tunic Pajama Set

Have you ever been into a Soma store? I visited one while searching for items before my wedding last year. I fell in love with their jammies and leggings. This merlot colored set is gorgeous and super soft!

Jammies - Soma Cool Nights Tank/Shorts

Soma also has a line called Cool Nights to help keep you cool while you’re sleeping. I LOVE this because I tend to get very warm in our memory foam bed.

Jammies - Target Women's Pajama Sets - Gilligan & O'Malley™

Every time my husband and I are in Target, he has to steer me away from the jammies department. I could just buy them all! I have been eyeballing these for a while. They come in a lot of fun colors and feel so cozy. They may come home with me yet!

Jammies - Nordstrom Chelsea28 Notch Collar Pajamas

I have seen these floating around for a while. These fulfill my love for all things blush colored, and my desire to own some silky jammies. They’re so glam! The Nordstrom sleepwear department is a wonderful and dangerous place.

Jammies - Victoria's Secret The Dreamer Flannel Pajama

This is the pair I purchased after all my searching. I have always been a fan of the VS pink stripes. I got them on sale with free slippers. You can’t beat that. I already love them! It’s nice to feel cute in my jammies instead of looking like a slob.


signature


Making The Bed


The other day I read a tip on a blog that said if you take the time to make your bed in the morning, you will have a “domino effect” of being more productive throughout your day.

{read blog post here: http://tidymom.net/2015/chocolate-peppermint-brownie-cake-recipe/}

Let me back things up a bit. I have never been a bed maker. I used to joke that it was against my religion.

There are plenty of reasons not to make a bed.

  • I was not a morning person. I typically woke up with barely enough time to get myself ready and get out the door.
  • I love a cozy, “lived in” bed.
  • Why make a bed when you’re going to mess it up in a few hours anyway?

fullsizerender-6

With the major life change of leaving my corporate job to work from home, I have been on a journey to learn how I wanted to structure my days. In the beginning, I had a blissful few days where I slept without waking to an alarm, stayed up far too late binge watching episodes of Gilmore Girls, and staying in my pajamas way longer than would be socially acceptable. But I knew that this pattern couldn’t continue for long. I was going to have to create some sort of structure for myself if I was going to be successful (and not fall into a cycle of laziness).

I am still in the process of figuring out what my ideal day looks like. When I married my husband recently, I knew that I wanted to align my sleep schedule closer to his. (He gets up at 4 a.m. and is fast asleep by 9 o’clock.) A year after becoming a full time entrepreneur, I get up earlier now than I did when I was going to an office. I never dreamed that I would set an alarm when I didn’t have to! But crazily enough, I am learning to love it. It’s amazing how much more I get done when I get up earlier.

The next thing I wanted to do was begin to establish some daily habits that would set me on the right path for the day. When I read this article about making the bed, I figured I would give it a shot. (Plus I knew that my Marine husband would appreciate it.)

I have only been doing this for a handful of days now but I’m already feeling the positive outcome from it! I noticed from the very first day that what she said was true… I found myself more likely to tidy things that I normally would leave for later. I got started on my meal prep earlier than normal. I was even more intentional toward my business.

As the days have gone on, I also notice that I realllllly like getting into a made bed at night. It’s kinda like getting that clean sheets feeling every. single. night. I think this is one habit that I am going to stick with!

fullsizerender-5

signature